
Table of Contents
- Variation 1: Soft & Chewy Oat Flour Peanut Butter Blossoms
- Variation 2: Dense & Nutty Almond Flour Peanut Butter Blossoms
- Variation 3: The Classic Crunch 1:1 Gluten-Free Blend
- The Texture Comparison: Oat vs. Almond vs. GF Blend Results
- Essential Recipe: DIY Solid Chocolate Kisses Without Refined Sugar
- The Final Sweet Note
- Baker’s Questions Answered
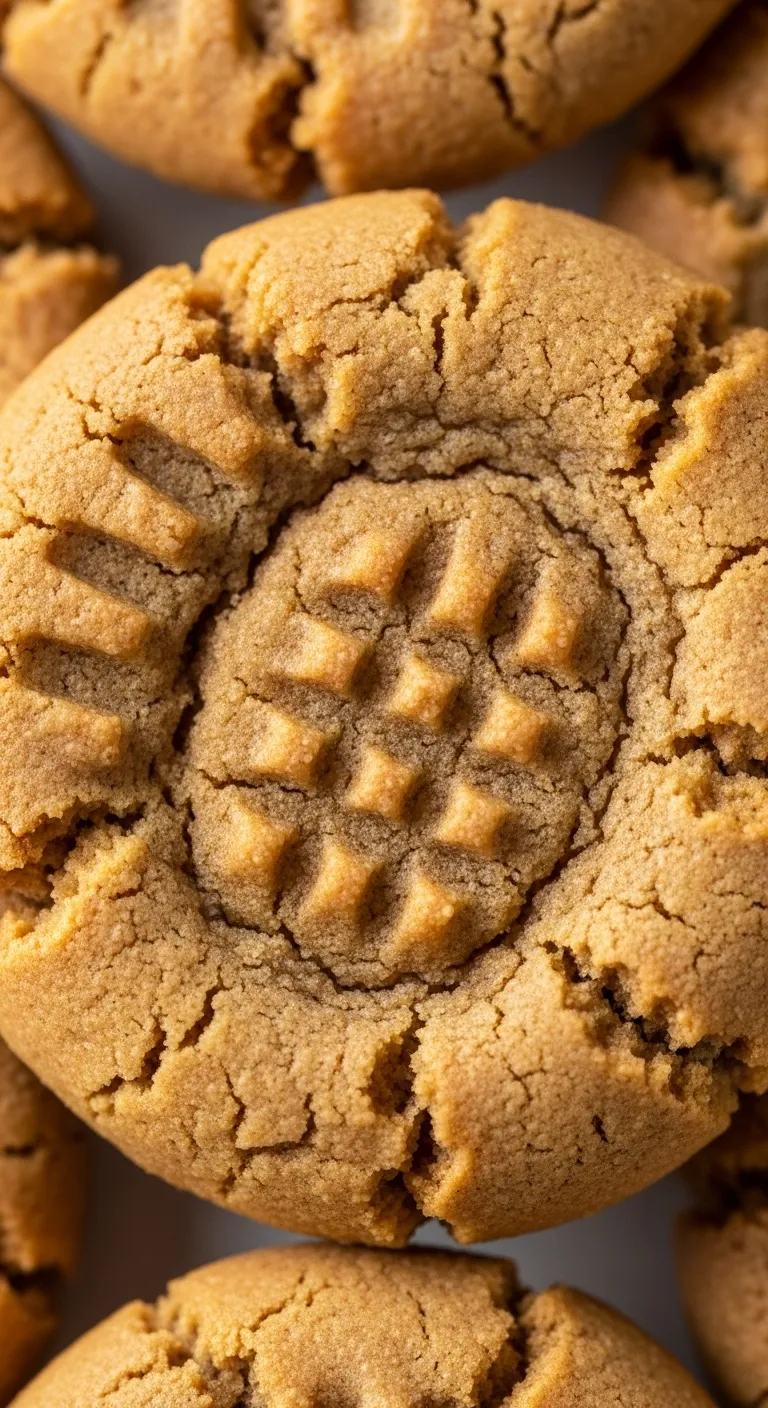
There is something universally comforting about the perfect marriage of creamy peanut butter and rich chocolate. These Easy Healthy Peanut Butter Blossom Cookies take that nostalgic childhood favorite and elevate it for the modern kitchen.
We achieve a tender, melt-in-your-mouth crumb without relying on excessive amounts of refined sugars or heavy processed fats, ensuring every bite is as wholesome as it is delicious.
Creating a lighter version of a bakery classic requires a deep respect for how ingredients interact. By introducing nutrient-dense alternatives like natural sweeteners or whole grain flours, we maintain the essential softness you crave while boosting the nutritional profile.
This recipe is straightforward enough for a beginner to master, yet the complex flavor profile will impress even the most discerning palate.
The true magic of baking lies in the simple act of sharing something warm and homemade with the people you love.
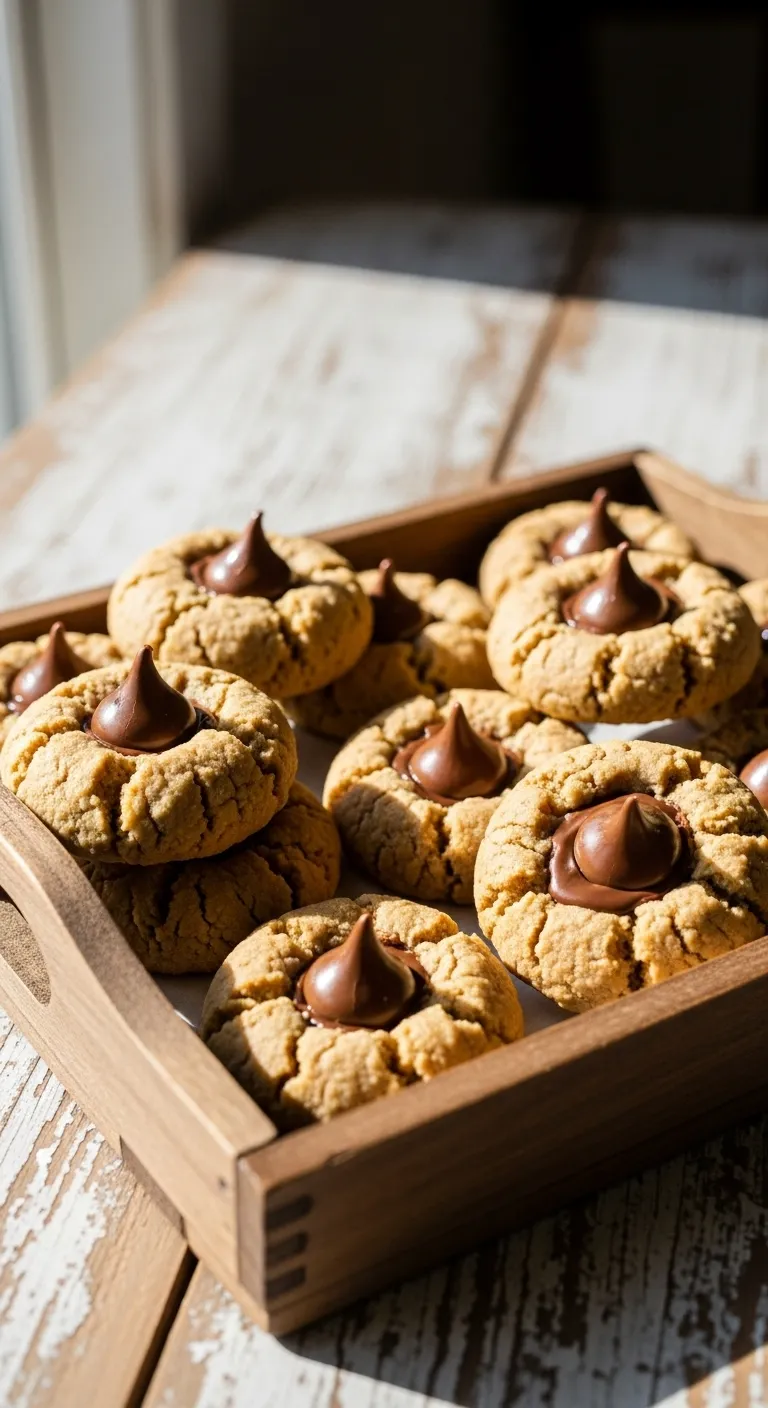
These blossoms are not only visually stunning with their signature chocolate center, but they also offer a guilt-free way to indulge your sweet tooth. Let us gather our ingredients and bake a batch that nourishes the body just as much as it delights the soul.
Variation 1: Soft & Chewy Oat Flour Peanut Butter Blossoms
Swapping standard wheat flour for oat flour transforms the texture of this classic treat. It creates a hearty mouthfeel that is incredibly satisfying.
This variation is perfect for those seeking a gluten-free option without sacrificing flavor. The oats provide a subtle nuttiness that pairs perfectly with peanut butter.
Oat flour transforms a simple cookie into a wholesome, rustic comfort food experience.
Oat flour absorbs moisture differently than all-purpose flour. This results in a chewier cookie that stays soft for days if stored correctly.
These treats pair wonderfully with a warm beverage. You might enjoy them alongside one of our healthy homemade coffee creamers for a cozy afternoon snack.
Oat flour absorbs liquid more slowly than wheat flour, so letting the batter rest is key for hydration.
Kye Ameden, King Arthur Baking
If you are new to baking with alternative flours, this recipe is very forgiving. It requires no complex gums or stabilizers to hold together.
Below is a quick comparison of how oat flour changes the profile of your cookie compared to traditional flour.
| Feature | Oat Flour Variation | Traditional Flour |
|---|---|---|
| Gluten-Free Friendly | ✅ | ❌ |
| Nutty Flavor Profile | ✅ | ❌ |
| Fiber Content | ✅ | ❌ |
For those who love expanding their baking repertoire, check out our collection of chocolate chip cookies for more inspiration.
Ingredients
- 2 cups oat flour (certified gluten-free if needed)
- 1 teaspoon baking soda
- 1/4 teaspoon sea salt
- 1 cup creamy natural peanut butter
- 1/2 cup pure maple syrup
- 1 teaspoon vanilla extract
- 1 large egg (room temperature)
- 24 dark chocolate kisses, unwrapped
Instructions
- Preheat your oven to 350°F (175°C). Line a large baking sheet with parchment paper to prevent sticking.
- Whisk the oat flour, baking soda, and salt together in a medium bowl. Ensure there are no large clumps of flour.
- In a separate large bowl, beat the peanut butter and maple syrup until smooth. Add the egg and vanilla extract, mixing well.
- Pour the dry ingredients into the wet mixture. Stir with a spatula until a thick dough forms. Let it rest for 10 minutes.
- Scoop about 1 tablespoon of dough per cookie. Roll them into balls and place them on the baking sheet, spaced 2 inches apart.
- Bake for 8 to 10 minutes. The edges should be golden, but the centers will look slightly underdone. Do not overbake.
- Remove from the oven immediately. Press a chocolate kiss into the center of each warm cookie gently.
- Allow the cookies to cool on the baking sheet for at least 5 minutes before transferring to a wire rack to set completely.
Oat Flour Success Secrets
- Respect the rest. Because oat flour absorbs liquid much slower than wheat flour, that 10-minute resting period is non-negotiable. It ensures the dough hydrates fully, preventing a gritty texture.
- Prevent the melt. To keep your chocolate kisses from losing their shape when pressed into the hot cookies, pop the unwrapped chocolates in the freezer while the batch bakes.
- Make your own flour. If you are out of oat flour, simply pulse old-fashioned rolled oats in a high-speed blender until fine. Always measure your flour after blending to ensure accuracy.
Variation 2: Dense & Nutty Almond Flour Peanut Butter Blossoms
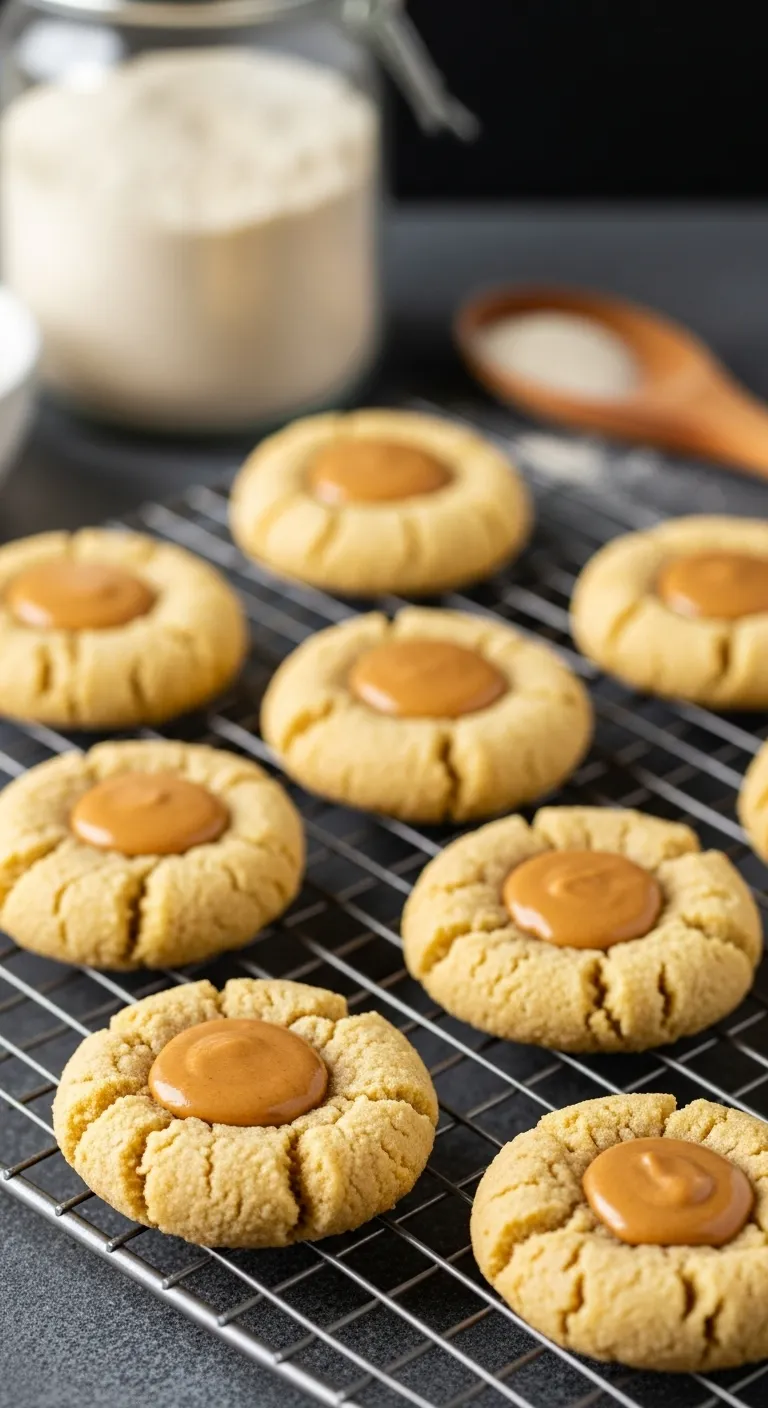
This variation completely transforms the texture of your holiday favorite. Almond flour creates a denser, moister crumb than wheat flour.
The natural oils in the almonds ensure the cookies stay soft for days. They offer a rich, nutty flavor profile that amplifies the peanut butter.
Almond flour transforms a simple cookie into a luxurious, nutrient-dense bite that melts on the palate.
If you are searching for satisfying low-carb recipes that feel indulgent, this is the perfect starting point.
These cookies are naturally gluten-free and pack a protein punch. The dough is slightly stickier, but the end result is undeniably decadent.
Almond flour adds richness and tenderness to baked goods, and provides a lovely nutty flavor.
King Arthur Baking Company, Baking with Almond Flour
Ingredients
- 2 cups Super-fine blanched almond flour
- 1/2 cup Creamy natural peanut butter (unsweetened)
- 1/3 cup Pure maple syrup or keto-friendly syrup
- 1 tsp Vanilla extract
- 1 pinch Sea salt (if peanut butter is unsalted)
- 20 Dark chocolate kisses or discs
Instructions
- Preheat your oven to 350°F (175°C). Line a large baking sheet with parchment paper to prevent sticking.
- In a medium bowl, whisk together the peanut butter, maple syrup, vanilla, and salt until smooth and creamy.
- Add the almond flour to the wet mixture. Stir firmly with a spatula until a thick, cohesive dough forms.
- Scoop 1 tablespoon of dough per cookie. Roll them into smooth balls between your palms and place on the sheet.
- Bake for 10 to 12 minutes. Look for the edges to turn a light golden brown while the centers remain soft.
- Remove from the oven immediately. Gently press a chocolate kiss into the center of each hot cookie.
- Allow the cookies to cool completely on the baking sheet. Almond flour cookies are fragile while warm.
Working with almond flour requires a gentle touch. Here are the key differences you will notice compared to traditional dough.
Texture and Handling Guide:
- Sticky Dough: The dough feels oilier due to almond fat content. Wet your hands slightly if it sticks to your palms.
- Browning Speed: Almond flour burns faster than wheat flour. Watch the oven closely after the 9-minute mark.
- Cooling Time: You must let them set. Moving them while hot will cause them to crumble instantly.
- Storage: These store exceptionally well. The high fat content keeps them moist in an airtight container for up to 5 days.
If you love exploring different cookie textures, you might also enjoy browsing our collection of classic cookie favorites for more baking inspiration.
Baker’s Secrets
- Freeze your kisses: To keep the chocolate from melting into a puddle on the hot cookie, pop your unwrapped chocolate kisses in the freezer while the batch bakes.
- Chill for control: If the dough feels too sticky even with damp hands, refrigerate the mixture for 20 minutes before rolling to let the natural oils firm up.
- Watch the clock: Almond flour browns much faster than wheat flour. Start checking your oven at the 9-minute mark to ensure the edges don’t burn.
Variation 3: The Classic Crunch 1:1 Gluten-Free Blend
For many home cooks, moving away from wheat flour feels intimidating. You might worry about crumbly textures or a gritty mouthfeel.
The good news is that modern baking has evolved significantly. High-quality “measure for measure” blends now mimic all-purpose flour almost perfectly.
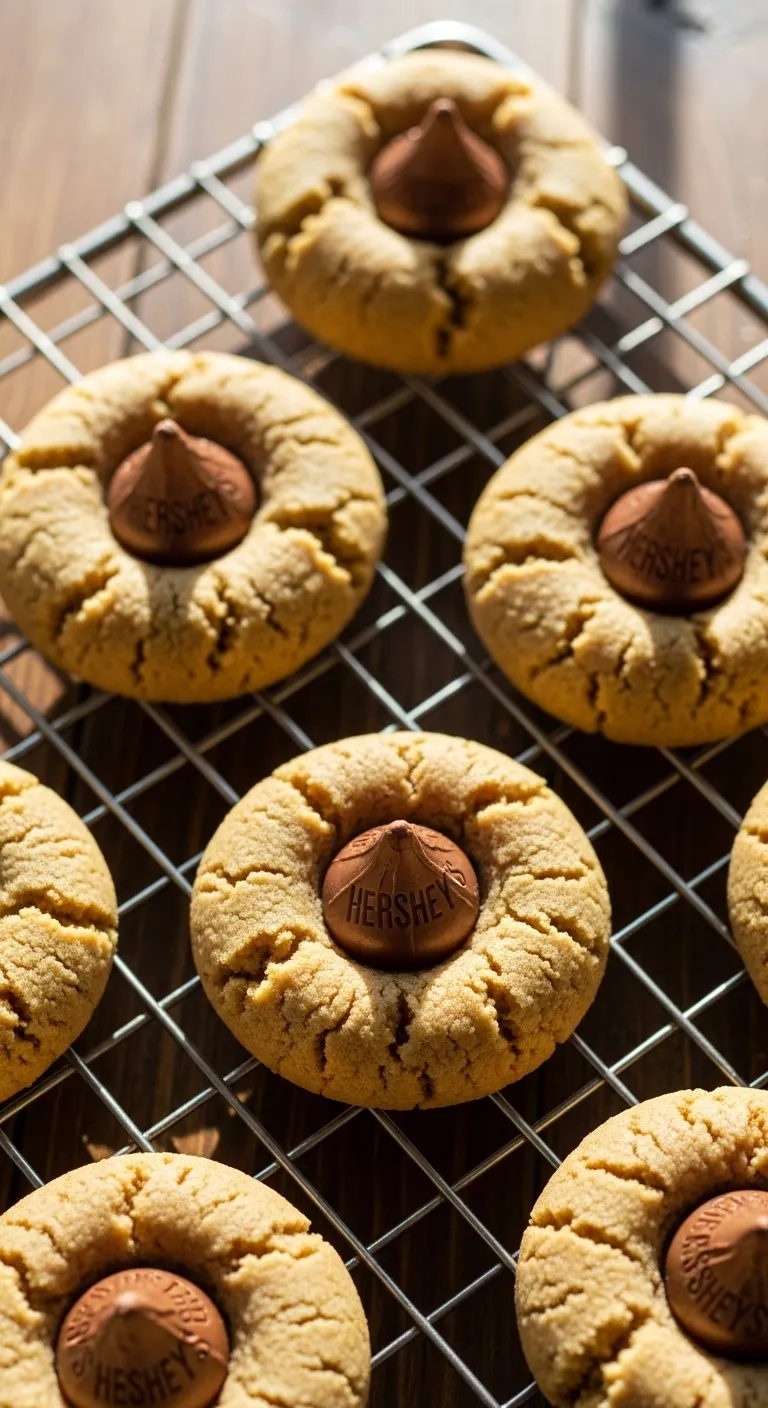
This variation delivers that nostalgic bite you crave. We use a standard gluten-free blend to keep the process effortless and foolproof.
These cookies are perfect for holiday platters alongside our easy homemade gingerbread cookies. Everyone deserves a sweet treat regardless of dietary restrictions.
Inclusive baking means no one has to pass on the dessert plate. Good flavor is a universal language.
The secret lies in hydration. Gluten-free flours often need a little extra moisture or time to absorb liquids fully compared to wheat flour.
We add a splash of almond milk to ensure the dough stays pliable. This prevents the edges from cracking too much when you press the chocolate down.
Enjoy these warm with a beverage enhanced by one of our healthy homemade coffee creamer recipes. It is the ultimate comfort pairing.
When measuring flour, we recommend the ‘spoon and level’ method. Fluff your flour with a spoon, scoop it gently into your measuring cup, then level it off with a straight edge.
Bob’s Red Mill, Baking 101: How to Measure Flour
Be careful not to overbake these. Gluten-free baked goods can dry out quickly if left in the oven too long. They should look slightly underdone.
Ingredients
- 1 cup creamy peanut butter (natural, well-stirred)
- 1 cup coconut sugar (or granulated sugar)
- 1 large egg, room temperature
- 1 tsp pure vanilla extract
- 2 tbsp almond milk (or milk of choice)
- 1 1/4 cups gluten-free 1:1 baking flour blend
- 1/2 tsp baking soda
- 1/4 tsp sea salt
- 1/4 cup granulated sugar (for rolling)
- 24 milk chocolate kisses, unwrapped
Instructions
- Preheat your oven to 350°F (175°C). Line two large baking sheets with parchment paper to prevent sticking.
- In a large mixing bowl, beat the peanut butter and 1 cup of sugar until smooth and creamy. This usually takes about 2 minutes.
- Add the egg, vanilla extract, and almond milk. Mix until fully combined and the batter looks glossy.
- Sprinkle the gluten-free flour, baking soda, and salt over the wet mixture. Stir until a stiff dough forms and no dry streaks remain.
- Scoop the dough into 1-tablespoon sized balls. Roll each ball between your palms until smooth.
- Roll the dough balls in the extra granulated sugar to coat them completely. Place them on the prepared baking sheets, spaced 2 inches apart.
- Bake for 8 to 10 minutes. The cookies should be puffed and just starting to set around the edges. Do not let them brown heavily.
- Remove from the oven and immediately press a chocolate kiss into the center of each hot cookie. The edges will crack slightly.
- Let the cookies cool on the baking sheet for at least 10 minutes before transferring to a wire rack. They are fragile while hot.
Working with gluten-free dough requires a few specific adjustments. Use this checklist to troubleshoot common issues before they happen.
Gluten-Free Cookie Troubleshooting Checklist:
- Gritty Texture: Let the dough rest for 15-30 minutes before baking to allow the rice flour to soften and absorb moisture.
- Spreading Too Much: Your butter or peanut butter may have been too warm. Chill the shaped dough balls for 10 minutes before baking.
- Too Dry/Crumbly: You may have packed the flour into the cup. Use the spoon-and-level method mentioned in the expert tip.
- Gummy Center: The cookies might be underbaked, or the flour blend contains too much xanthan gum. Check your blend’s ingredients.
- Sticking to Pan: Always use parchment paper or a silicone mat. Gluten-free dough is stickier than traditional wheat dough.
GF Baking Secrets
- Let the dough rest. To banish gritty textures, let your dough sit on the counter for 15–30 minutes before rolling. This allows the rice flours to fully absorb the liquids and soften.
- Cool completely. Gluten-free cookies are much more fragile than wheat-based ones when hot. Let them firm up on the baking sheet for at least 10 minutes to prevent them from crumbling.
- Measure lightly. Never scoop the measuring cup directly into the bag. Instead, use the spoon and level method to ensure you don’t accidentally pack in too much flour, which leads to dry, crumbly cookies.
The Texture Comparison: Oat vs. Almond vs. GF Blend Results
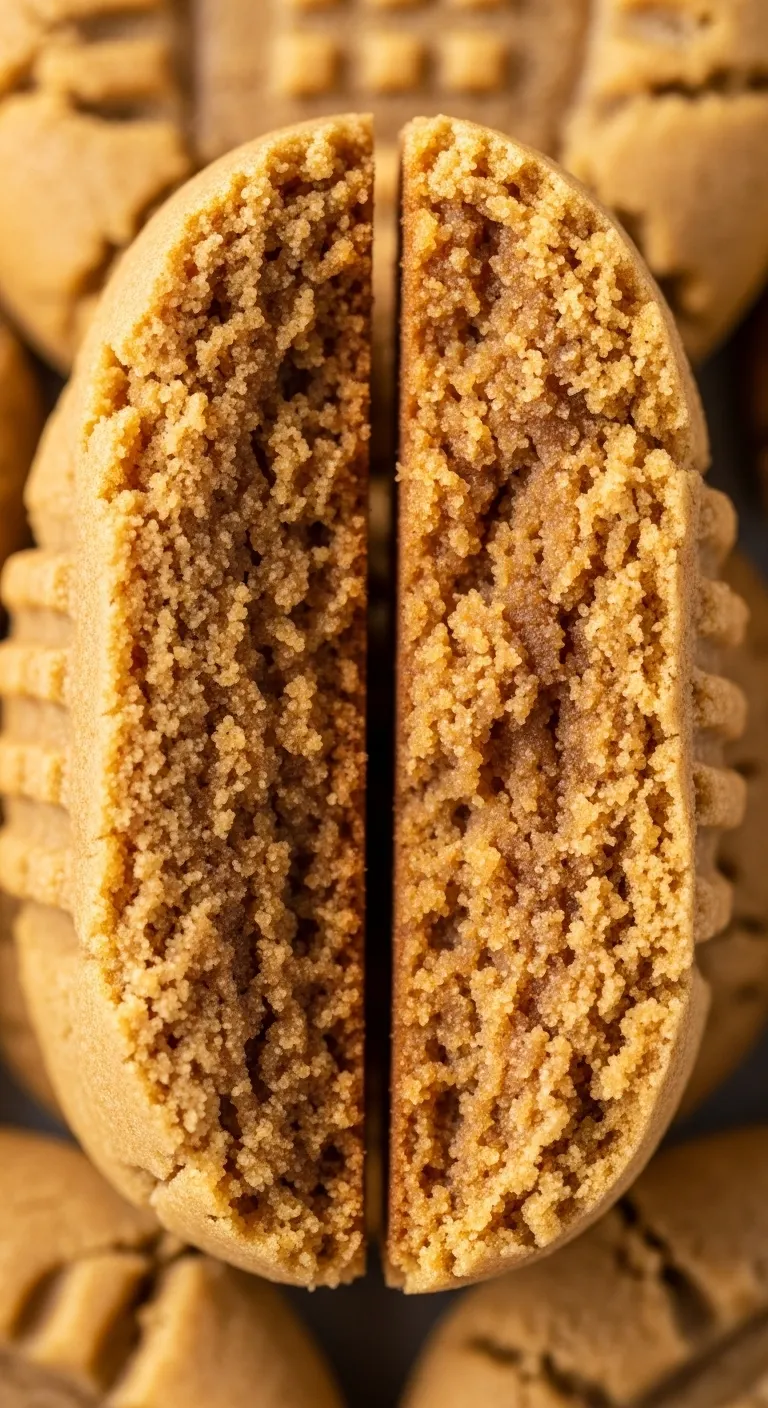
Selecting the right flour dramatically changes your cookie. We tested three popular bases for this recipe to help you choose. Here is how the textures compare.
Each flour type interacts differently with the fats and sugars. The result affects the chew, the spread, and the final mouthfeel of the treat.
The Rustic Chew of Oat Flour
Oat flour creates a dense and chewy crumb. It offers a wholesome, slightly nutty flavor profile. This option mimics the comfort of oatmeal cookies.
The texture is heartier than refined flours. It holds its shape well during baking without spreading too thin. The edges remain soft rather than crisp.
The Tender Crumb of Almond Flour
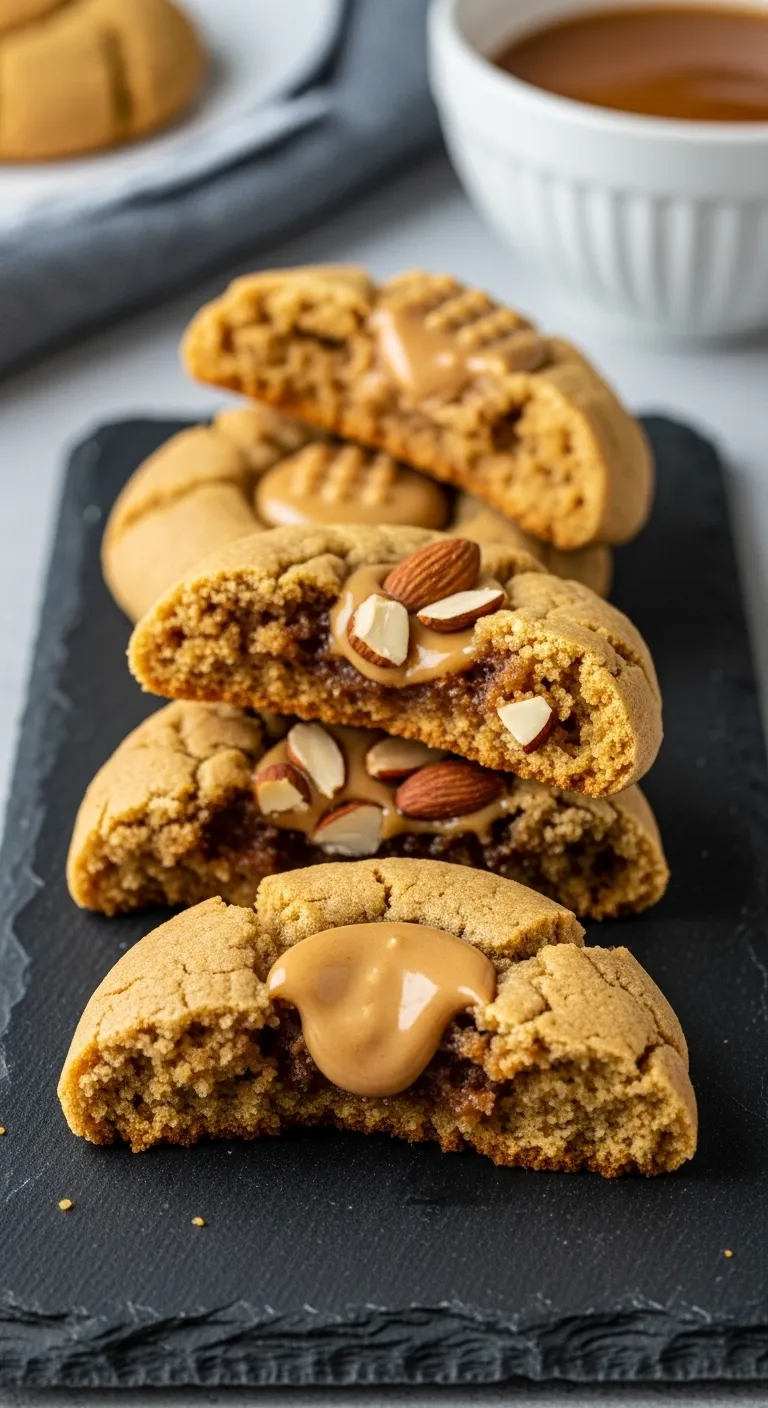
Almond flour yields a melt-in-your-mouth tenderness. The high fat content ensures the cookies stay soft for days. It creates a richer, denser bite.
This flour is excellent for those who enjoy moist treats. It is often the star ingredient in many low-carb recipes due to its macro profile.
Almond flour adds moisture and fat to baked goods, resulting in a tender crumb that doesn’t stale as quickly as wheat-based treats.
Editor, Bon Appétit Test Kitchen
The Classic Snap of GF Blends
A high-quality gluten-free blend offers the classic cookie snap. You achieve crisp edges with a pillowy center. It closely rivals wheat flour results.
This is the best choice for traditionalists. If you love the structure of holiday gingerbread cookies, this blend will satisfy that craving.
Sensory Profile Breakdown
Use this checklist to decide which flour suits your palate best. The ingredients influence more than just nutrition.
- Oat Flour: Best for a chewy, hearty texture with a rustic appearance.
- Almond Flour: Best for a soft, moist center and a rich, nutty taste.
- GF Blend: Best for crispy edges, light interiors, and neutral flavor.
- Spread Factor: Almond flour spreads the most, while oat flour stays thick.
The right flour doesn’t just change the recipe; it defines the memory of the bite.
Baker’s Secret Handbook
- Control the Spread: Since almond flour has a high fat content and spreads the most, try chilling your dough for 30 minutes before baking. This helps the cookies hold their shape and prevents them from flattening out too much.
- The Hybrid Hack: Can’t decide between textures? Try replacing 25% of the oat flour with almond flour. This creates a unique hybrid crumb that balances rustic chewiness with a moist, tender bite.
- Watch Your Edges: Gluten-free blends brown differently than wheat flour. For that perfect snap without burning, rotate your baking sheet halfway through the oven time to ensure an even crisp across all edges.
Essential Recipe: DIY Solid Chocolate Kisses Without Refined Sugar
Store-bought chocolate candies are often packed with stabilizers and refined sugars. Making your own allows you to control exactly what goes into them.
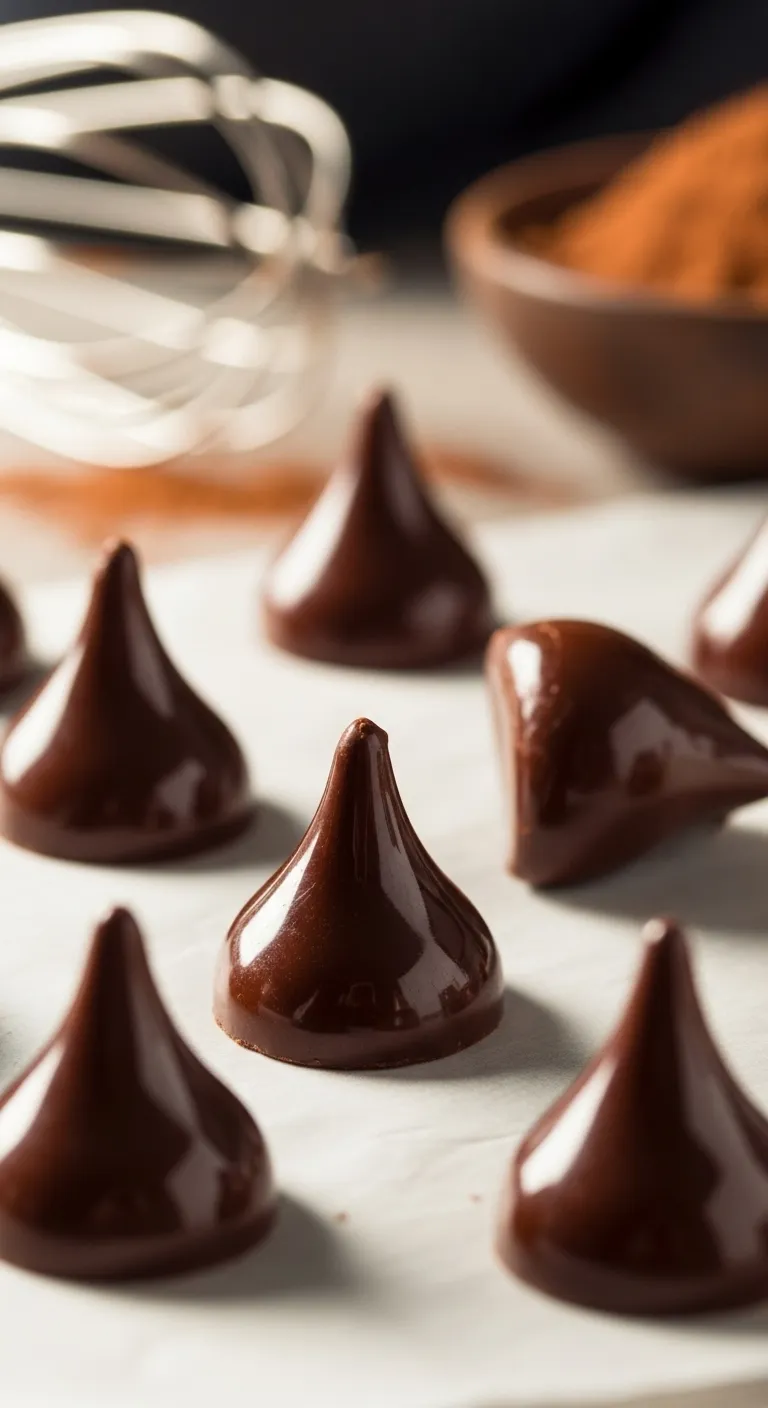
This DIY method creates a rich, dark chocolate kiss that melts on your tongue. It uses cacao butter to ensure the chocolate stays solid at room temperature.
If you enjoy maintaining a low-carb lifestyle, these drops are a perfect addition to your baking rotation. They are simple to mix.
Real food ingredients create flavors that artificial additives simply cannot mimic.
You will need a small silicone mold to get that classic shape. If you lack a mold, you can pipe small mounds onto parchment paper and chill them.
Using cacao butter instead of coconut oil provides a crisp snap. The result is a professional texture that holds up well when pressed into a warm cookie.
Ingredients
- 1/2 cup food-grade raw cacao butter (chopped)
- 1/2 cup unsweetened cacao powder
- 3 tbsp pure maple syrup (or liquid monk fruit for keto)
- 1 tsp pure vanilla extract
- 1 pinch sea salt
Instructions
- Fill a small saucepan with an inch of water and bring it to a gentle simmer. Place a heat-proof glass bowl on top to create a double boiler.
- Add the chopped cacao butter to the bowl. Stir gently and continuously until it is completely melted and golden liquid. Remove from heat.
- Sift the cacao powder directly into the melted butter to prevent lumps. Whisk vigorously until the mixture is glossy and smooth.
- Stir in the maple syrup, vanilla extract, and salt. Whisk again until the sweetener is fully emulsified into the fats.
- Pour the mixture into a silicone kiss mold. Alternatively, let it cool slightly until thickened, then pipe conical mounds onto a parchment-lined tray.
- Place the mold or tray in the freezer for at least 20 minutes to set completely before removing. Keep chilled until ready to use.
Chocolate hates water. Even a tiny drop can cause the melting chocolate to seize and turn into a grainy, dull paste.
Alice Medrich, Bon Appétit
Working with homemade chocolate requires attention to temperature. If the mixture gets too hot, the sweetener may separate from the oil.
To ensure success, use the troubleshooting guide below. It covers common issues home cooks face when making chocolate from scratch.
| Problem | Likely Cause | The Fix |
|---|---|---|
| Grainy Texture | Water entered the bowl | Ensure all tools are completely dry before starting. |
| Separated Oil | Overheating the mixture | Remove from heat immediately and whisk vigorously. |
| Melts too Fast | Used coconut oil | Keep frozen until the very last second before eating. |
| Bitter Taste | Burnt cacao or low sweetener | Add a tiny pinch more salt to balance the bitterness. |
These chocolates add a sophisticated touch to your cookies. The dark chocolate flavor profiles balance the sweet, nutty dough beautifully.
For those interested in other healthy homemade staples, you might enjoy learning how to make healthy coffee creamers to pair with your cookies.
Chocolatier’s Secrets
- No silicone mold? Let the mixture cool until slightly thickened, then transfer to a piping bag. Pipe small dollops onto parchment paper and lift quickly to create that signature conical point.
- To ensure your chocolate is silky smooth rather than grainy, always sift your cacao powder before adding it to the melted butter. This prevents dry pockets that are difficult to whisk out later.
- Water is the enemy of melted chocolate. Ensure your bowl, whisk, and molds are completely dry before starting, as even a single drop can cause the mixture to seize into a paste.
The Final Sweet Note
These healthy peanut butter blossoms prove that treating yourself can be both nutritious and delicious. The balance of salty and sweet is simply irresistible.
Whether you opt for the oat flour variation or another twist, the result is a wholesome cookie perfect for sharing. They are truly a hug in edible form.
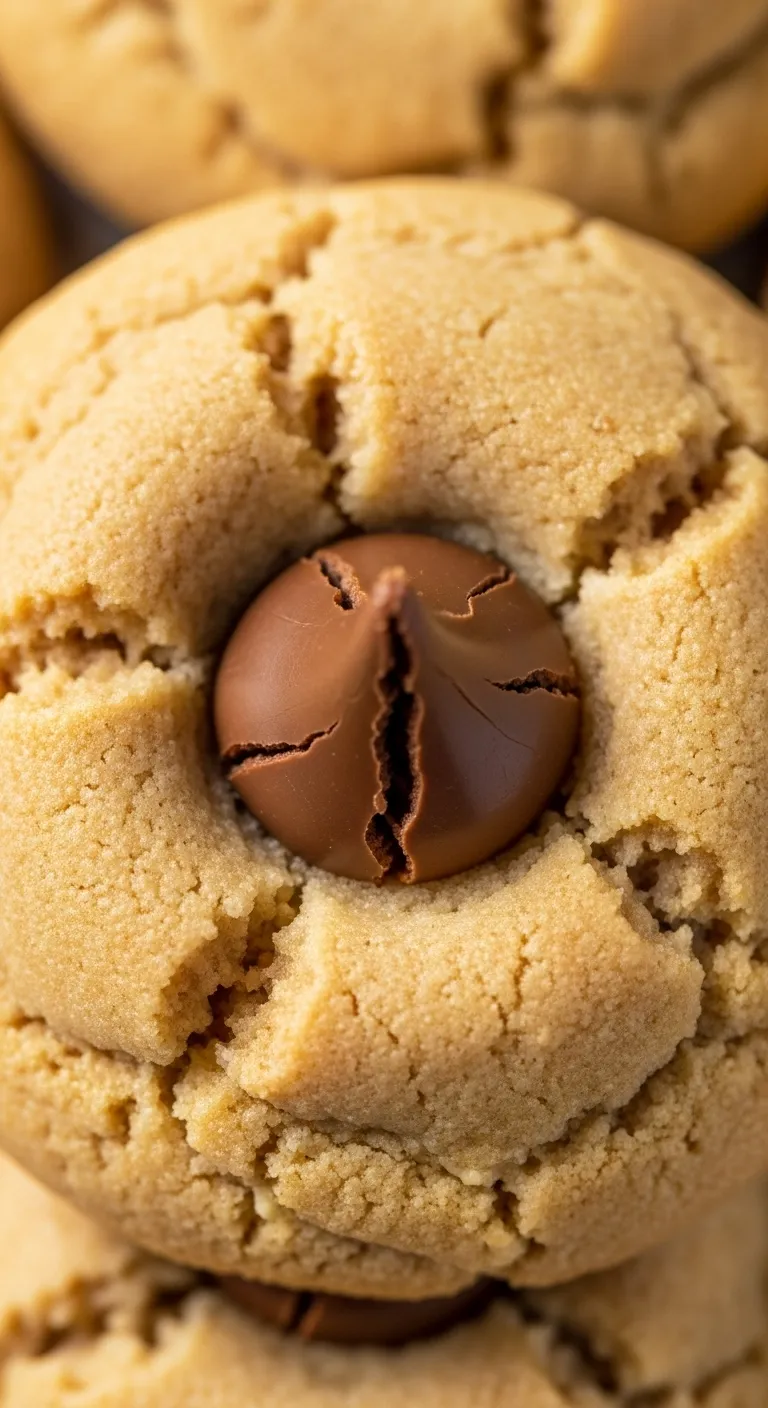
Remember to press that chocolate kiss gently while the cookie is still warm. This creates that iconic look and ensures the chocolate melts just enough.
We hope these treats bring joy to your baking routine. Preheat that oven and get ready to fill your home with the scent of comfort.
Baker’s Questions Answered
Yes! Roll the dough into balls and freeze them on a tray. Once solid, transfer to a bag. Bake from frozen, adding 2 extra minutes to the time.
Oat flour absorbs liquid slowly. If it is dry, let the dough rest for 10 minutes. If it is still crumbly, add a teaspoon of almond milk to bind it.
We recommend natural peanut butter for the best healthy profile. However, standard creamy peanut butter works too, though the cookies will be sweeter.
Wait 2 minutes after baking before pressing the kisses on. Then, place the baking sheet in the freezer for 5 minutes to set the chocolate quickly.