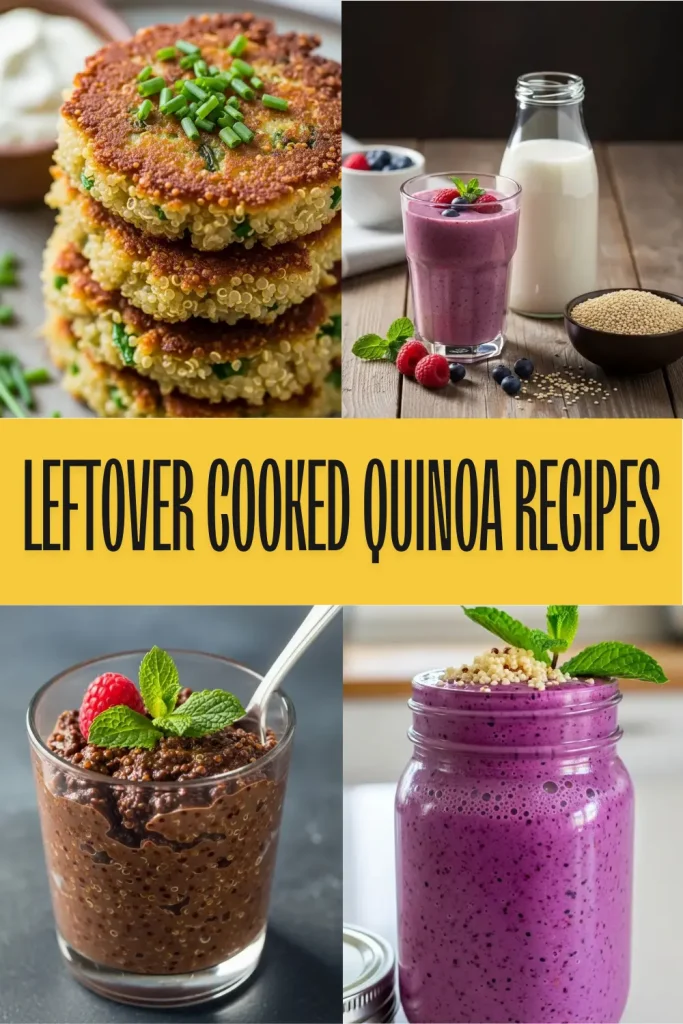
Table of Contents
- The Universal Formula for Savory Quinoa Fritters
- Blended Transformations: Smoothies and DIY Quinoa Milk
- Dessert Applications: Chocolate Pudding and Energy Bites
- The 15-Minute “Fried Rice” Skillet Alternative
- Storage Hacks: How to Freeze and Reheat for Perfect Texture
- From Cold Leftovers to Golden Feasts
- Chef’s Notes & Common Questions
We all face that container of plain cooked quinoa sitting in the refrigerator, wondering how to bring it back to life.
It is a nutritious grain, but it often lacks the excitement we crave in a hearty meal. Rather than reheating it into a mushy side dish, let me teach you how to give it a spectacular second act.
The secret lies in binding the grains with aromatics to create crispy golden cakes that satisfy every savory craving.
Imagine a crust that crunches audibly under your fork, revealing a tender, cheesy center bursting with fresh herbs and lemon. This technique turns a humble pantry staple into a gourmet experience right in your own kitchen.
These patties are perfect for busy parents needing a quick protein fix or foodies wanting to impress at a brunch gathering.
They are healthy enough to fuel your body but indulgent enough to feed your soul. Heat up your favorite skillet, for we are about to make something truly special together.
The Universal Formula for Savory Quinoa Fritters
Leftover quinoa often clumps together after sitting in the fridge overnight. This sticky texture is actually a culinary advantage.
Fresh grains contain too much steam and moisture for frying. Cold quinoa is drier and readily absorbs binding agents like eggs.
The secret to the perfect fritter lies in the ratio. You need enough binder to hold the shape but not so much that it becomes rubbery.
The best meals often come from the humblest leftovers. Cold quinoa is a blank canvas waiting for a golden crust.
We use a simple universal formula for these cakes. This ensures they cook evenly and develop a satisfying crunch every time.
The Golden Ratio: Use 2 cups of grains to 2 large eggs and 1/2 cup of dry binder. This creates a sturdy yet tender crumb.
You can customize the flavors endlessly. Add fresh herbs to the mix if you have them on hand. If you have extra, you can learn how to store fresh herbs for weeks.
For the dry binder, breadcrumbs or flour work well. Almond flour is a great option if you need to keep the recipe gluten-free.
Cheese acts as both a flavor enhancer and a secondary binder. As it melts, it helps fuse the grains together into a cohesive patty.
These fritters pair beautifully with light sides. A fresh green salad is ideal to cut through the richness of the fried cake.
Check out these simple spring mix salad recipes for the perfect accompaniment to your fritters.
If your fritters are falling apart, it’s likely because they’re too wet. Add a little more flour or breadcrumbs to bind the mixture.
The Editors, Bon Appétit
Test Kitchen Intel
- Taste before you bind. Since leftover quinoa is already cooked, season your grain, herb, and cheese mixture before whisking in the raw eggs. This allows you to perfect the salt and acid levels without any food safety risks.
- The squeeze test. Not sure if your ratio is right? Squeeze a small handful of the mixture. If it crumbles immediately, it needs more egg; if it oozes through your fingers, sprinkle in more dry binder.
- Respect the sizzle. Wait until your oil is shimmering hot before dropping in the patties. If the pan isn’t hot enough, the cold grains will absorb the oil rather than crisping up, resulting in a greasy, soggy fritter.
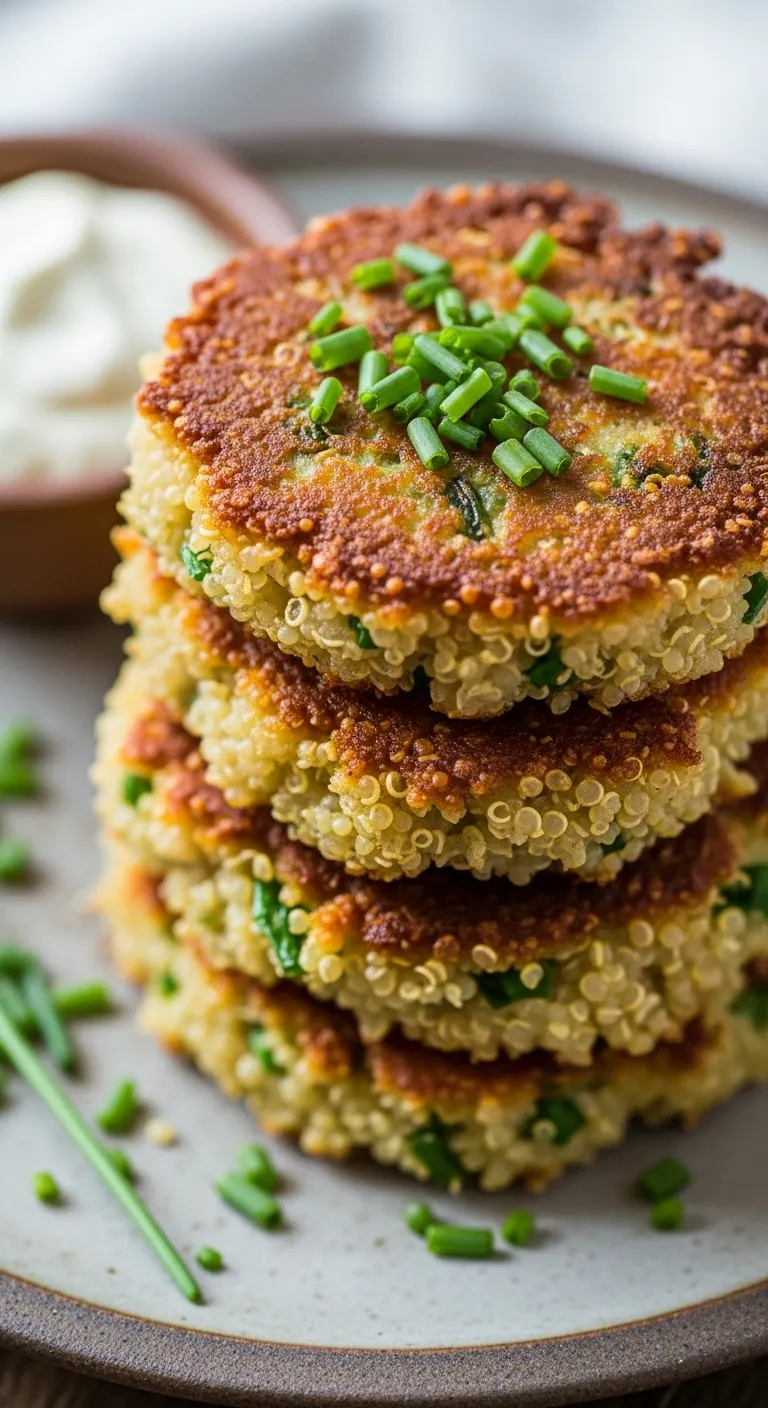
Crispy Garlic & Herb Quinoa Cakes
This recipe transforms plain grains into a savory, crispy delight. It is fast, family-friendly, and packed with protein.
Ingredients
- 2 cups cooked quinoa, chilled
- 2 large eggs, beaten
- 1/2 cup shredded cheddar cheese
- 1/3 cup panko breadcrumbs
- 2 green onions, finely chopped
- 1 clove garlic, minced
- 1/2 tsp salt
- 1/4 tsp black pepper
- 2 tbsp olive oil (for frying)
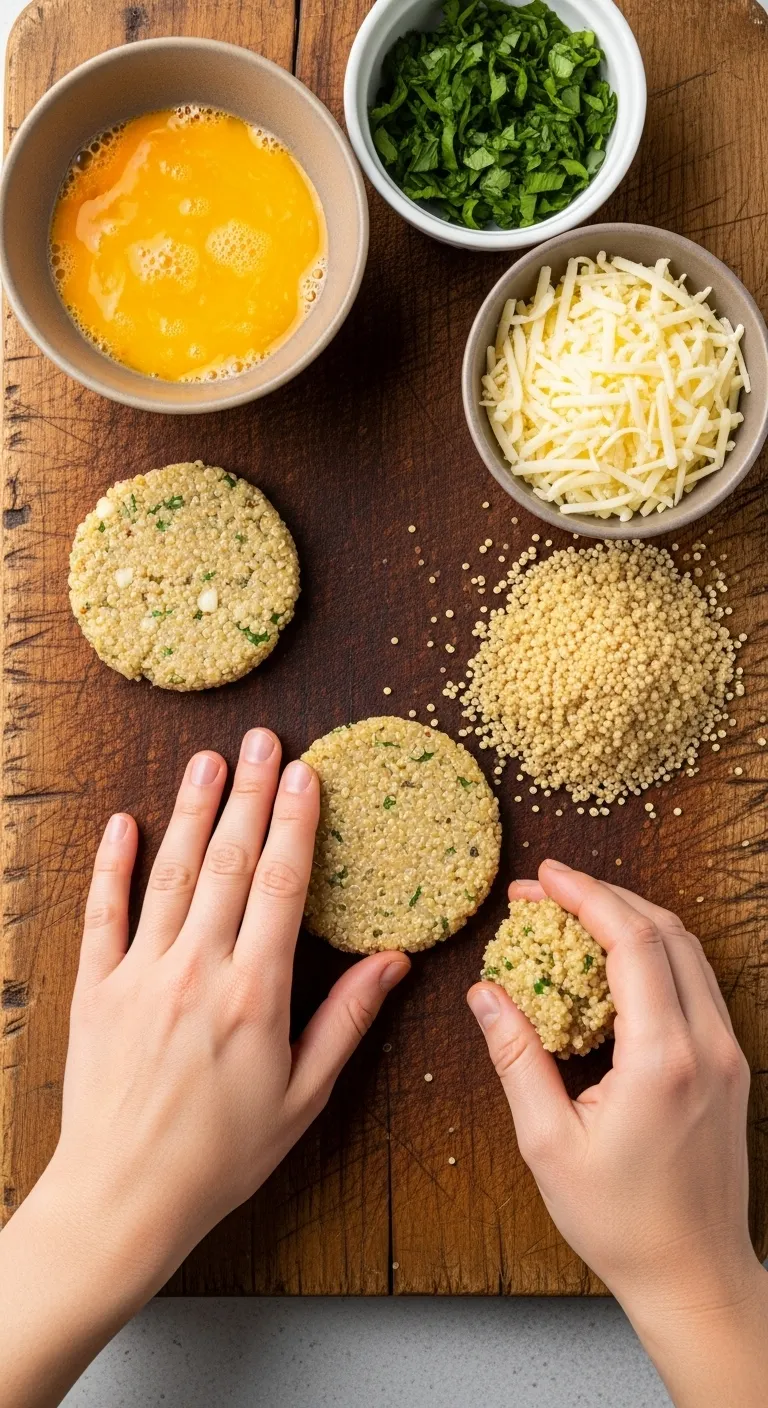
Instructions
- Place the cooked quinoa, beaten eggs, cheese, breadcrumbs, green onions, garlic, salt, and pepper in a large mixing bowl.
- Stir the mixture thoroughly until fully combined. The liquid from the eggs should be evenly distributed throughout the grains.
- Let the mixture sit for 5 minutes. This allows the breadcrumbs to absorb moisture and helps the patties hold their shape.
- Form the mixture into 6 to 8 patties. Press them firmly between your hands to pack the ingredients together tightly.
- Heat the olive oil in a large skillet over medium heat. Wait until the oil shimmers before adding the patties to the pan.
- Cook the fritters for 3 to 4 minutes on one side. Do not move them until a golden-brown crust forms on the bottom.
- Flip gently and cook for another 3 minutes on the second side. Remove from the pan and drain on a wire rack before serving.
Kitchen Confidential
- If the mixture sticks to your hands while shaping, lightly wet your palms with water or oil. This creates a barrier that makes forming perfectly round patties effortless.
- Prevent crumbling by placing the formed raw patties in the fridge for 15 minutes before frying. This helps the binding agents set, ensuring they stay firm during the flip.
- Customize the flavor profile by swapping cheddar for smoked gouda or adding a teaspoon of lemon zest to the mix for a bright, citrusy finish.
Flavor Variations to Try
Once you master the base formula, you can experiment. The neutral taste of quinoa welcomes bold spices and diverse ingredients.
| Style | Key Add-ins | Cheese Pairing |
|---|---|---|
| Mediterranean | Chopped spinach, oregano, lemon zest | Feta Crumbles |
| Spicy Tex-Mex | Corn kernels, cumin, cilantro | Pepper Jack |
| Savory Breakfast | Cooked bacon bits, chives | Sharp Cheddar |
| Italian Caprese | Diced sun-dried tomatoes, basil | Mozzarella Pearls |
Flavor Lab Notes
- Dip It Real Good: Don’t forget the sauce! Pair the Tex-Mex bites with guacamole or salsa, and serve the Caprese style with a side of warm marinara.
- Avoid the Sog: When using water-heavy mix-ins like frozen spinach or fresh tomatoes, always squeeze out excess moisture or sauté briefly before adding to the batter to ensure a crispy crust.
- Spice Check: Since cheese adds salt, taste your quinoa mixture before adding raw eggs to adjust seasoning, or rely on the cheese for that savory kick.
Blended Transformations: Smoothies and DIY Quinoa Milk
Don’t limit this ancient grain to savory dinner bowls. Cooked quinoa is surprisingly neutral and blends into a rich, creamy consistency.
It adds a massive protein boost to morning beverages without the chalky taste of processed powders. This is a game-changer for plant-based diets.
Transform your leftovers into liquid gold. Quinoa is the secret ingredient your morning routine has been waiting for.
Blender Brilliance
- The Ice Cube Hack: Freeze portions of cooked quinoa in an ice cube tray. Pop 2–3 cubes directly into your blender for an instantly thicker, colder smoothie without watering it down like regular ice.
- Flavor Balance: While quinoa is neutral, a drop of vanilla extract or a pinch of cinnamon effectively masks any subtle earthiness in DIY milks.
- Strain or Sustain: For drinking milk, strain the blended mixture through a nut milk bag for a silky texture. For smoothies, skip the strain to keep all the fiber and nutrients intact.
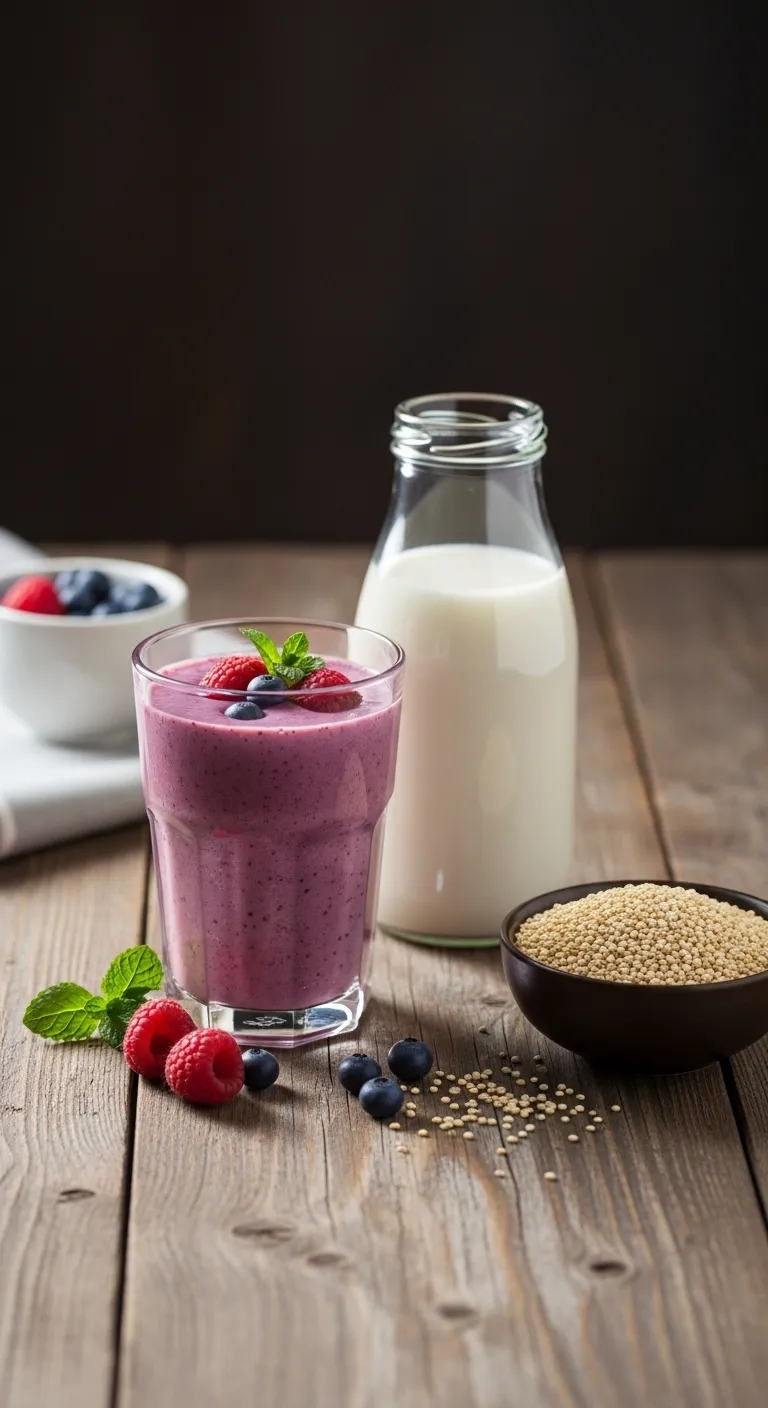
The Powerhouse Smoothie Thickener
Quinoa acts much like rolled oats in a blender. It provides body and thickness while delivering essential amino acids to fuel your day.
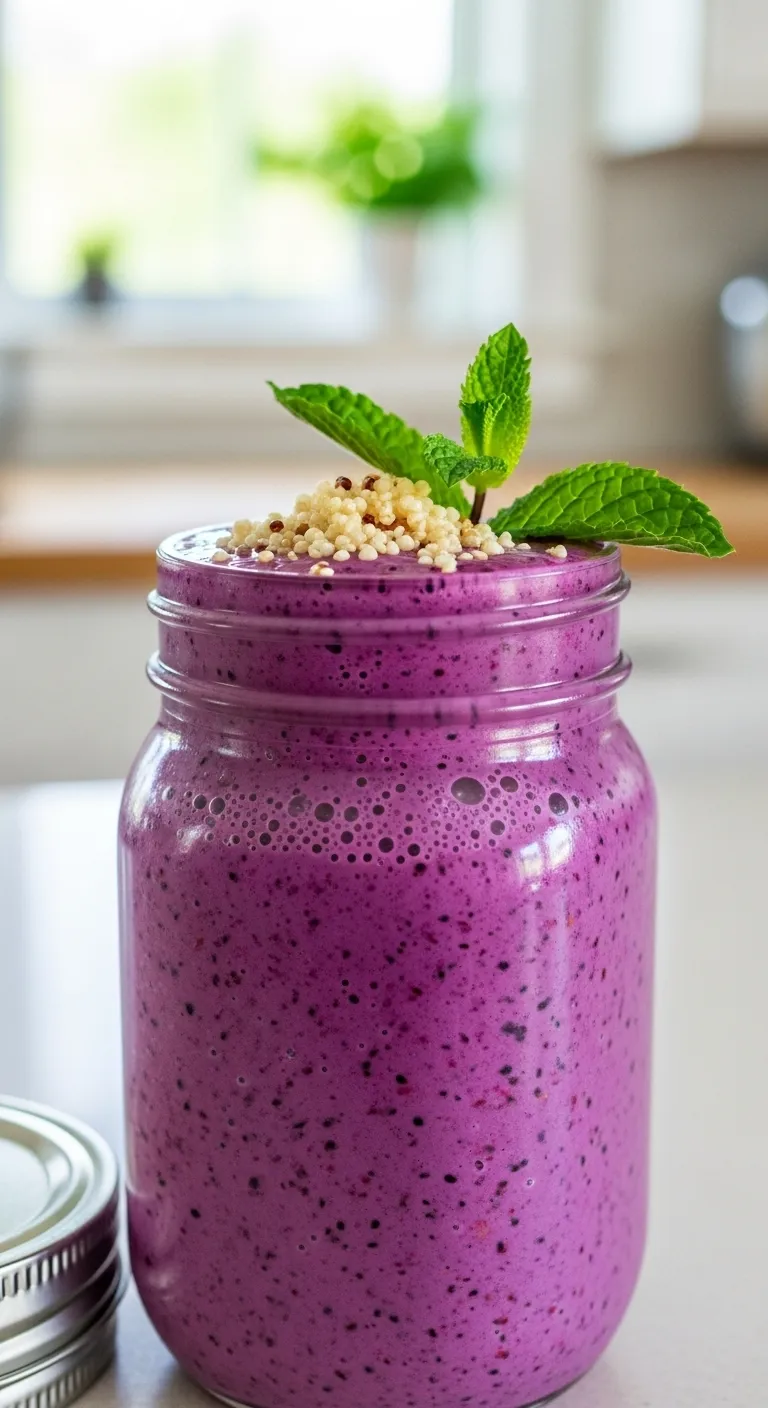
The texture becomes velvety when high-speed blending breaks down the tender seeds. It pairs perfectly with fruits like bananas or mangoes.
If you love prepping ahead, you can check out how to freeze overripe bananas for smoothies to combine with your quinoa.
Here is a simple recipe to get you started with this technique.
Ingredients
- 1/2 cup cooked quinoa, chilled
- 1 cup frozen mixed berries
- 1 ripe banana, fresh or frozen
- 1 cup almond milk (or milk of choice)
- 1 tsp honey or maple syrup
Instructions
- Place the liquid and the banana into the blender first to help the blades catch.
- Add the cooked quinoa and frozen berries on top.
- Blend on high speed for 45 to 60 seconds until completely smooth and purple.
- Pour into a tall glass and garnish with a few whole seeds for texture if desired.
Smoothie Secrets
- Save time by batch-cooking quinoa and freezing it in ice cube trays; simply pop a few cubes into the blender whenever you need a protein boost.
- Using leftovers from dinner? Double-check that your quinoa was cooked in plain water rather than chicken or vegetable broth to avoid a savory clash with your fruit.
- For an ultra-creamy consistency without the dairy, try soaking your cooked quinoa in your milk of choice for 10 minutes before blending.
DIY Quinoa Milk
Store-bought plant milks can be expensive and full of gums. Making your own “quinoa mylk” is an artisanal way to save money and reduce waste.
The flavor is nutty and wholesome. It works beautifully in cereal or even as a base for healthy homemade coffee creamer recipes.
When making grain-based milks, heat is the enemy. It activates starch and creates slime. Always use ice-cold water.
Emma Christensen, The Kitchn
Ingredients
- 1 cup cooked quinoa
- 3 cups ice-cold filtered water
- 1 pinch sea salt
- 1 pitted date (optional for sweetness)
Instructions
- Combine the cooked quinoa, cold water, salt, and date in a high-speed blender.
- Blend on high for exactly 30 seconds. Do not over-blend, or it may become slimy.
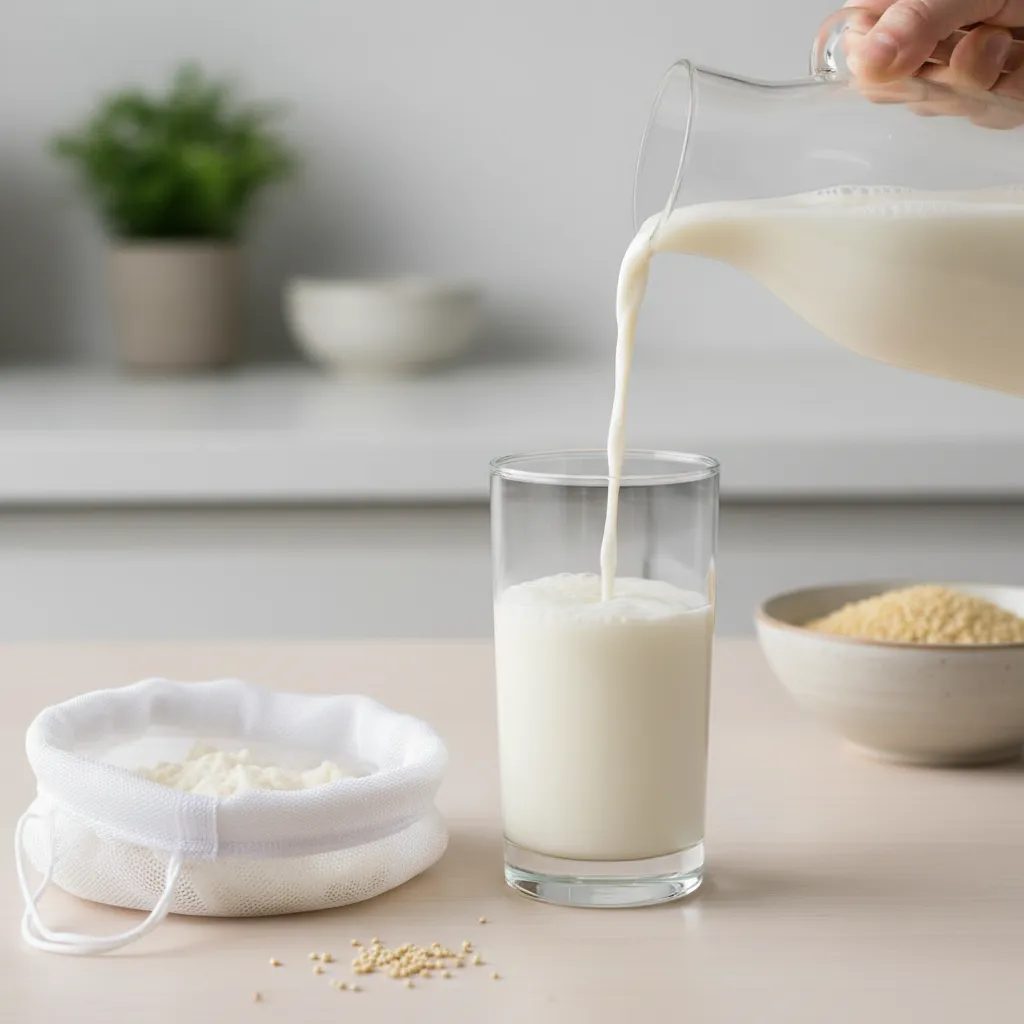
- Place a nut milk bag or fine cheesecloth over a large bowl or pitcher.
- Pour the mixture through the bag and gently squeeze to extract the liquid.
- Transfer the milk to a sealed jar and refrigerate for up to 4 days. Shake well before use.
Pantry Pro Tips
- Don’t toss the pulp! Add the leftover quinoa meal to smoothies, oatmeal, or baking batters for an extra fiber boost.
- To ensure the smoothest texture without the slime, chill your cooked quinoa in the fridge before blending to keep the mixture as cold as possible.
- Craving variety? Add a splash of vanilla extract or a sprinkle of cinnamon during the blending step for a cozy flavor profile.
Troubleshooting Your Blends
Using cooked grains in beverages is new for many cooks. Use this checklist to ensure your results are delicious rather than disappointing.
| Issue | Likely Cause | The Fix |
|---|---|---|
| Gritty Texture | Blender speed too low | Blend longer or soak quinoa in the liquid for 10 mins first. |
| Slimy Mouthfeel | Over-blending / Warm water | Use ice water and limit blend time to 30 seconds. |
| Bland Flavor | No salt or sweetener | Add a pinch of salt and a splash of vanilla extract. |
| Separation | Natural settling | Homemade milk has no emulsifiers. Simply shake before pouring. |
Blender Wisdom
- Chill your grains: Always ensure your cooked grains are completely cooled before blending. Using warm grains is the quickest way to end up with a gummy or slimy texture.
- Strain for silkiness: If your blender struggles with grit even after soaking, pass the final mixture through a nut milk bag or fine-mesh sieve for a coffee-shop quality finish.
- The shake-up: Natural separation is a sign of a pure product! Store your blend in a mason jar with a tight lid so you can easily give it a vigorous shake before every pour.
Dessert Applications: Chocolate Pudding and Energy Bites
Most home cooks never consider moving this wholesome grain to the dessert course. However, its mild nuttiness pairs beautifully with cocoa.
The texture of cooked quinoa can mimic the creaminess of tapioca or rice pudding. It absorbs sweet flavors just as readily as savory stocks.
Hidden nutrition is the sweetest victory for any home cook looking to fuel their family.
Sweet Tooth Secrets
- For an extra velvety chocolate pudding, try blending the cooked mixture until smooth. This creates a mousse-like texture that completely hides the grain structure.
- Boost the flavor profile by cooking your quinoa in coconut or almond milk instead of water. The grain absorbs the rich liquid, creating a decadent base before you even add sugar.
- When making energy bites, ensure your quinoa is fully cooled and dry before mixing with binders like honey or dates to prevent the mixture from becoming too sticky to roll.
High-Protein Chocolate Quinoa Pudding
This recipe relies on a high-speed blender to completely emulsify the grains. The result is a mousse-like texture that rivals dairy-based desserts.
It is naturally gluten-free and packed with protein. This makes it an excellent choice for a post-dinner treat that won’t cause a sugar crash.
Ingredients
- 1 1/2 cups cooked quinoa, chilled
- 1 cup full-fat coconut milk (or oat milk)
- 1/3 cup unsweetened cocoa powder
- 1/3 cup maple syrup or agave nectar
- 1 teaspoon pure vanilla extract
- 1 pinch sea salt
Instructions
- Place the cooked quinoa, milk, cocoa powder, sweetener, vanilla, and salt into a high-speed blender.
- Blend on high for 2 to 3 minutes until the mixture is completely smooth and no grain texture remains.
- Taste the mixture and adjust the sweetness if necessary.
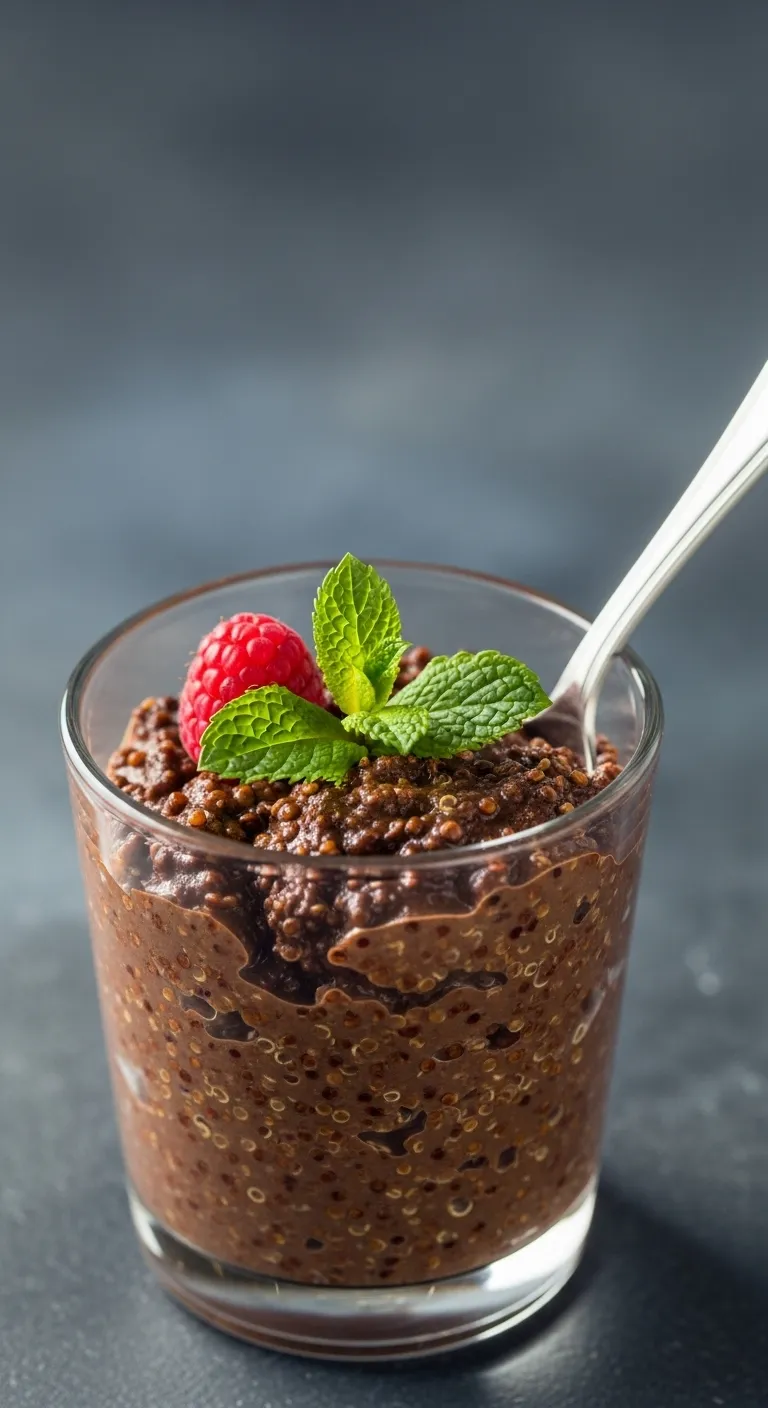
- Pour the pudding into small serving jars or ramekins.
- Refrigerate for at least 2 hours to allow the pudding to set and the flavors to meld.
- Garnish with fresh berries or coconut flakes before serving.
If you have a sweet tooth, you might also enjoy exploring our list of 25 Sweet Treats for Your 500 Days of Summer for more inspiration.
Chef’s Notes
- Overcook your grains. For the silkiest texture, cook your quinoa until it is slightly mushy rather than fluffy. This helps it emulsify completely in the blender, ensuring a smooth, mousse-like consistency without any grit.
- Boost the chocolate. Add a teaspoon of instant espresso powder or coffee granules to the mix. This won’t make the pudding taste like coffee, but it significantly deepens the richness of the cocoa.
- Meal prep magic. Cook a large batch of plain quinoa at the start of the week. You can use half for savory salads and save the rest to whip up this dessert in under 5 minutes whenever a craving strikes.
No-Bake Quinoa Energy Bites
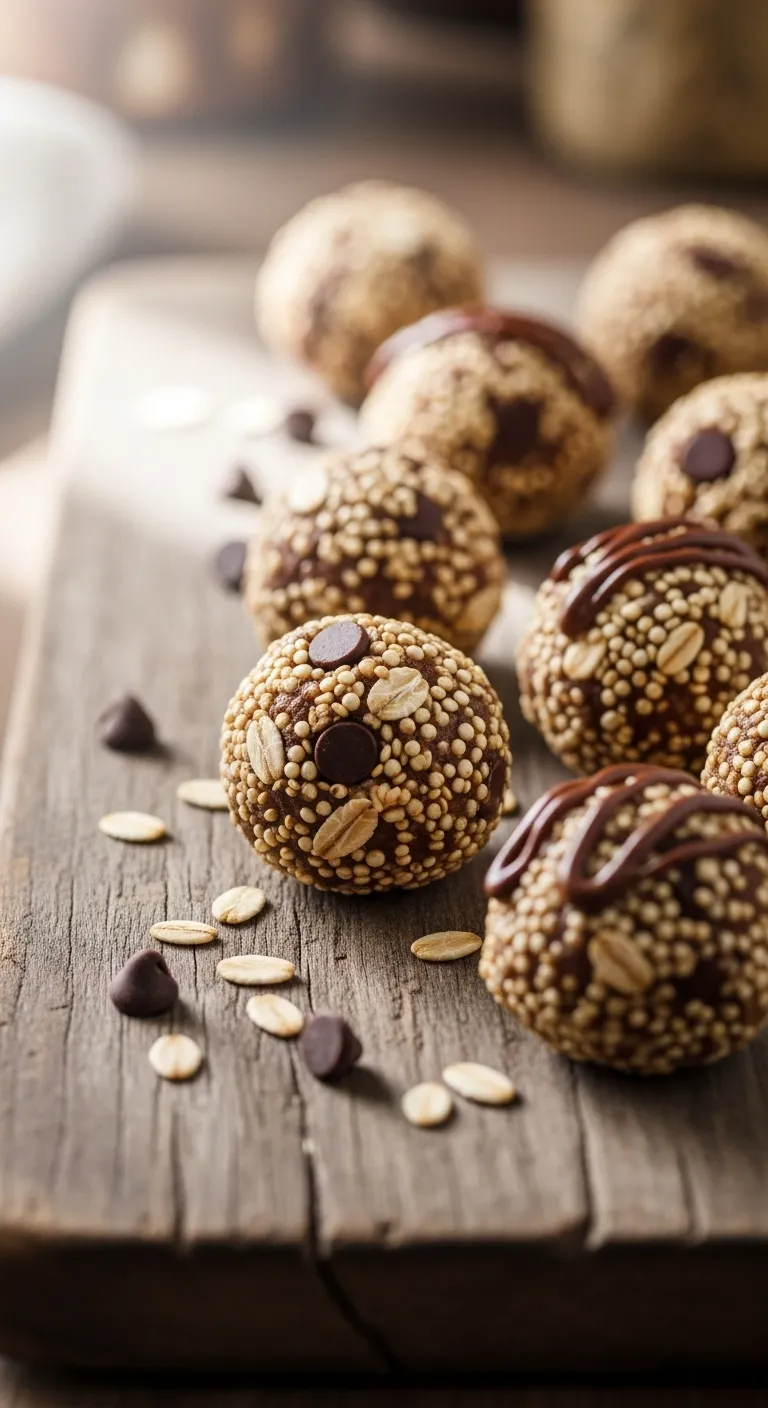
These bites are perfect for using up leftover chilled grains. They hold their shape well and provide sustained energy throughout the day.
The quinoa adds a delightful “pop” of texture that contrasts with creamy nut butter. It is a fantastic alternative to plain granola bars.
Quinoa is a complete protein… making it an excellent addition to vegetarian and vegan diets.
Medical News Today, Health Benefits of Quinoa
You can use honey or maple syrup as a binder. For a natural fruit option, learn how to freeze overripe bananas for smoothies and use the mashed fruit here.
Ingredients
- 1 cup rolled oats
- 1/2 cup cooked quinoa
- 1/2 cup creamy peanut butter or almond butter
- 1/3 cup honey
- 1/4 cup mini dark chocolate chips
- 1/4 cup flaxseeds (optional)
Instructions
- In a large mixing bowl, combine the oats, cooked quinoa, nut butter, honey, chocolate chips, and flaxseeds.
- Stir the mixture until all ingredients are thoroughly combined and sticky.
- Place the bowl in the refrigerator for 20 to 30 minutes to make the dough easier to handle.
- Scoop about 1 tablespoon of the mixture and roll it firmly into a ball between your palms.
- Repeat with the remaining mixture. Store the bites in an airtight container in the fridge for up to one week.
Choosing the right sweetener can change the texture of your dessert. Here is a quick guide to pairing sweeteners with quinoa bases.
| Sweetener Type | Best Used For | Flavor Note |
|---|---|---|
| Maple Syrup | Puddings & Mousses | Adds rich, caramel undertones. |
| Medjool Dates | Energy Bites | Acts as a sticky binder. |
| Honey | Granola Bars | Floral notes that pair with oats. |
| Mashed Banana | Baked Muffins | Adds moisture and density. |
Snack Prep Hacks
- Sticky fingers solution: Lightly dampen your palms with water or a tiny drop of coconut oil before rolling the bites to keep the mixture from clinging to your skin.
- For a richer depth of flavor, try lightly toasting the rolled oats in a dry skillet for 2–3 minutes until fragrant before adding them to the mixing bowl.
- Watch the temperature: Ensure your cooked quinoa is completely chilled before mixing; adding warm grains can melt the dark chocolate chips and alter the texture of the oats.
The 15-Minute “Fried Rice” Skillet Alternative
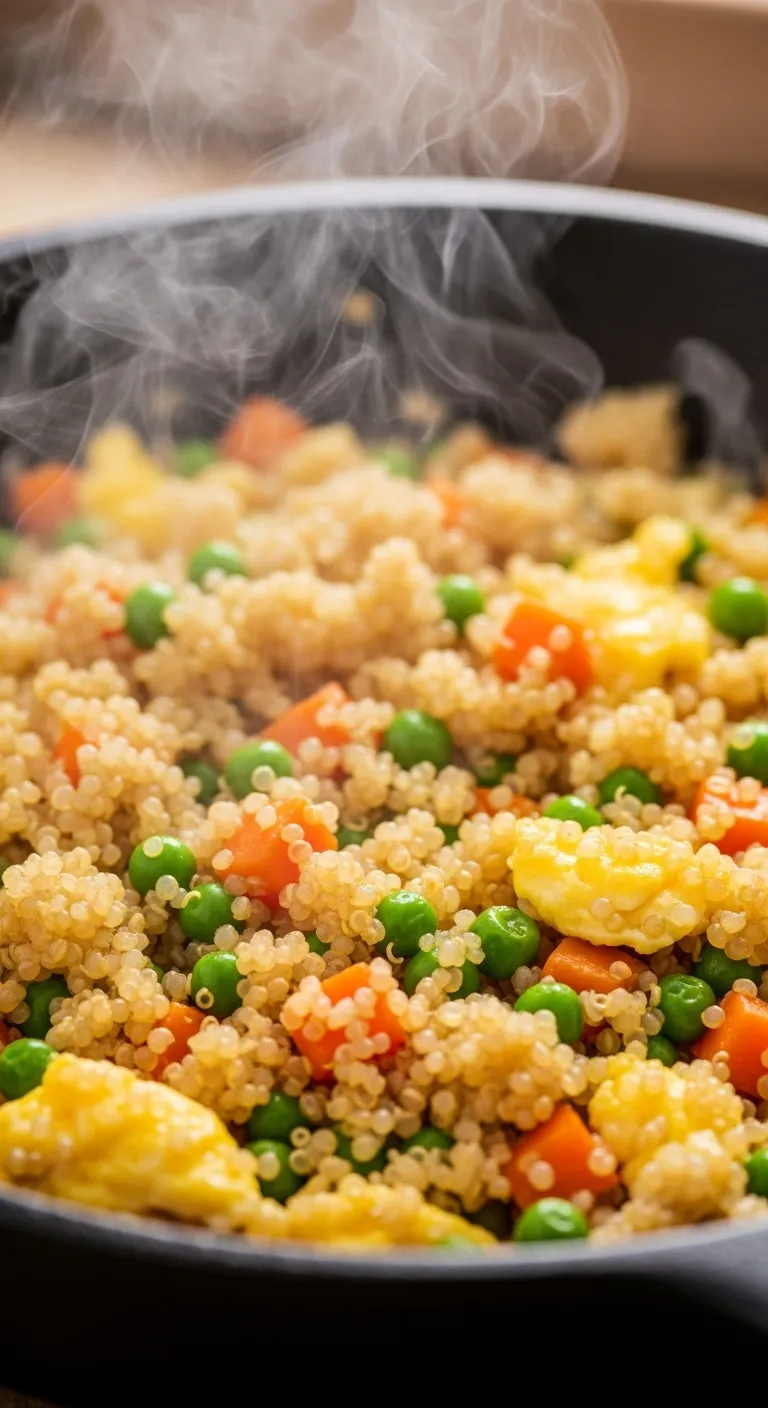
One of the best ways to revive cold quinoa is treating it exactly like day-old rice. The grains are already dry, which is the secret to crispness.
This dish comes together in a flash. You get the savory satisfaction of takeout without the sodium overload or the wait time.
The texture of quinoa crisps up beautifully in a hot pan. It offers a nutty crunch that standard white rice simply cannot match.
If you enjoy high-heat cooking techniques, this method rivals even the best spicy stir-fry recipes for flavor intensity.
The most important rule of fried rice is that you cannot use hot, freshly cooked rice. It will turn into mush.
J. Kenji López-Alt, Serious Eats
Ingredients
- 2 cups Cooked quinoa (chilled)
- 1 tbsp Sesame oil (or neutral oil)
- 2 large Eggs, lightly whisked
- 1/2 cup Frozen peas and carrots
- 2 cloves Garlic, minced
- 1 tsp Fresh ginger, grated
- 2 tbsp Soy sauce (or tamari for gluten-free)
- 1/4 cup Green onions, sliced
Instructions
- Heat the oil: Place a large skillet or wok over medium-high heat. Add the sesame oil and swirl to coat the bottom evenly.
- Sauté aromatics: Add the minced garlic and ginger. Cook for 30 seconds until fragrant, being careful not to burn them.
- Crisp the quinoa: Add the cold quinoa to the pan. Press it down into a flat layer with a spatula. Let it cook undisturbed for 2 minutes.
- Stir and vegetable: Stir the quinoa to redistribute the crispy bits. Add the frozen peas and carrots, tossing for another 2 minutes.
- Scramble the eggs: Push the mixture to the side of the pan to create a well. Pour the whisked eggs into the empty space.
- Combine: Scramble the eggs until just set, then fold them into the rest of the quinoa mixture.
- Season: Drizzle the soy sauce over the dish and toss to coat every grain evenly. Remove from heat immediately.
- Garnish: Sprinkle with fresh green onions and serve hot.
The best fried rice doesn’t use rice at all, it uses the golden, protein-packed crunch of leftover quinoa.
You can easily adapt this recipe to fit your dietary needs. It works perfectly as one of our Meat-Free Monday recipes if you skip the meat.
This template is incredibly flexible. You can swap the flavor profile entirely by changing just a few key seasonings.
| Flavor Profile | Key Seasonings | Mix-In Suggestions |
|---|---|---|
| Classic Asian | Soy sauce, sesame oil, ginger | Snap peas, baby corn, scrambled egg |
| Spicy Kimchi | Gochujang, kimchi juice | Chopped kimchi, fried egg, nori |
| Tropical Thai | Fish sauce, lime juice, chili | Pineapple chunks, cashews, cilantro |
| Mediterranean | Olive oil, lemon zest, oregano | Spinach, feta cheese, Kalamata olives |
Cooking the quinoa in batches helps maintain the heat in the pan. Crowding the skillet often leads to steaming rather than frying.
This meal proves that healthy eating does not require hours of prep. It only requires smart use of the ingredients you already have.
Skillet Secrets
- No leftovers? No problem. Spread freshly cooked quinoa onto a baking sheet and pop it in the freezer for 10–15 minutes to dry out the surface moisture for that essential crispy texture.
- For a smoky, restaurant-style flavor, drizzle your soy sauce around the perimeter of the hot pan rather than directly on the grains to let the sugars caramelize instantly.
Storage Hacks: How to Freeze and Reheat for Perfect Texture
Nothing ruins a nutritious meal faster than mushy grains. Proper storage is the secret to maintaining that signature pop in every bite.
You can easily extend the life of your batch cooking. By mastering a few simple techniques, you ensure your leftovers taste just as fresh as day one.
The secret to meal prep isn’t just the cooking; it’s keeping the texture alive through proper storage.
Texture Savers
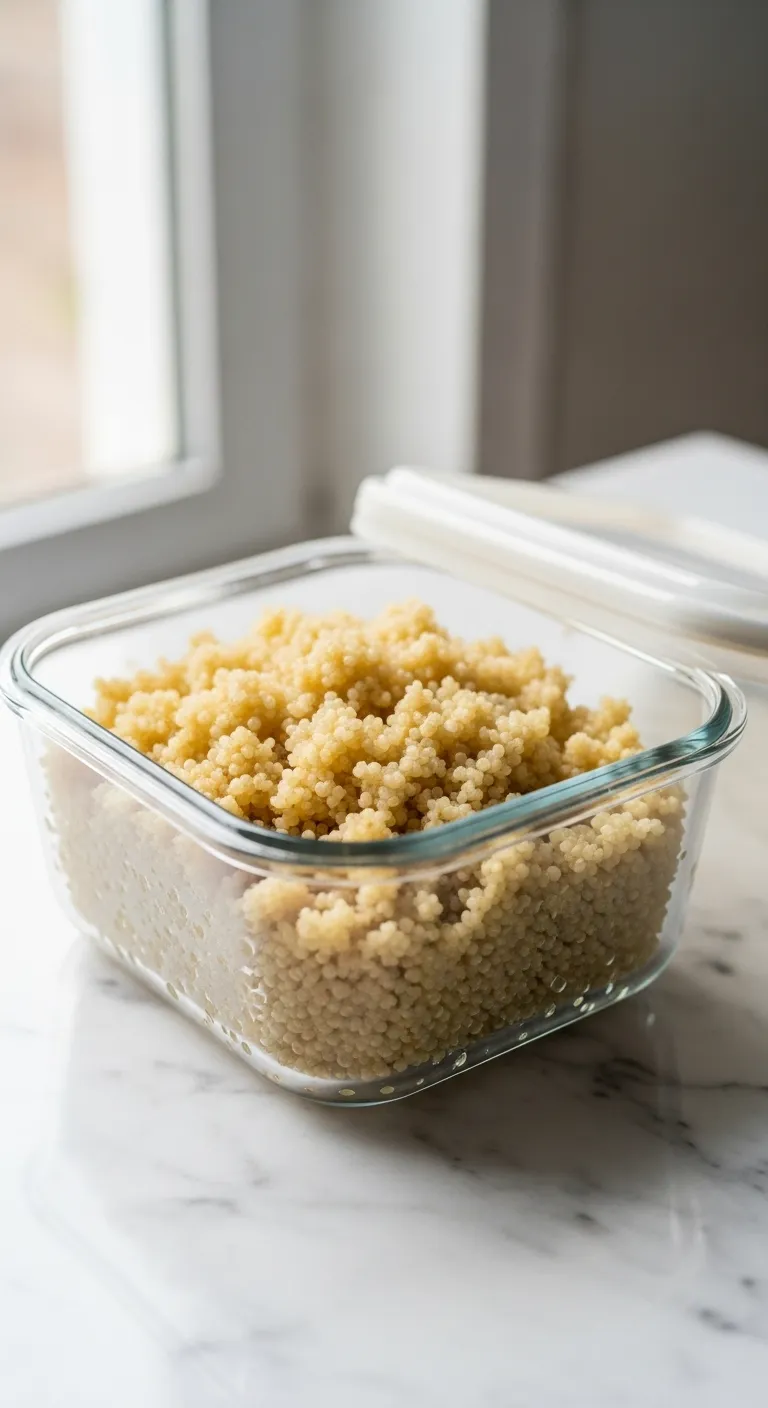
- Cool completely before sealing! Trapped steam creates condensation, which is the number one cause of soggy leftovers.
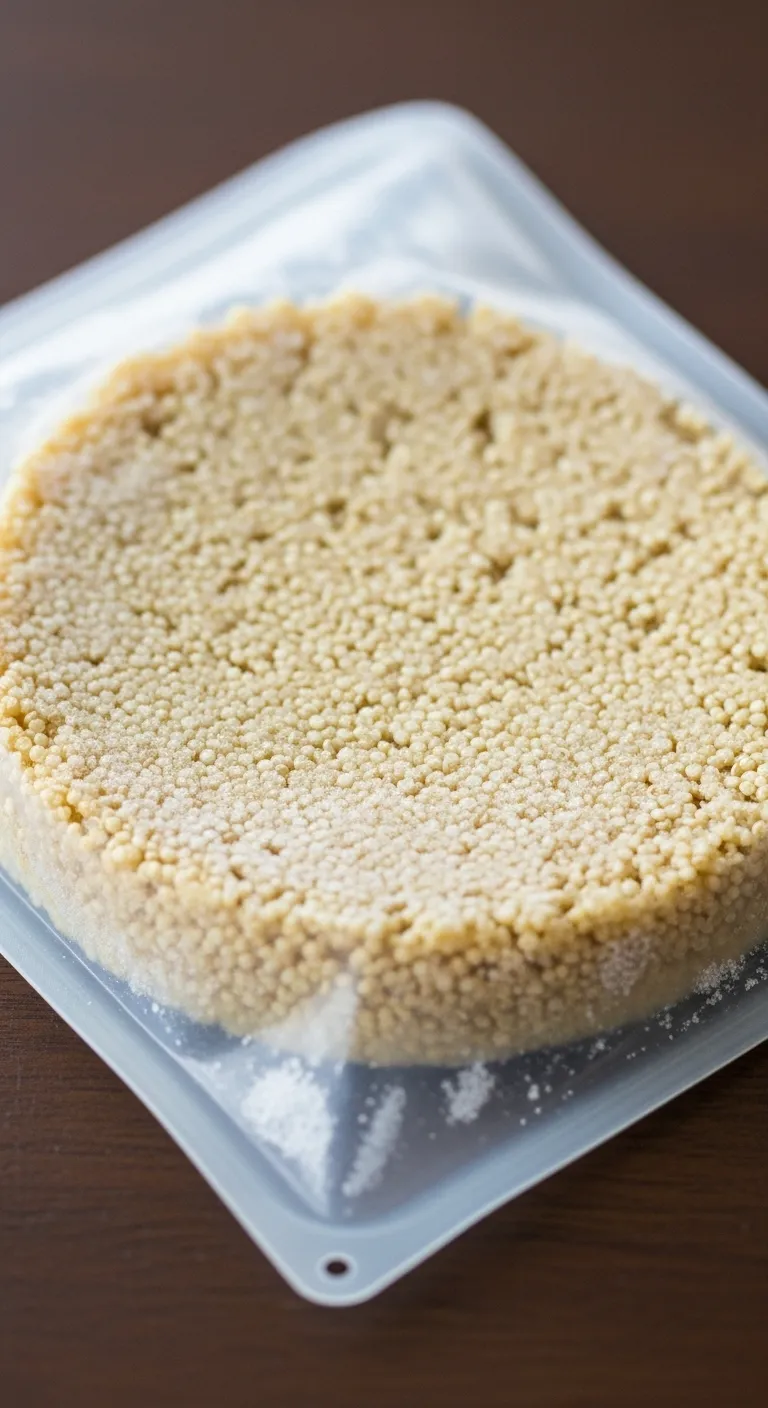
- Freeze flat to save space. Place cooked grains in a freezer bag, press out the air, and lay flat. This lets you snap off a chunk whenever you need a quick side without thawing the whole batch.
- Revive with moisture. When reheating, add a splash of water or an ice cube, then cover. The steam re-hydrates the grains for that perfect fluffy texture.
Freezing Quinoa for Long-Term Use
Freezing is the best way to preserve texture. However, simply tossing a hot bag into the freezer will result in a solid, icy brick.
Follow this checklist to freeze your grains perfectly. This method prevents clumps and makes measuring out portions much easier later.
- Cool Completely: Spread the cooked grains on a baking sheet. Let them reach room temperature to prevent condensation and ice crystals.
- Portion Control: Divide the cooled grains into cup-sized measurements. This makes it faster to grab exactly what you need for a recipe.
- Flatten the Bags: Place the grains in freezer bags and press them flat. This saves space and ensures they thaw evenly and quickly.
- Label Clearly: Use a permanent marker to date the bag. While it lasts a long time, it is best used within three to six months.
If you enjoy organizing your kitchen, you might also like learning how to store fresh herbs for weeks alongside your grains.
Cooked whole grains can be refrigerated for 3 to 4 days or frozen for up to 6 months.
Oldways Whole Grains Council, Quinoa: March Grain of the Month
Freezer Mastery
- The Flash Freeze Trick: Pop the baking sheet of cooled quinoa into the freezer for 30 minutes before bagging. This freezes the grains individually so they don’t stick together, allowing you to scoop out just a handful later.
- Flavor Lock: Cook your large batch in vegetable or chicken broth instead of water. Freezing locks in that savory flavor, making your future quick meals taste like they simmered all day.
- Skip the Defrost: For soups, stews, or warm grain bowls, you do not need to thaw the bag first. Simply toss the frozen quinoa directly into your hot pan or pot; it heats through in under 2 minutes.
Reheating Without Drying Out
Reheating usually strips moisture from starch. To avoid dry, crunchy grains, you must reintroduce a small amount of liquid during the process.
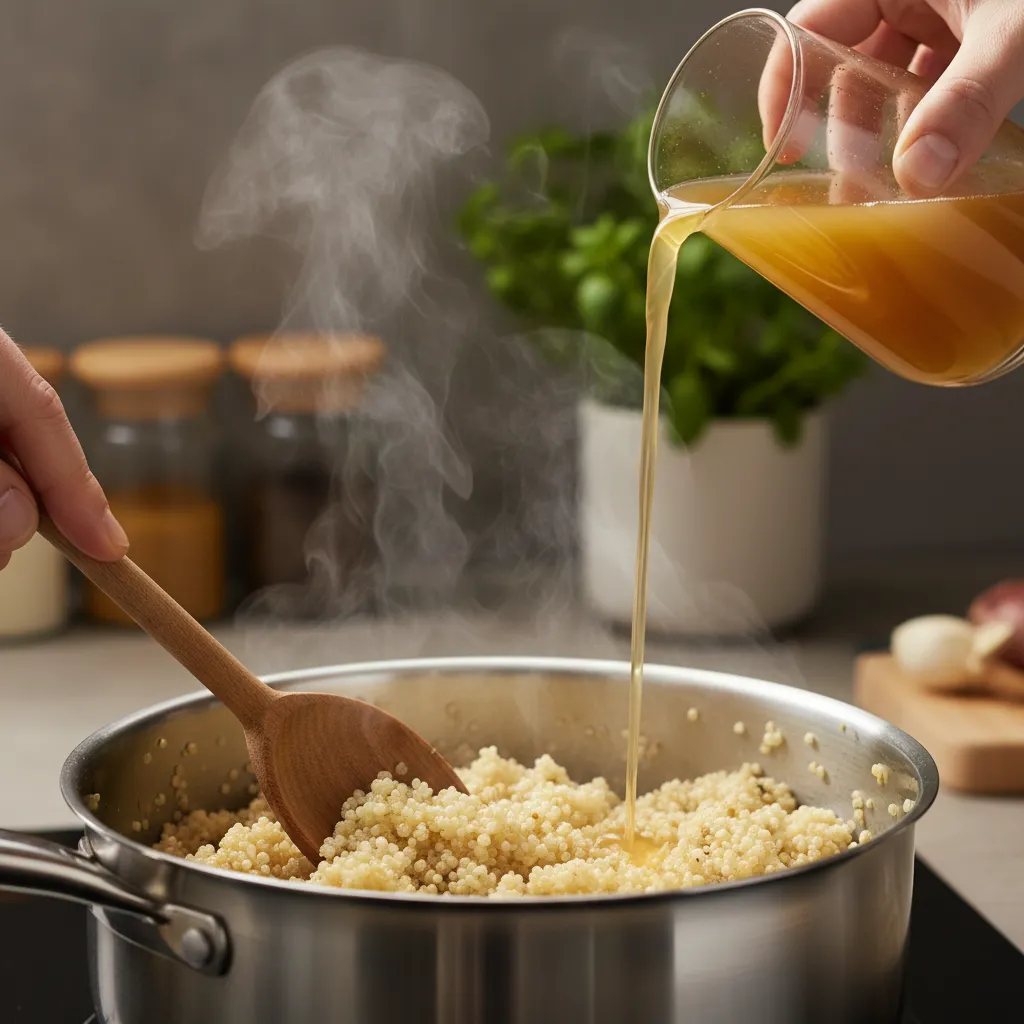
We recommend using a flavorful liquid. While water works, adding a splash of vegetable or chicken liquid adds depth. Learn about stock vs. broth differences to choose the best option.
Different appliances yield different results. Choose the method that best fits your time constraints and the final dish you are preparing.
| Method | Time Needed | Liquid Added | Best Result For |
|---|---|---|---|
| Microwave | 1-2 Minutes | 1 tbsp / cup | Quick lunches & bowls |
| Stovetop | 4-5 Minutes | 2 tbsp / cup | Stir-frys & side dishes |
| Steamer | 5-7 Minutes | None (in pot) | Salads & fluffiest texture |
| Oven | 10-15 Minutes | 1 tbsp / cup | Casseroles & bakes |
Pro Tip: If using the microwave, cover the bowl with a damp paper towel. This creates a mini steam chamber that revitalizes the kernels.
Second-Day Secrets
- The Ice Cube Trick: For microwave reheating, place a single ice cube on top of the grains. It generates consistent steam to rehydrate the starch perfectly without leaving a puddle at the bottom of the bowl.
- Break Before Heating: Cold grains often harden into clumps. Use a fork to gently separate them before applying heat or liquid to ensure every kernel warms evenly.
- Seal with Fat: When adding your liquid, stir in a teaspoon of olive oil or butter. This coats the grains to lock in moisture and adds a glossy, fresh-cooked finish.
From Cold Leftovers to Golden Feasts
Don’t look at that tub of cold quinoa as just yesterday’s side dish. It is the start of a brand new culinary adventure.
Whether you fry it into crispy fritters or toss it into a vibrant salad, the texture of chilled grains is actually unmatched.
Experiment with your favorite herbs and cheeses. The “golden ratio” ensures success, but your palate defines the flavor.
Next time you cook grains, make extra on purpose. Future you will thank you for the delicious head start on dinner.
Chef’s Notes & Common Questions
Yes! Cook them fully, let them cool completely, then freeze in a single layer. Reheat in a skillet or air fryer to restore that fresh crunch.
The mixture is likely too wet. Add another tablespoon of flour or breadcrumbs and let it sit for five minutes to bind properly.
Absolutely. Swap the garlic and onions for cinnamon, sugar, and a splash of vanilla. They make a fantastic breakfast served with maple syrup.
Quinoa is naturally gluten-free. Just ensure your binding agent (like breadcrumbs) is also gluten-free, or substitute with almond flour.