
Table of Contents
- Instant Fixes for 1-2 Yolks: Cured Yolks, Coffee, and Morning Oats
- The Meringue Ratio: Using 3-4 Yolks for Lemon Curd and Crème Brûlée
- High-Volume Solutions: 5+ Yolks for French Buttercream and Challah Bread
- Savory Sauces for Any Count: Foolproof Hollandaise, Carbonara, and Mayo
- The Science of Storage: How to Freeze Yolks Without Gelatinization
- The Golden Finale: Zero Waste, Maximum Flavor
- Curiosities from the Kitchen
There is nothing quite like the airy perfection of a crisp meringue or a fluffy pavlova.
However, staring at a bowl of bright, golden egg yolks can feel like a culinary puzzle waiting to be solved.
Do not let those nutrient-dense gems go to waste. Instead, view them as the starting point for your next masterpiece.
They are the secret to richness that transforms a simple dish into something unforgettable.
From the silky texture of a classic custard to the glossy sheen of a carbonara sauce, egg yolks are the ultimate emulsifier and thickener.
They add a luxurious mouthfeel that whole eggs simply cannot replicate.
Whether you are craving a savory dinner or a decadent dessert, these leftovers offer endless possibilities.
Learning to utilize every part of the egg is a hallmark of a skilled and mindful cook.
In this guide, we will explore creative and delicious ways to give those yolks a new purpose.
You will discover recipes that are quick enough for a weeknight yet impressive enough for a dinner party.
Let us turn that leftover ingredient into a meal that celebrates flavor and brings everyone to the table.
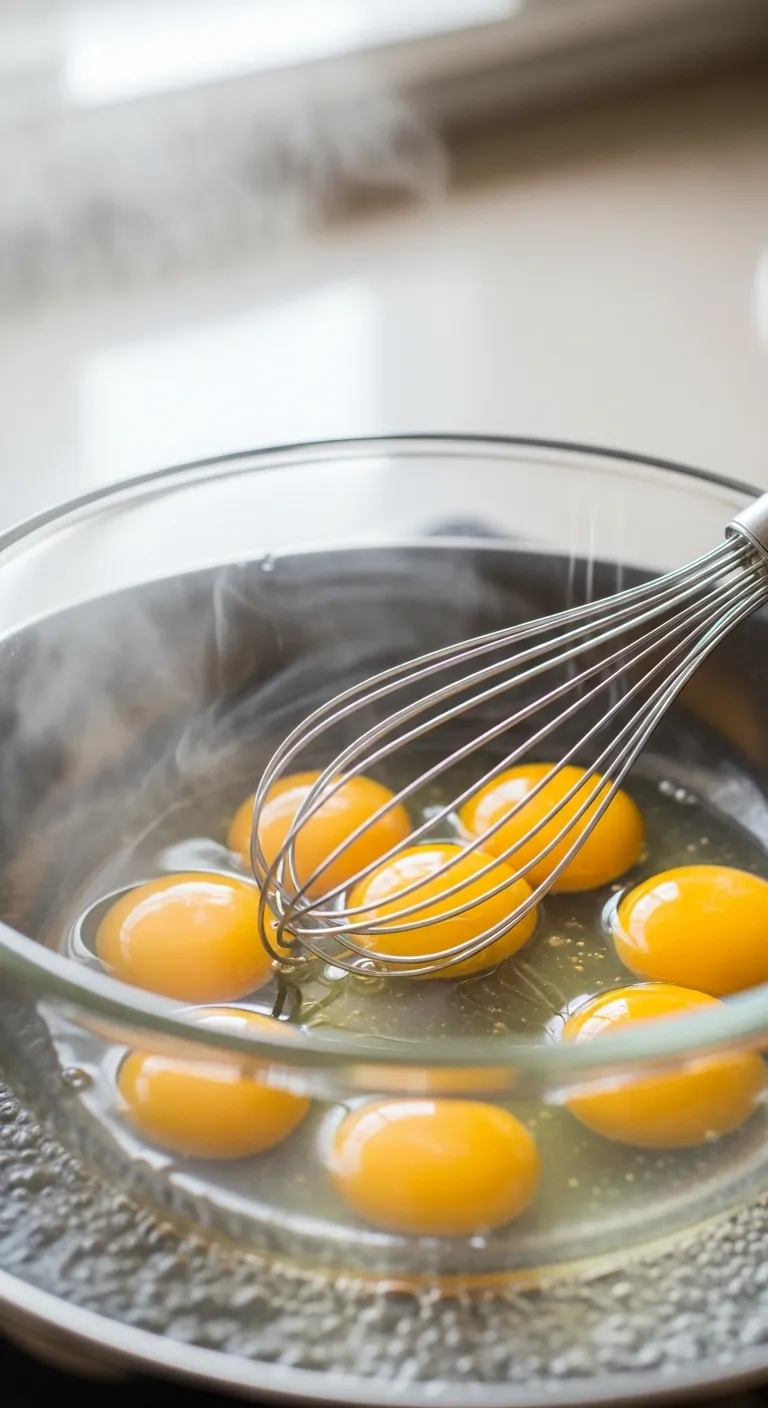
Get your whisk ready because we are about to make something truly spectacular together.
Instant Fixes for 1-2 Yolks: Cured Yolks, Coffee, and Morning Oats
You do not need a dozen yolks to make something magical. Even a single lonely yolk holds potential. It can transform your morning routine instantly.
Many home cooks toss these golden remnants. This is a waste of flavor and nutrition. These micro-recipes are designed for small batches.
Don’t just cook breakfast. Elevate it. A single yolk turns simple coffee into a luxurious ritual.
Zero-Waste Wins
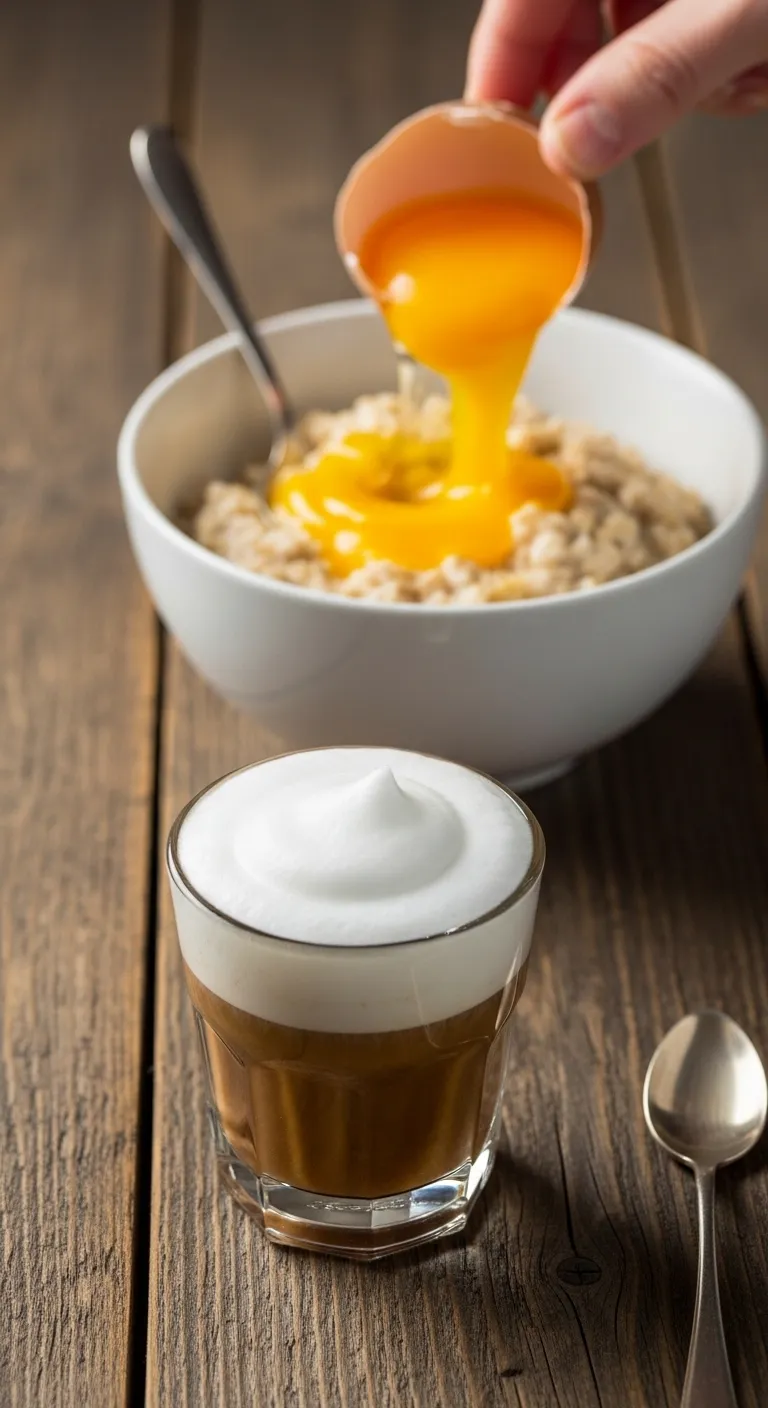
- Vietnamese-Style Treat: Whisk a single yolk with a tablespoon of sweetened condensed milk until pale and fluffy, then spoon it over hot espresso for an instant luxury drink.
- Custard Oats: Immediately after cooking your oatmeal, remove it from the heat and vigorously stir in a raw yolk to create a rich, pudding-like texture without scrambling the egg.
- Instant Umami: Gently slide a leftover yolk into a small dish of soy sauce and let it cure in the fridge for just 4 hours to create a jammy, savory topping for steamed rice.
The Umami Bomb: Salt-Cured Egg Yolks
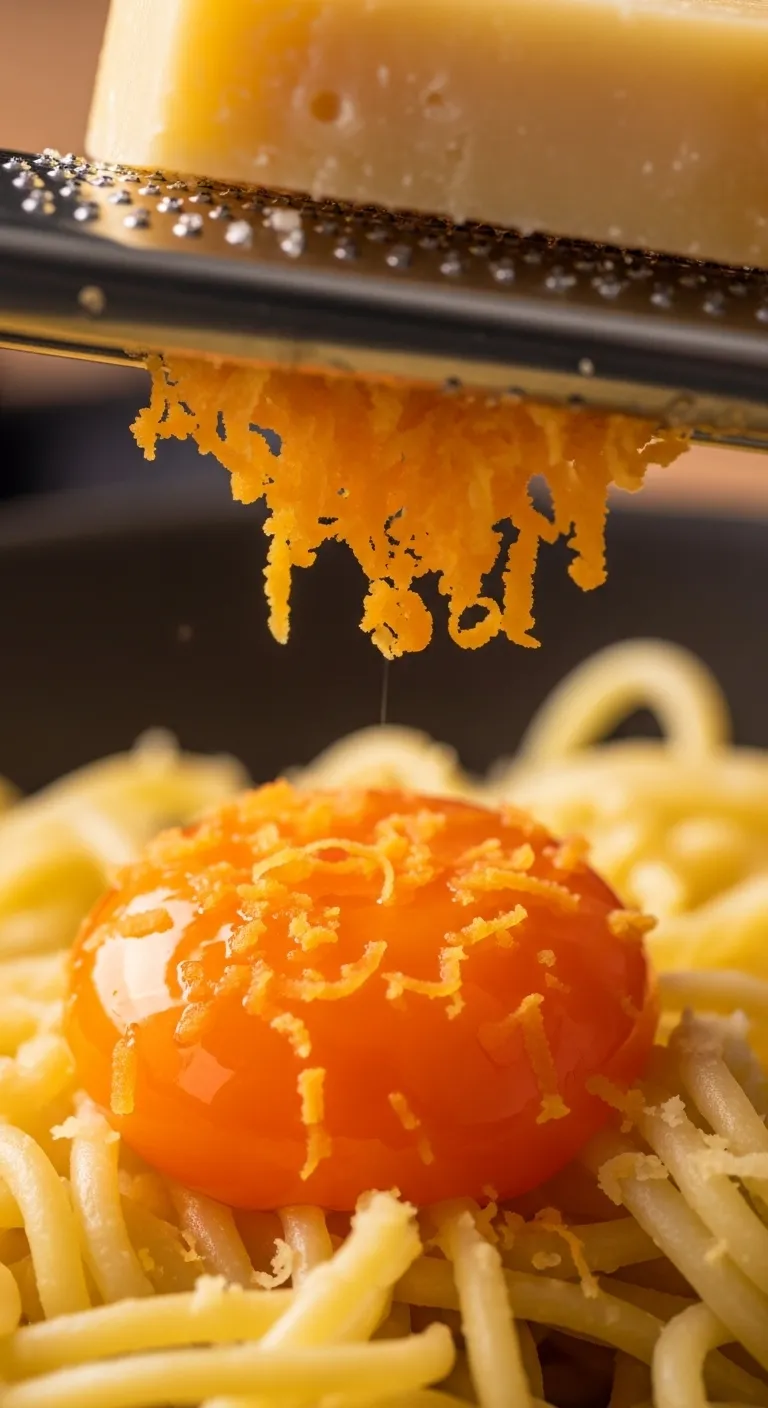
This technique transforms a raw yolk into a firm, grateable garnish. It tastes like a cross between parmesan cheese and salted caramel.
The salt draws out moisture and concentrates the fat. Chefs call this “nature’s MSG” because of the savory depth it adds to pasta or toast.
It requires patience but very little active effort. You can prepare this with just one yolk or scale it up if you have two.
Ingredients
- 2 leftover egg yolks (carefully separated)
- 1/2 cup kosher salt
- 1/2 cup granulated sugar
Instructions
- Mix the salt and sugar in a small bowl until well combined. Spread half of the mixture into a small, airtight container.
- Use the back of a spoon to make two small indentations in the salt bed. Gently slide a yolk into each indentation.
- Cover the yolks completely with the remaining salt mixture. Seal the container and refrigerate for 4 days.
- Remove the yolks, rinse them gently under cold water, and pat dry. Bake at 150°F (65°C) for 1.5 hours until firm. Grate over food.
Chef’s Secret
- Flavor infusion: Mix spices like cracked black pepper, smoked paprika, or dried herbs into your salt-sugar bed to create custom seasoned yolks.
- Don’t toss the whites! Save the leftover egg whites for meringues, pavlovas, or an egg-white omelet to keep your kitchen zero-waste.
- Storage hack: Once dried, keep your golden gems in an airtight container in the fridge for up to a month they are ready to grate whenever you need instant umami.
Vietnamese-Style Egg Coffee (Cà Phê Trứng)
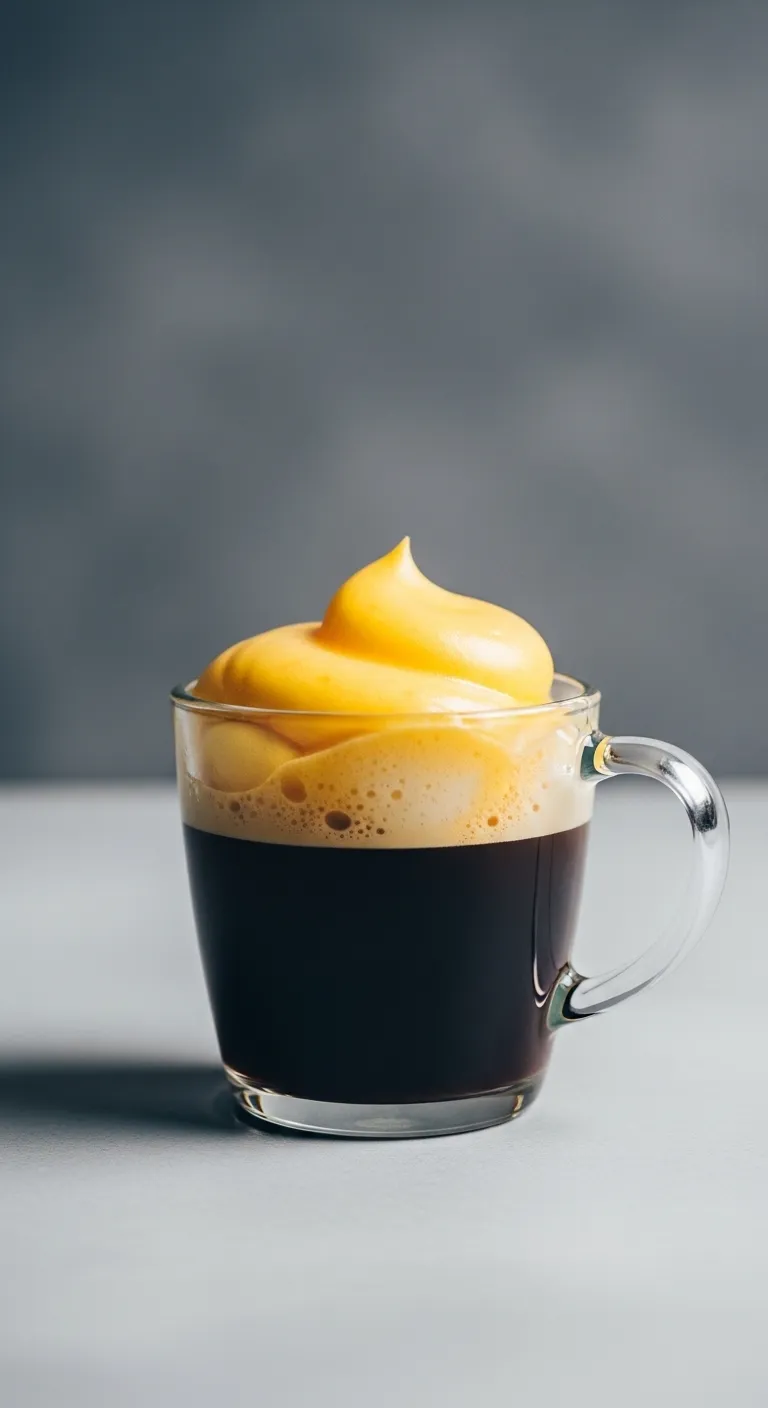
If you have a sweet tooth, this is your solution. The yolk creates a custard-like foam that sits atop strong coffee.
It tastes surprisingly like liquid tiramisu. This method uses the emulsifying power of the yolk to create a rich texture without heavy cream.
If you enjoy experimenting with morning brews, try adding this foam to our healthy DIY iced coffee recipes.
Ingredients
- 1 egg yolk
- 2 tbsp sweetened condensed milk
- 1/2 cup hot brewed espresso or strong coffee
- 1/2 tsp vanilla extract (optional)
Instructions
- Place the egg yolk, condensed milk, and vanilla in a small bowl.
- Whisk vigorously (or use a frother) for 3-5 minutes until the mixture is pale yellow and fluffy.
- Pour your hot coffee into a glass. Gently spoon the egg foam on top. Serve immediately.
Egg yolks are a nutrient-dense powerhouse, containing the majority of the egg’s vitamins A, D, E, and K, as well as omega-3 fats.
The American Egg Board, Egg Nutrition Center
Barista’s Best Kept Secret
- Whisk until the mixture turns pale yellow and thickens significantly. The foam should float effortlessly on top of the coffee, not mix in immediately.
- For the most authentic experience, sprinkle a pinch of cocoa powder on top before serving to enhance that liquid tiramisu vibe.
- Use a clear glass mug. Seeing the distinct layers of dark coffee and creamy foam is half the fun of this visual treat!
Creamy Protein Oats
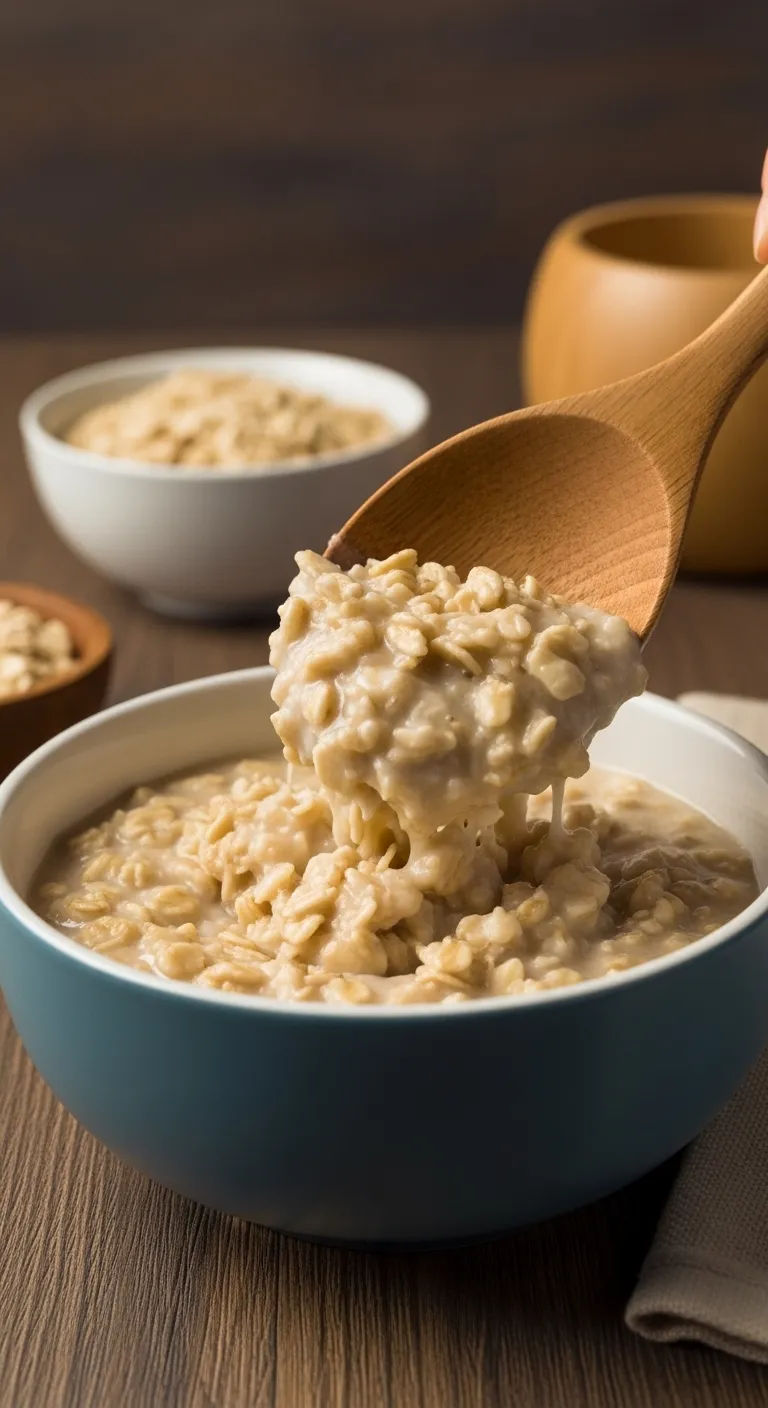
Oatmeal can sometimes feel thin or unsatisfying. Whisking in a yolk creates a decadent porridge that keeps you full longer.
The key is tempering. You want to emulsify the yolk into the oats, not scramble it. The result is glossy and rich.
This is one of our favorite easy and quick healthy breakfast ideas for adding protein.
Ingredients
- 1 egg yolk
- 1 cup prepared oatmeal (hot)
- 1 tsp butter (optional)
- Maple syrup to taste
Instructions
- Prepare your oatmeal as usual on the stove. Remove the pot from the heat completely.
- Whisk the egg yolk in a separate small bowl. Add one tablespoon of the hot oatmeal to the yolk and whisk immediately to temper it.
- Pour the tempered yolk mixture back into the main pot of oatmeal. Stir constantly for one minute. The residual heat cooks the yolk creating a creamy texture.
The Breakfast Upgrade
- Go savory: Swap the maple syrup for a drizzle of soy sauce, chili oil, and scallions. The creamy yolk makes the oats taste surprisingly like a rich risotto.
- Waste not: Don’t toss the egg white! Whisk it into the pot while the oats are boiling for fluffy volume, then add the yolk at the end for that glossy finish.
- Custard vibes: Whisk a drop of vanilla extract into the yolk before tempering to emphasize the dessert-like flavor profile without adding extra sugar.
Quick Comparison: Which Fix Fits Your Morning?
Choose the method that fits your current craving and time constraints. Each option utilizes the unique fat content of the yolk differently.
| Method | Prep Time | Flavor Profile | Best For |
|---|---|---|---|
| Cured Yolks | 4 Days (Passive) | Salty, Umami, Cheesy | Pasta & Salad Garnish |
| Egg Coffee | 5 Minutes | Sweet, Custardy, Bold | Indulgent Caffeine Fix |
| Creamy Oats | 2 Minutes | Rich, Velvety, Savory | Nutritious Breakfast |
The Golden Rules
- Temper Your Expectations: When adding yolks to hot coffee or oats, whisk a spoonful of the hot liquid into the yolk first before combining everything to avoid accidental scrambling.
- Waste Not: If you are separating eggs for an egg-white omelet, store the yolks in a small container covered with a thin layer of water to keep them fresh until you pick your morning method.
The Meringue Ratio: Using 3-4 Yolks for Lemon Curd and Crème Brûlée
Making a classic meringue often leaves you with exactly three or four golden yolks. This is not waste; it is a culinary invitation.
This specific quantity is the ideal “meringue ratio” for rich custards. It provides just enough fat to thicken sauces without overwhelming them.
You can transform these leftovers into a velvety lemon curd. This tart spread pairs beautifully with Easy Italian Lemon Ricotta Cookies.
The best kitchen hacks turn leftover ingredients into the star of the next dish.
Another excellent option for this specific yolk count is Crème Brûlée. Four yolks create just enough custard for two or three elegant ramekins.
Both dishes rely on the emulsifying power of the yolk. The fats coat the tongue, delivering flavor and a silky mouthfeel that whites cannot match.
Here is how the two most popular uses for 3-4 yolks compare in terms of effort and result.
| Dish | Texture Profile | Cooking Method | Best Served With |
|---|---|---|---|
| Lemon Curd | Smooth, spreadable | Stovetop (Double Boiler) | Scones, Cakes, Toast |
| Crème Brûlée | Set custard, creamy | Oven (Water Bath) | Fresh Berries, Mint |
| Carbonara | Glossy sauce | Residual Heat | Pasta, Black Pepper |
If you crave something bright and zesty, the lemon curd is the superior choice. It cooks faster and stores well in the fridge for weeks.
This curd also makes a fantastic filling between layers of Easy Healthy Spring Dessert Strawberry Cake.
Cook egg mixtures until the center reaches 160 °F.
USDA Food Safety and Inspection Service, Shell Eggs from Farm to Table
The Baker’s Bonus
- Preserve Freshness: If you cannot use the yolks immediately, place them in a small bowl and gently cover with a thin layer of cold water to prevent a skin from forming; simply drain before cooking.
- Strain for Silkiness: For the smoothest possible texture, always pass your warm lemon curd or custard base through a fine-mesh sieve to catch the chalaza or any small bits of cooked egg.
- Freeze with Care: Unlike whites, yolks become gummy when frozen alone. To prevent this, whisk in a pinch of sugar (for desserts) or salt (for savory dishes) before freezing.
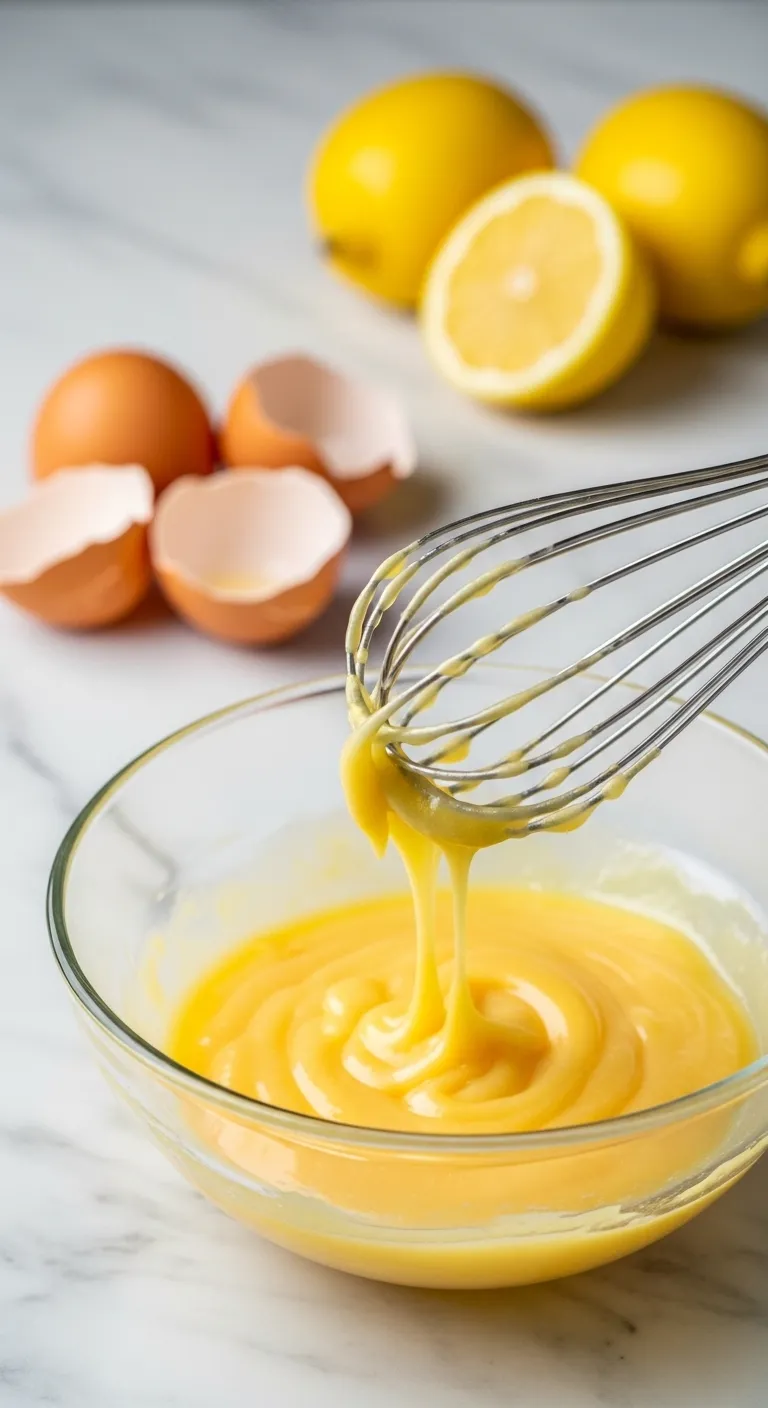
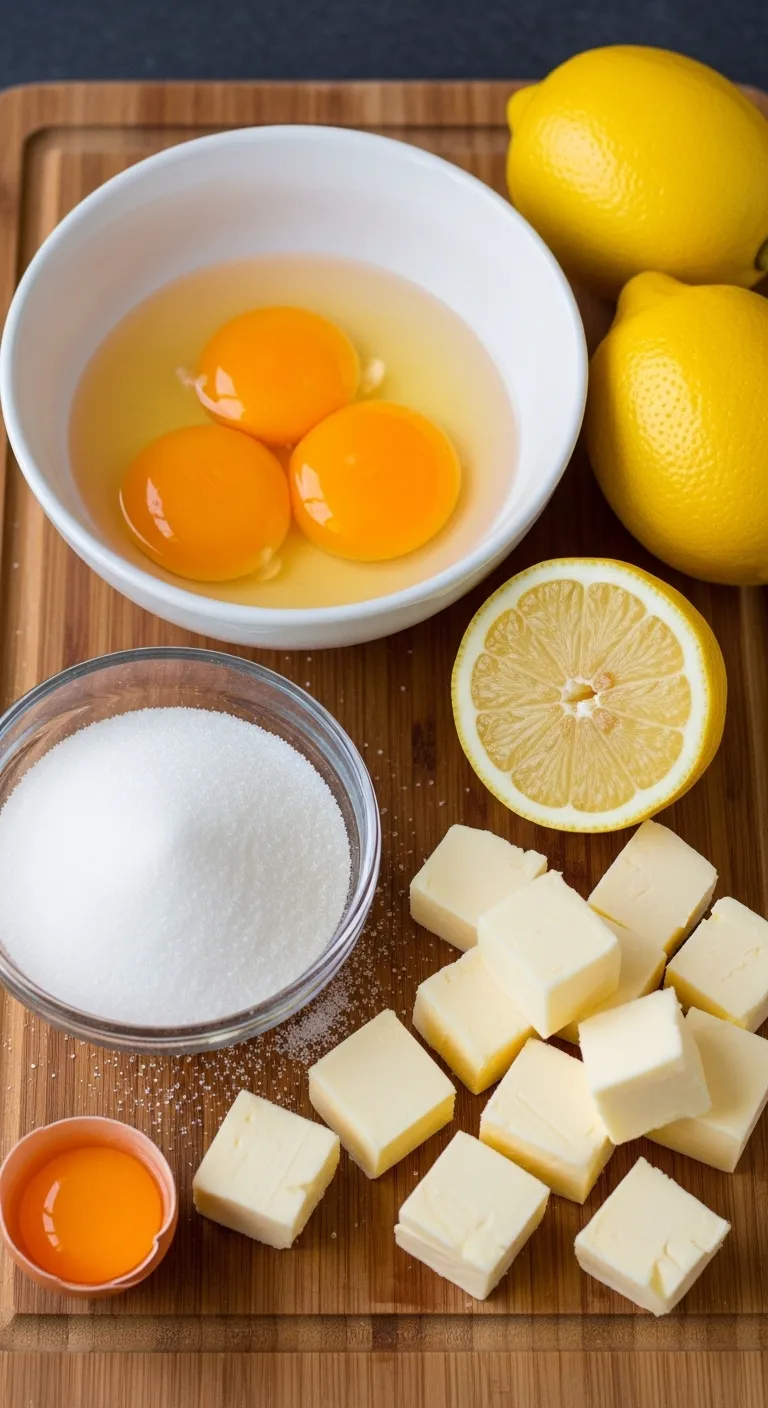
Zesty 4-Yolk Lemon Curd
This recipe is designed specifically to use up the yolks from a standard meringue pie. It yields about one cup of intense, citrusy goodness.
Ingredients
- 4 large egg yolks
- 1/2 cup granulated sugar
- 1/3 cup fresh lemon juice (about 2 lemons)
- 2 tsp lemon zest
- Pinch of fine sea salt
- 6 tbsp unsalted butter, cut into cubes
Instructions
- Fill a medium saucepan with one inch of water and bring it to a simmer. Place a heatproof glass bowl over the pot to create a double boiler.
- Whisk the egg yolks and sugar together in the bowl until the mixture is pale yellow and smooth.
- Stir in the lemon juice, lemon zest, and salt. Whisk continuously to ensure the sugar dissolves completely.
- Cook the mixture gently for 10 minutes. Whisk constantly until it thickens enough to coat the back of a spoon.
- Remove the bowl from the heat. Whisk in the butter cubes one at a time until they are fully melted and emulsified.
- Pour the curd into a clean jar and press plastic wrap directly onto the surface to prevent a skin from forming. Cool completely.
Citrus Secrets
- Maximize the flavor intensity by rubbing the lemon zest into the sugar with your fingertips before whisking in the yolks; the friction releases essential oils for a brighter punch.
- For a silky-smooth, professional finish, pass the warm curd through a fine-mesh sieve before adding the butter to catch the zest and any accidental bits of cooked egg.
- Avoid using aluminum pans or whisks, as the acid in the lemons can react with the metal and turn your beautiful yellow curd a greenish-gray color.
High-Volume Solutions: 5+ Yolks for French Buttercream and Challah Bread
When you have a bowl containing five or more yolks, you enter the realm of professional baking. Large batches of meringue leave behind liquid gold.
Do not discard these precious leftovers. They are the key to creating rich, emulsion-based recipes that whole eggs simply cannot replicate.
Treat your leftover yolks like liquid gold; they are the secret to professional richness in home baking.
The Golden Rules
- French Buttercream Stability: Ensure your sugar syrup reaches the soft-ball stage (240°F) before streaming it into the yolks. This cooks them safely while creating a stable, silky base that holds butter perfectly.
- Challah Enrichment: Substitute water with extra yolks in your dough for a crumb that is deeply yellow and tender. Brush the top with a yolk-only wash for that signature mahogany shine.
- Freezing Protocol: If you cannot bake immediately, whisk a pinch of salt or sugar into the yolks before freezing. This prevents the proteins from gelling into an unusable rubbery texture.
Silky French Buttercream
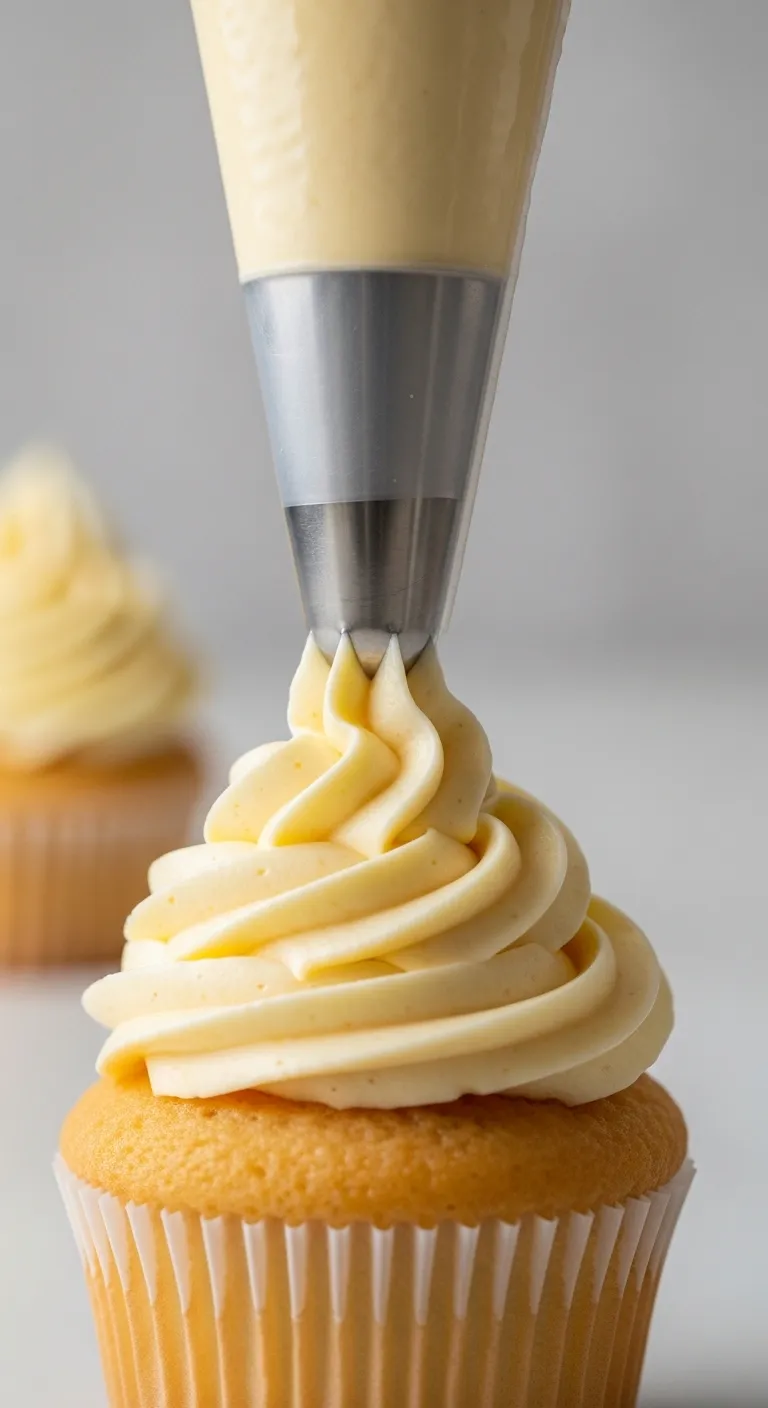
French buttercream is the custard-based cousin of the frosting world. It is smoother and less sweet than standard American buttercream.
The texture melts instantly on the tongue. It is perfect for topping an easy healthy spring dessert strawberry cake.
This recipe relies on whipping hot sugar syrup into the yolks. This process pasteurizes the eggs and creates a stable, airy foam.
Ingredients
- 5 large egg yolks (room temperature)
- 1 cup granulated sugar
- 1/4 cup water
- 1 cup unsalted butter, cubed and softened
- 1 tsp pure vanilla extract
- 1 pinch fine sea salt
Instructions
- Whip the egg yolks in a stand mixer on high speed until they are pale, thick, and foamy.
- Combine sugar and water in a saucepan. Boil without stirring until it reaches 240°F (soft ball stage).
- Reduce mixer speed to low. Carefully stream the hot syrup down the side of the bowl into the yolks.
- Increase speed to high and whip until the bowl feels cool to the touch. This takes about 10 minutes.
- Add the softened butter one cube at a time, mixing well after each addition.
- Mix in the vanilla and salt. Continue whipping until the texture is smooth and glossy.
Troubleshooting Your Emulsion:
- Too Soupy: If the mixture is warm, the butter melts. Chill the bowl for 15 minutes and whip again.
- Curdled Look: This is normal during mixing. Keep whipping vigorously, and it will come together.
- Too Stiff: If the butter was too cold, wrap a warm towel around the bowl while whipping.
Pastry Chef Pointers
- Aim carefully! Pour the hot syrup down the inner side of the mixing bowl rather than directly onto the whisk to prevent the sugar from splattering and hardening into candy threads.
- Don’t toss the leftovers! Save your egg whites in the freezer to make macarons, meringues, or a fluffy angel food cake later.
- Flavor flexibility: Fold in melted (cooled) chocolate, fruit curds, or espresso powder after the buttercream is fully finished for a custom twist.
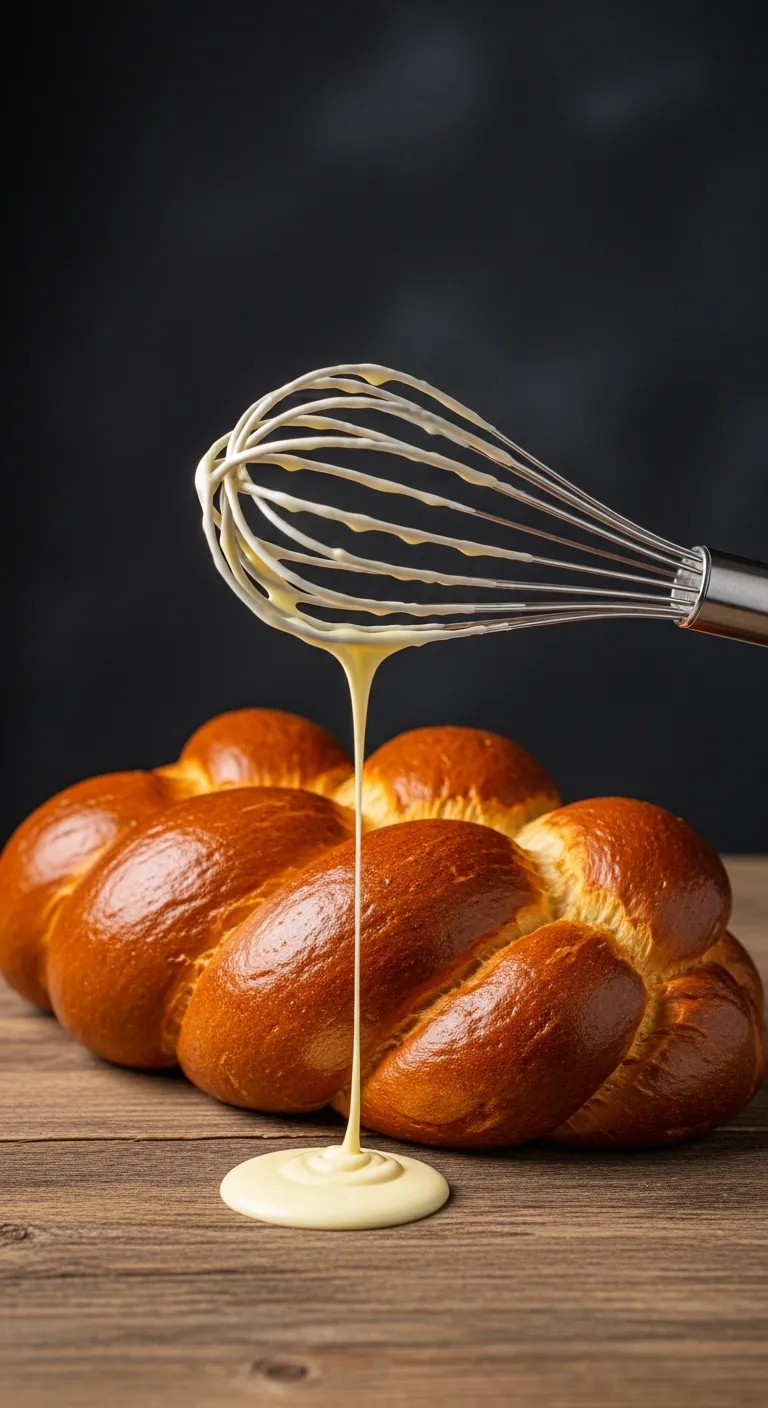
Golden Yolk Challah Bread
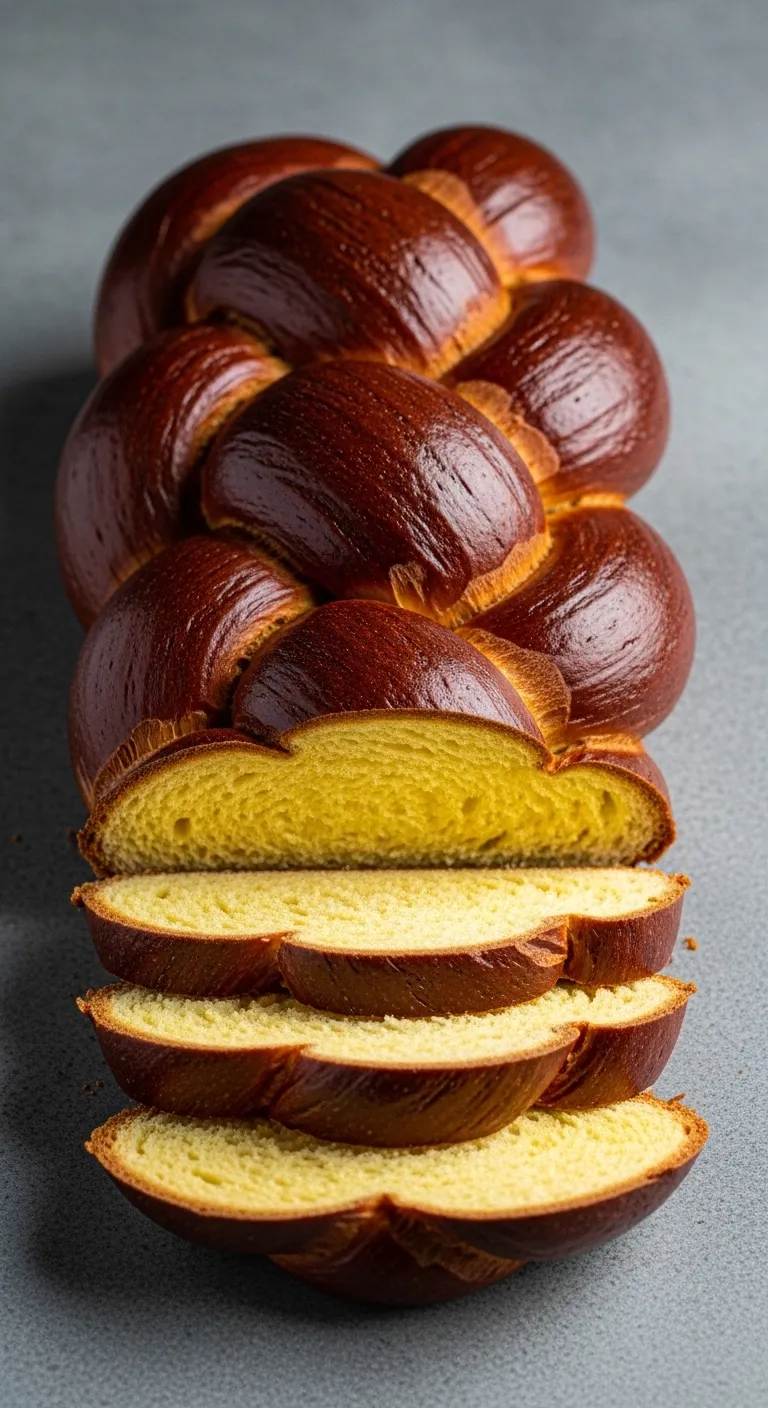
Standard challah uses whole eggs, but an all-yolk version creates a crumb that is incredibly tender and vibrant yellow.
The extra fat from the yolks acts as a natural preservative. This keeps your loaf soft for days, unlike leaner doughs found in quick sourdough focaccia recipes.
Ingredients
- 5 large egg yolks
- 1 cup warm water (110°F)
- 1 packet (2 1/4 tsp) active dry yeast
- 1/3 cup honey
- 1/3 cup vegetable oil
- 4 cups bread flour (approximate)
- 2 tsp kosher salt
- 1 extra yolk mixed with water (for egg wash)
Instructions
- Dissolve yeast and a pinch of sugar in the warm water. Let it sit for 5 minutes until foamy.
- Whisk the 5 yolks, honey, and oil into the yeast mixture until fully combined.
- Add the flour and salt. Mix until a shaggy dough forms.
- Knead on a floured surface for 8-10 minutes until smooth and elastic.
- Place dough in a greased bowl, cover, and let rise in a warm spot for 1.5 hours or until doubled.
- Punch down, divide into strands, and braid. Place on a baking sheet and let rise for 45 minutes.
- Brush gently with the egg wash. Bake at 350°F for 30-35 minutes until deep golden brown.
Yolks act as an emulsifier, bringing liquids and fats together into a harmonious mixture. They add richness and tenderness to the crumb.
King Arthur Baking Company, The role of eggs in bread baking
The Golden Rules
- Don’t toss the whites! Since this recipe relies heavily on yolks, save the leftover whites for meringues, angel food cake, or a high-protein scramble. They freeze perfectly for up to 3 months.
- Braid loosely for lift. Avoid pulling the strands tight when plaiting. A looser braid gives the dough room to expand in the oven without tearing the beautiful crust.
- Watch the color. The honey content can cause the crust to brown faster than the interior bakes. If it gets dark too early, tent the loaf loosely with foil until the internal temperature hits 190°F.
Savory Sauces for Any Count: Foolproof Hollandaise, Carbonara, and Mayo
Leftover yolks are liquid gold in the culinary world. They contain fat and lecithin, which are essential for creating rich emulsions.
Instead of tossing them, you can transform these yolks into luxurious sauces. These recipes range from breakfast staples to elegant dinner toppings.
The yolk is where the flavor lives, turning the ordinary into the extraordinary.
Saucy Secrets
- To ensure a smooth emulsion, bring your ingredients to room temperature before starting; cold ingredients are the most common cause of a broken sauce.
- If your Hollandaise or mayonnaise splits, don’t panic! Whisk a teaspoon of warm water in a clean bowl and slowly drizzle the broken mixture in to re-emulsify it.
- Saving yolks for later? Place them gently in a small container and cover them with a little cold water to prevent them from drying out and forming a crust in the fridge.
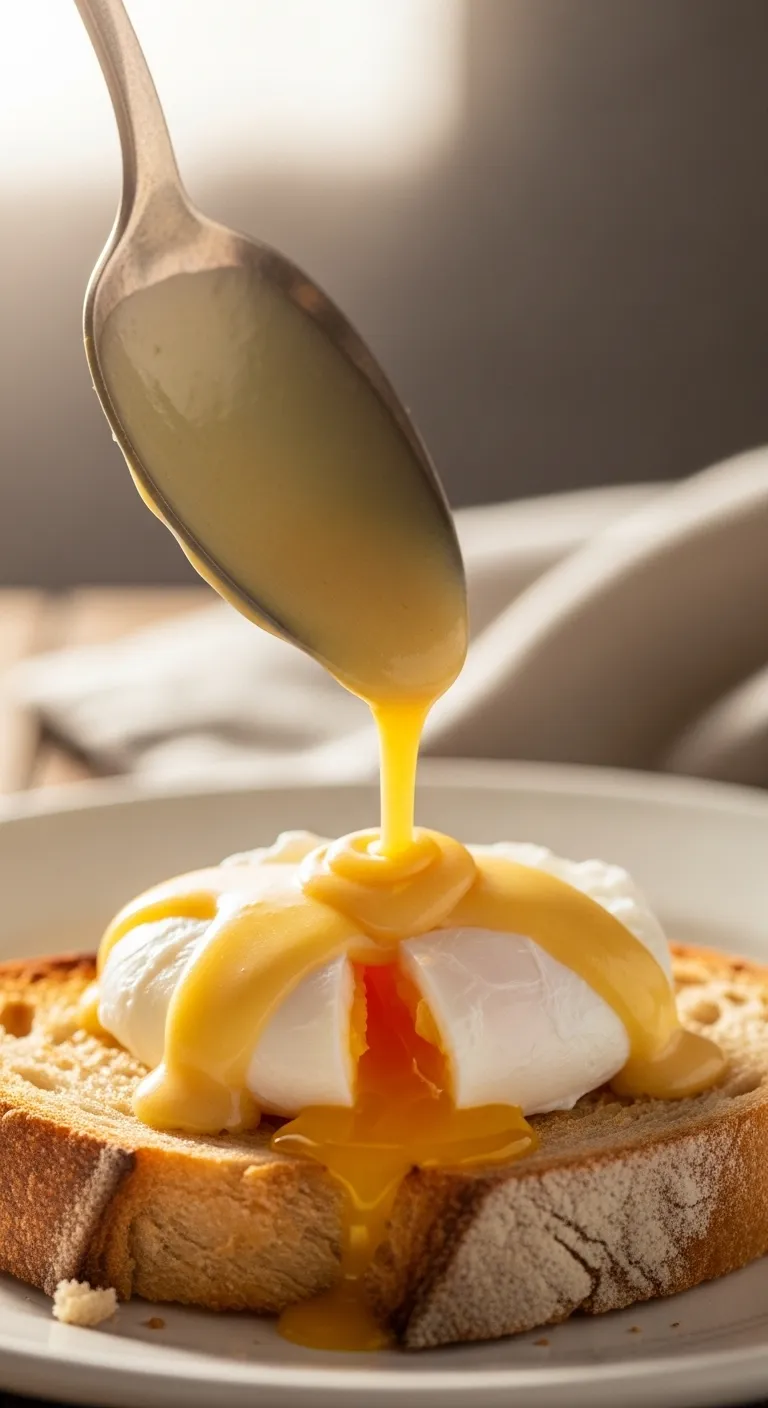
The Brunch Classic: Foolproof Hollandaise
Hollandaise has a reputation for being difficult, but it is actually quite simple. The key is managing your heat to prevent scrambling the eggs.
This sauce elevates steamed asparagus or poached fish instantly. You can also customize it with fresh herbs or a pinch of smoked paprika.
Ingredients
- 3 large egg yolks
- 1 tbsp lemon juice, fresh
- 1/2 cup unsalted butter, melted and hot
- 1 pinch cayenne pepper
- 1 pinch salt
Instructions
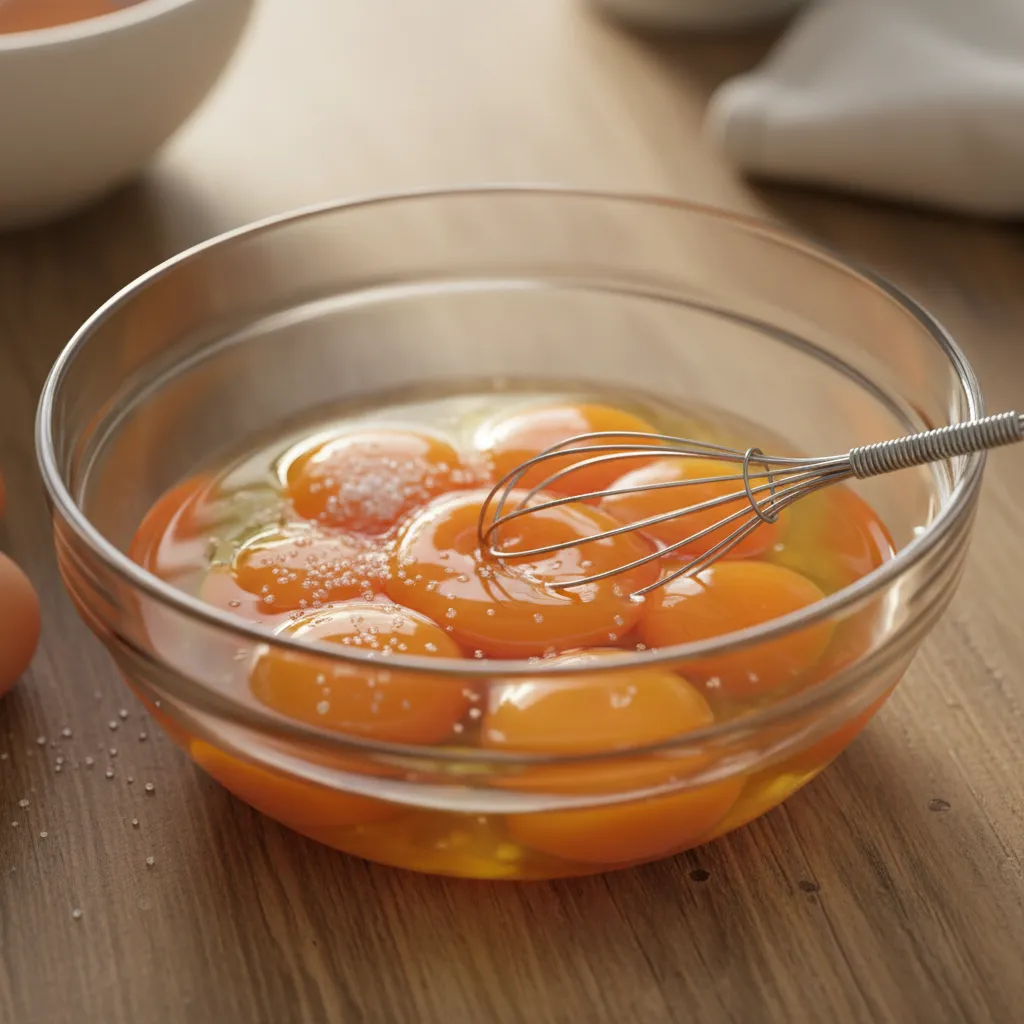
- Whisk the egg yolks and lemon juice vigorously in a stainless steel bowl until the mixture thickens and doubles in volume.
- Place the bowl over a saucepan containing barely simmering water. Do not let the water touch the bottom of the bowl.
- Continue whisking rapidly. Slowly drizzle in the melted butter, a few drops at a time, until an emulsion begins to form.
- Once all butter is incorporated and the sauce is thick, remove from heat. Whisk in the salt and cayenne pepper. Serve immediately.
Chef’s Secrets
- Broken sauce? Don’t panic. Whisk a teaspoon of hot water in a fresh bowl and slowly drizzle the separated sauce into it to re-emulsify.
- The Blender Method: For a true shortcut, blitz the yolks and lemon juice with an immersion blender while slowly pouring in bubbling hot butter.
- Keep it warm: Hollandaise can solidify as the butter cools. Store it in a pre-warmed thermos if you need to hold it for more than 10 minutes.
Silky Carbonara Without the Cream
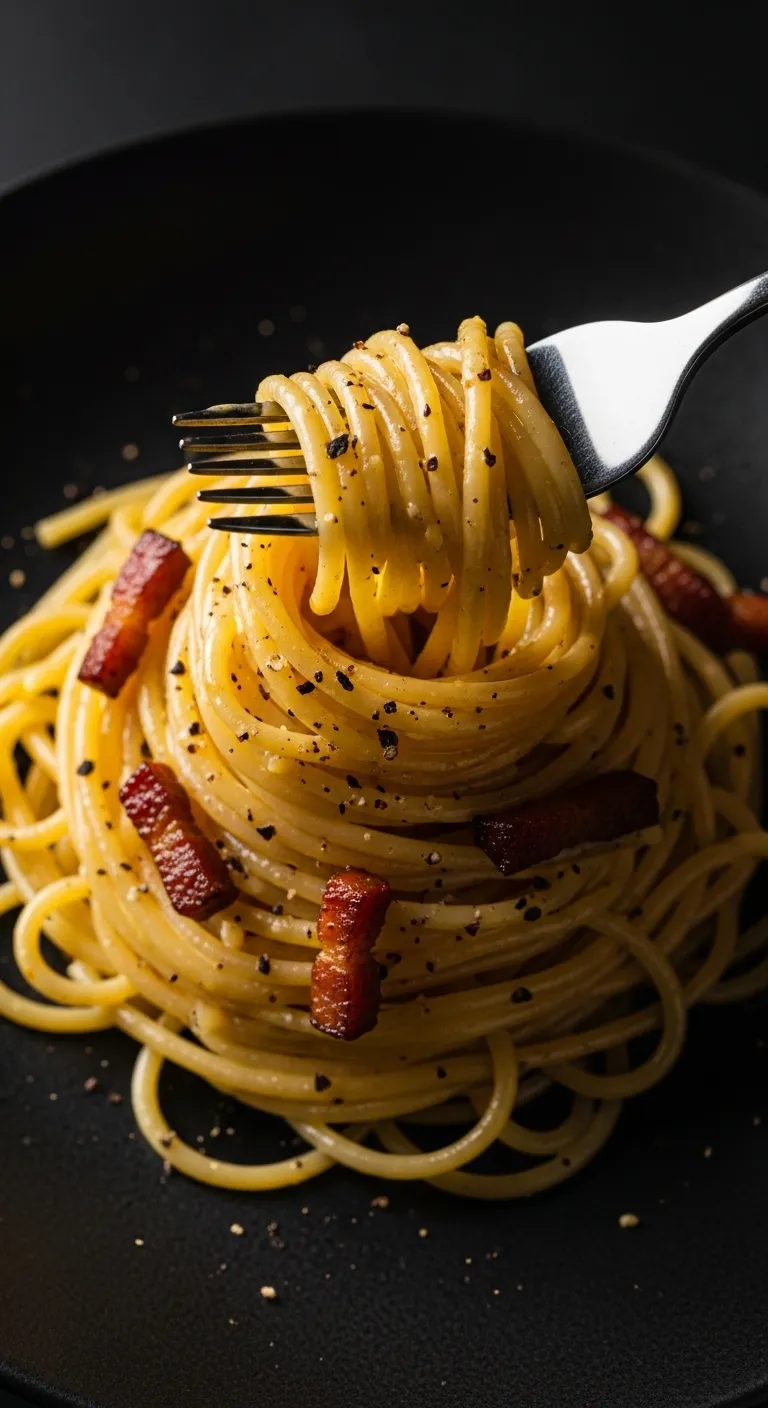
True Roman carbonara does not use heavy cream. The creaminess comes entirely from emulsifying egg yolks with starchy pasta water and cheese.
This technique creates a glossier, lighter sauce than typical rich and creamy Alfredo sauce recipes found in the US.
To succeed, you must toss the pasta with the egg mixture off direct heat. This uses the residual heat of the noodles to cook the eggs gently.
The Roman Rule
- To prevent scrambling, temper your eggs by slowly whisking a ladle of hot pasta water into the egg and cheese mixture before adding it to the noodles.
- Use finely grated cheese (ideally using a Microplane) rather than larger shreds; the fine texture melts instantly into a smooth emulsion.
- Always save a full cup of starchy pasta water. If the sauce becomes too thick or tacky while tossing, add a splash to loosen it back to a glossy consistency.
5-Minute Homemade Mayonnaise
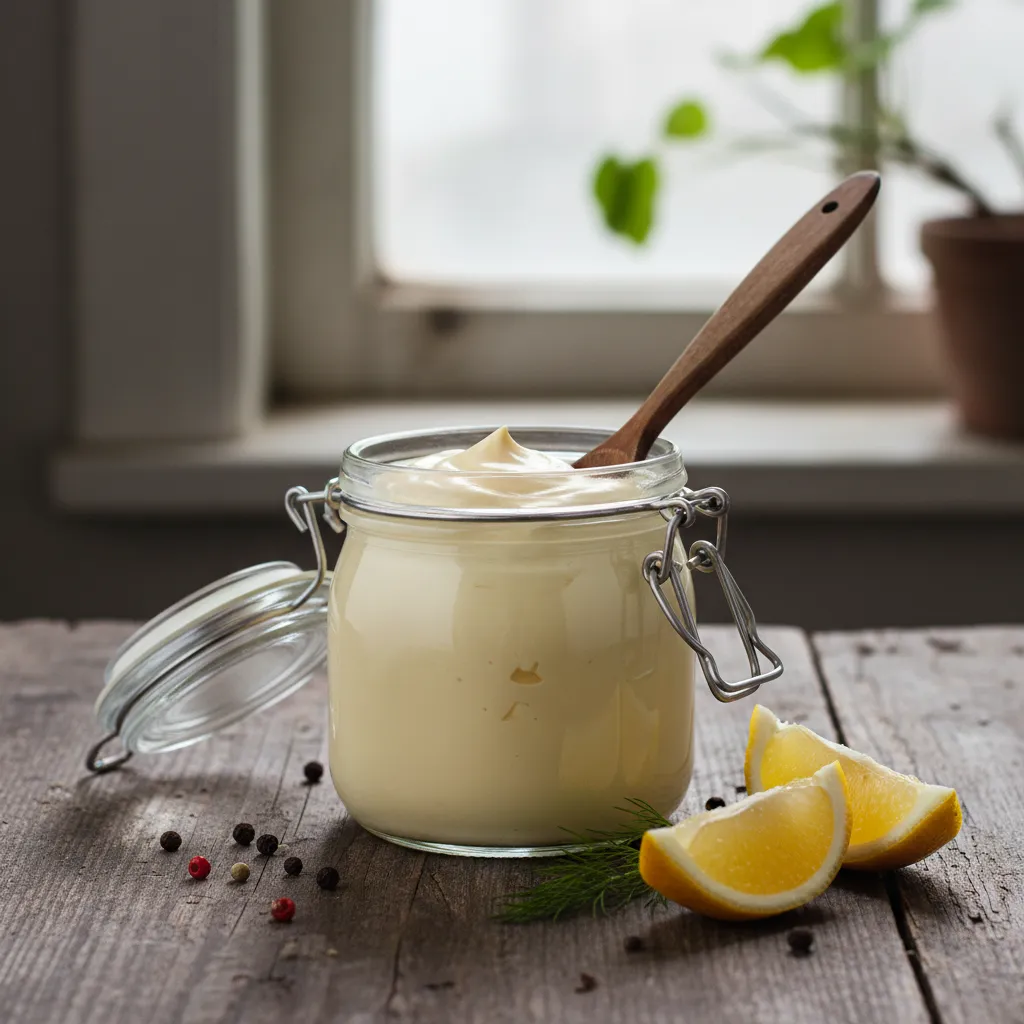
Homemade mayo is zestier and fresher than anything on a shelf. It is the perfect base for aioli or a dip for roasted vegetables.
You can infuse this base with garlic, truffle oil, or herbs. If you store fresh herbs properly, they add amazing flavor here.
Ingredients
- 2 large egg yolks, room temperature
- 1 tsp Dijon mustard
- 1 tbsp white wine vinegar
- 1 cup neutral oil (like grapeseed or canola)
- Salt to taste
Instructions
- Combine yolks, mustard, and vinegar in a medium bowl. Whisk until well blended and slightly sticky.
- Start adding the oil drop by drop while whisking constantly. This is the most critical step to start the emulsion.
- Once the mixture thickens, you can increase the oil flow to a thin, steady stream. Whisk continuously until all oil is added.
- Season with salt. Transfer to a clean jar and refrigerate immediately. Use within one week.
To ensure safety when preparing dishes with raw or lightly cooked eggs, such as Hollandaise sauce or Caesar salad dressing, use pasteurized eggs.
USDA Food Safety and Inspection Service, Shell Eggs from Farm to Table
Whisking Wisdom
- Broken sauce? Don’t toss it! Start a fresh bowl with a teaspoon of warm water or mustard, then slowly whisk the broken mixture into it to re-emulsify.
- Temperature matters. Ensure your egg yolks and oil are both at room temperature before starting to guarantee a smooth, stable emulsion.
- Speed hack: Skip the arm workout by placing all ingredients in a tall, narrow jar and pulling an immersion blender slowly from the bottom up.
Sauce Troubleshooting Guide
Even experienced cooks face broken sauces. Use this guide to rescue your hard work if the emulsion fails.
| Problem | Likely Cause | Quick Fix |
|---|---|---|
| Hollandaise Curdles | Heat was too high | Whisk in a teaspoon of boiling water immediately. |
| Mayo is Runny | Oil added too fast | Whisk a fresh yolk in a new bowl; slowly add runny mix. |
| Carbonara Scrambles | Pan was too hot | No fix for texture, but still edible. Use less heat next time. |
| Sauce Separates | Too much fat added | Whisk in a splash of warm water or lemon juice. |
The Emulsion Emergency Kit
- Room temp rules: For cold emulsions like mayonnaise, ensure your ingredients (especially eggs and oil) are at room temperature to encourage easier bonding.
- Mustard magic: Add a teaspoon of Dijon mustard to vinaigrettes or mayo before mixing; it acts as a powerful emulsifier to keep the sauce stable.
- The ice cube trick: If a warm butter sauce like Beurre Blanc separates, remove it from the heat and vigorously whisk in a small ice cube to shock it back into a smooth texture.
The Science of Storage: How to Freeze Yolks Without Gelatinization
Storing egg whites is a straightforward affair, but yolks are far more temperamental. You cannot simply toss them in the freezer and hope for the best.
If you freeze raw yolks without preparation, the proteins aggregate and thicken. This process is known as gelatinization. It ruins the texture.
When you thaw untreated yolks, they become gummy and rubbery. They will not blend into batters or sauces, rendering them useless for cooking.
Freezing causes egg yolks to gel and become so viscous that they cannot be used in recipes unless they are conditioned first.
The American Egg Board, Egg Handling & Safety
To stop this rubbery texture from forming, you must introduce a cryoprotectant. This is a substance that prevents the proteins from bonding too tightly.
Common household ingredients like salt or sugar work perfectly for this. They dissolve into the yolk and keep the proteins fluid during freezing.
If you have just finished making recipes for leftover egg whites, handle your yolks immediately. They dry out quickly if left uncovered.
Don’t let liquid gold go to waste. A pinch of salt or sugar is the secret to freezing perfect egg yolks every time.
The Golden Preservation Rule
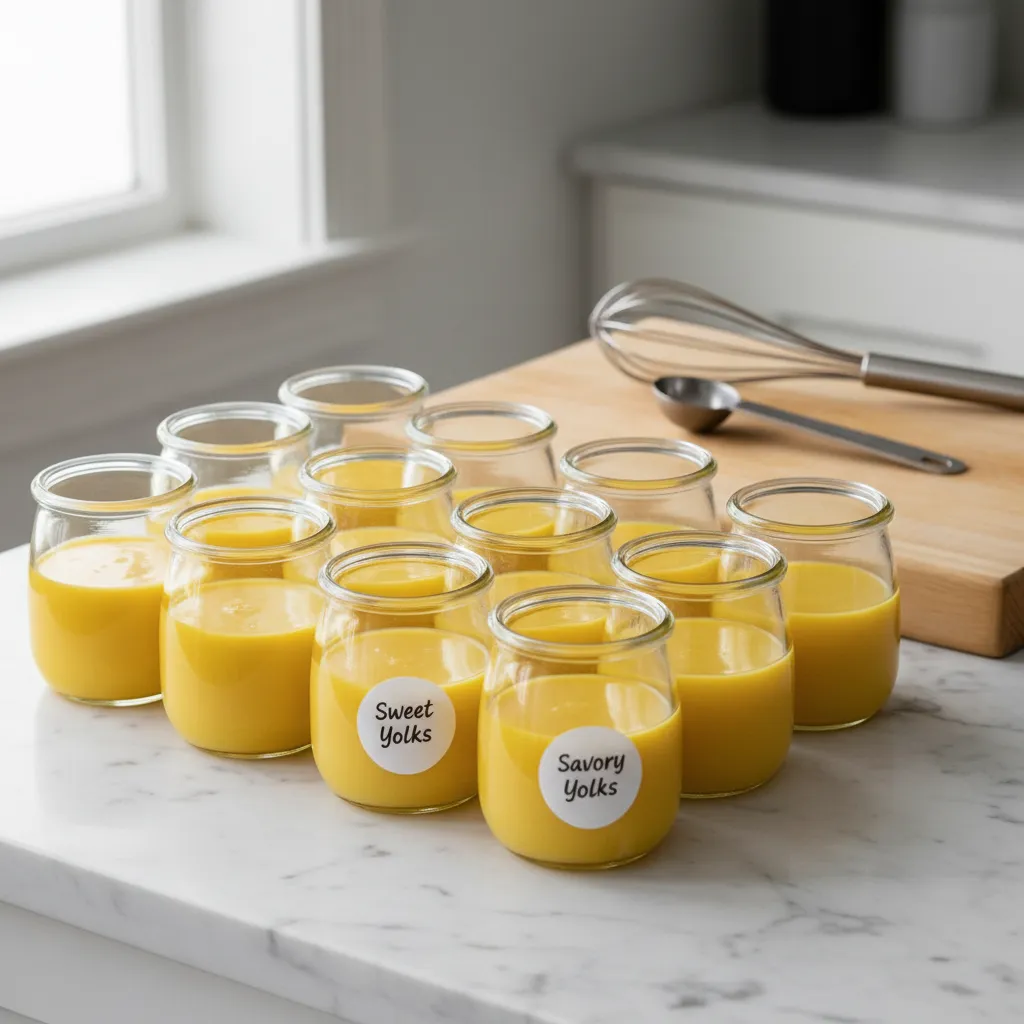
- Label strictly. Since frozen yolks look identical regardless of the additive, clearly mark your containers as “Savory” (salted) or “Sweet” (sugared). You definitely do not want salty yolks in your crème brûlée!
- Master the ratio. Aim for 1/8 teaspoon of salt or 1 ½ teaspoons of sugar for every four large yolks. Whisk gently just enough to dissolve the granules without whipping in excess air.
- Portion perfectly. Pour your treated yolk mixture into an ice cube tray to freeze individual portions. Once solid, transfer the cubes to a freezer bag so you can grab exactly what you need later.
How to Stabilize Egg Yolks for the Freezer
This simple method ensures your yolks thaw out with a smooth, liquid consistency. It works for both sweet baking and savory cooking applications.
Ingredients
- 4 large egg yolks (fresh)
- 1/8 tsp salt (for savory dishes) OR 1 1/2 tsp sugar (for sweet dishes)
Instructions
- Place the yolks in a small bowl. Gently whisk them until they are smooth and blended, but try not to incorporate too much air bubbles.
- Add the salt or sugar depending on how you plan to use the yolks later. Whisk again until the granules are completely dissolved.
- Pour the mixture into an airtight freezer-safe container or an ice cube tray.
- Label the container clearly with the date and whether it is “Sweet” or “Savory”. This step is vital to avoid salty custard later.
If you use an ice cube tray, transfer the frozen cubes into a freezer bag once solid. This saves space and prevents freezer burn.
When you are ready to use them, thaw the yolks in the refrigerator overnight. Do not try to rush the process in the microwave, or they may cook.
Use your thawed yolks within 24 hours for the best flavor and safety. They are perfect for enriching sauces or making golden doughs.
If you enjoy sustainable cooking, you might also like learning about creative uses for vegetable peels to further reduce kitchen waste.
Yolk Wisdom
- One large egg yolk equals approximately 1 tablespoon of liquid. Keep this conversion in mind when measuring out thawed yolks from a bulk container.
- If you are freezing yolks for a specific dessert (like lemon curd), weigh the sugar required for that recipe and mix a portion of it directly into the yolks before freezing, noting the amount on the label.
- Use a silicone ice cube tray for the easiest removal. The flexible material allows you to pop out the frozen yolk cubes gently without them cracking or sticking.
The Golden Finale: Zero Waste, Maximum Flavor
Never let those golden gems go to waste. A leftover yolk isn’t a burden; it is a ticket to a richer, creamier dish waiting to happen.
From the savory depth of cured yolks to the velvet texture of Vietnamese coffee, these micro-recipes prove that small amounts pack big flavor.
Embrace the challenge of the “whole egg” philosophy. Your kitchen habits will improve, and your tastebuds will thank you for the extra richness.
Curiosities from the Kitchen
You can store them for up to two days. To keep them fresh and stop them from drying out, place them in a small bowl and gently cover them with a little cold water.
Yes, but pure yolks become gummy when frozen. Whisk in a pinch of salt or sugar first to stabilize the proteins, then freeze in an airtight container for up to three months.
While traditional, consuming raw eggs carries a slight risk. Use fresh, pasteurized eggs to minimize concern, or avoid this recipe if you have a compromised immune system.
You may not have rinsed them enough after the curing phase. Wash them thoroughly under cold water before drying. Remember, they are a potent garnish, used sparingly like Parmesan.