Table of Contents
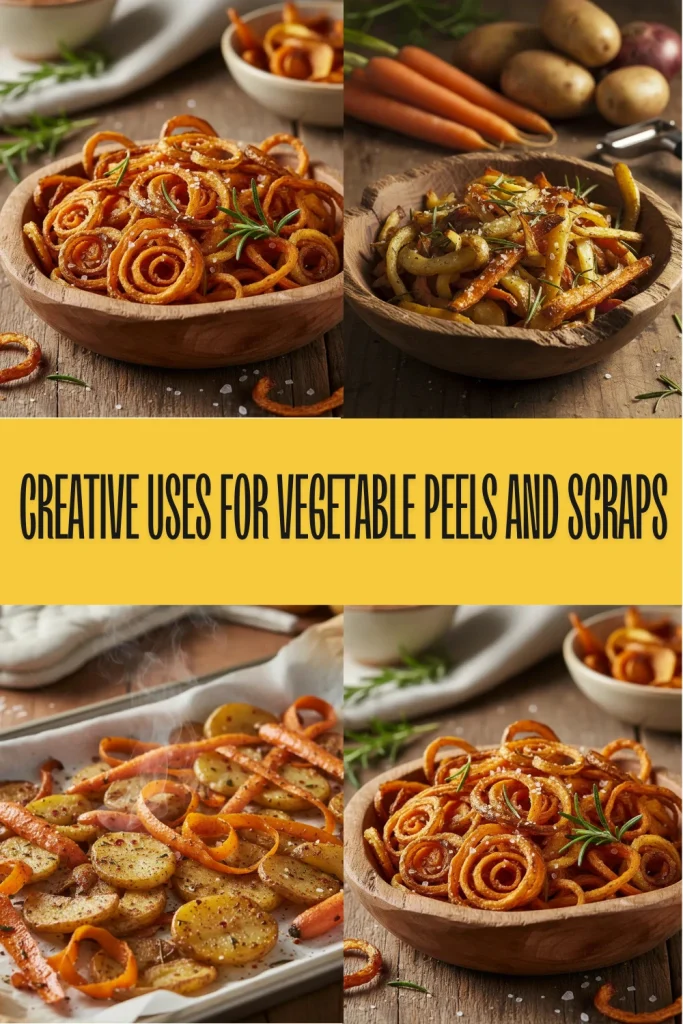
- Root Vegetable Peels: Transforming Potato and Carrot Skins into Crispy Snacks
- Allium Skins and Corn Cobs: Deepening Stock Flavor and Natural Fabric Dyeing
- Citrus and Fruit Remnants: Infusing DIY Cleaners and Aromatic Garnishes
- Fibrous Stalks and Leafy Tops: Regrowing Gardens and Blending Zero-Waste Pestos
- Vegetable Anatomy Guide: Scrap Flavor Profiles and Pesticide Safety Protocols
- Embracing the Whole Harvest
- Kitchen Curiosities
Welcome, student of the kitchen. Think about those potato skins and carrot ends you usually discard. They are not waste; they are the soul of your next great dish.
Every peel contains concentrated flavor and vital nutrients that can elevate your home cooking to professional heights.
Imagine simmering a golden stock enriched with onion skins or crisping up salty snacks from leftover parsnips.
These small acts of culinary mindfulness turn simple scraps into gourmet treasures. I will show you how to respect every ingredient and squeeze every drop of deliciousness from your grocery haul.
Together, we will transform your kitchen habits and reduce waste while feeding your family vibrant, flavorful meals.
These techniques are simple, yet they carry the weight of tradition and the spark of modern creativity. Let us begin our journey into the hidden potential of your vegetable basket.
Root Vegetable Peels: Transforming Potato and Carrot Skins into Crispy Snacks

Most home cooks instinctively peel their root vegetables before cooking. We are often trained to seek the pristine white flesh inside.
However, discarding skins means losing intense earthy flavor and vital nutrients. The peel is often where the fiber and vitamins concentrate.
Transforming these scraps into snacks is simple and rewarding. You create a crunchy, savory treat that rivals store-bought potato chips.
This technique works beautifully for russets, Yukon golds, and carrots. It is also perfect for sweet potato skins from your favorite recipes.
The most flavorful part of the vegetable is often the part we throw away. Rethink your scraps.
Achieving the perfect crunch requires specific attention to moisture. If the peels are wet, they steam rather than roast.
The skin of the potato contains more nutrients than the rest of the potato. It is rich in fiber, B vitamins, iron and potassium.
Medical News Today, Potato Health Benefits
Consider this comparison of cooking methods to decide what suits your palate and time constraints.
| Feature | Oven Baked | Deep Fried |
|---|---|---|
| Texture | Crunchy, slightly chewy centers | Shatteringly crisp |
| Oil Usage | Minimal (1-2 tbsp) ✅ | High (2+ cups) ❌ |
| Cook Time | 15-20 Minutes | 3-5 Minutes ✅ |
| Cleanup | Easy (Parchment paper) ✅ | Difficult (Oil disposal) ❌ |
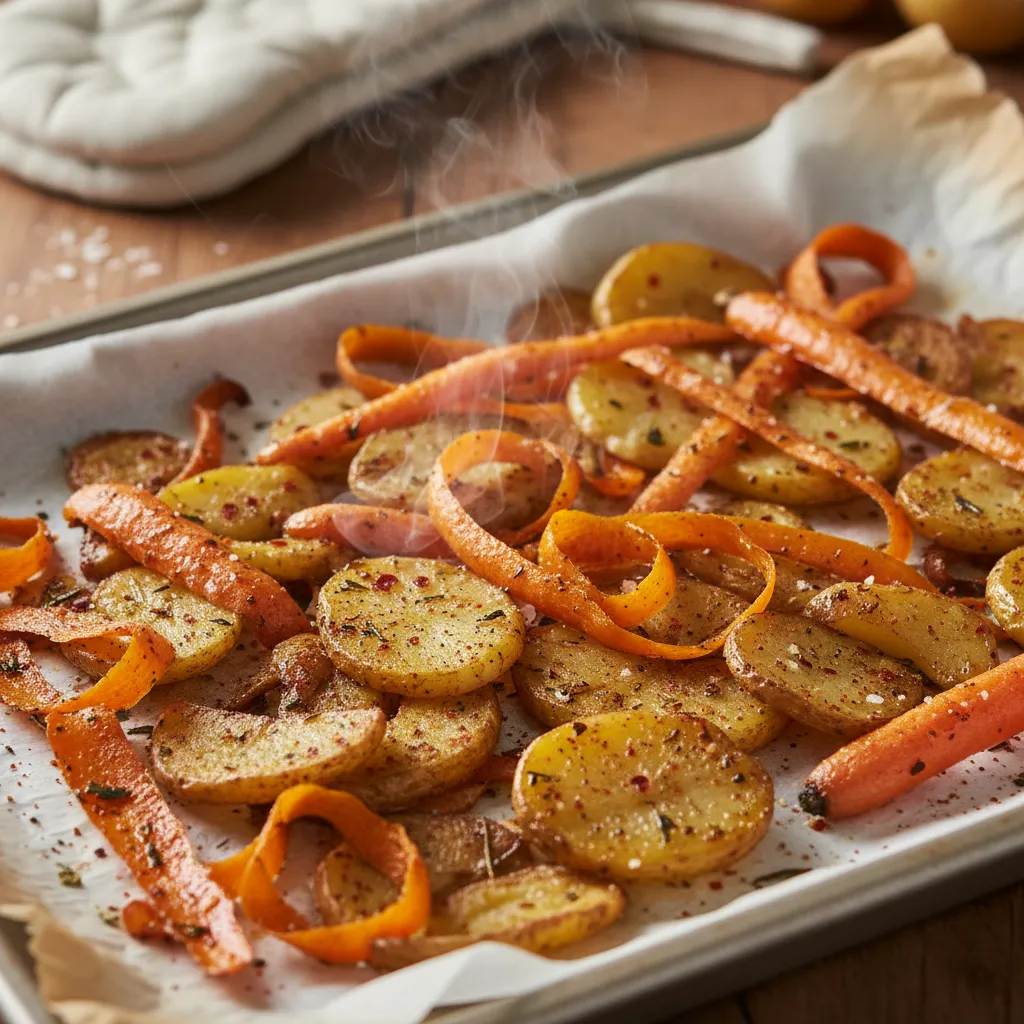
Crispy Herb-Roasted Peel Chips
This recipe turns “waste” into a gourmet appetizer. The key is drying the peels thoroughly after washing to ensure a proper crisp.
Ingredients
- 3 cups mixed root vegetable peels (potato, carrot, parsnip)
- 2 tbsp extra virgin olive oil
- 1 tsp smoked paprika
- 0.5 tsp garlic powder
- 1 tsp coarse sea salt
- 1 tbsp fresh rosemary, chopped
Instructions
- Preheat your oven to 400°F (200°C) and line a baking sheet with parchment paper.
- Wash the peels thoroughly to remove any dirt.
- Pat the peels completely dry with a kitchen towel. Moisture prevents crisping.
- In a large bowl, toss the dry peels with olive oil until evenly coated.
- Sprinkle the paprika, garlic powder, and rosemary over the peels. Toss again to distribute spices.
- Spread the peels in a single layer on the baking sheet. Do not overcrowd them.
- Bake for 15 to 20 minutes, flipping halfway through, until golden-brown and crispy.
- Remove from the oven and sprinkle immediately with coarse sea salt. Serve warm.
You can experiment with seasonings to match your craving. Try a dusting of nutritional yeast for a cheesy, dairy-free flavor profile.
This method reduces food waste significantly. It turns a standard kitchen chore into an opportunity for creativity and snacking.
Root to Stem Secrets
- Freeze for later: Don’t heat the oven for a single potato. Collect peels in a sealed bag in the freezer until you have a full sheet pan’s worth; they bake up perfectly straight from frozen.
- Use a Y-peeler: For the most consistent crunch, use a sharp Y-peeler to create wide, uniform ribbons. This prevents thinner edges from burning while thicker parts stay chewy.
- Add acid last: If you love salt and vinegar flavors, spritz your chips with malt vinegar or lemon juice immediately before serving. Adding liquid acids before baking will steam the peels and ruin the crisp.
Allium Skins and Corn Cobs: Deepening Stock Flavor and Natural Fabric Dyeing
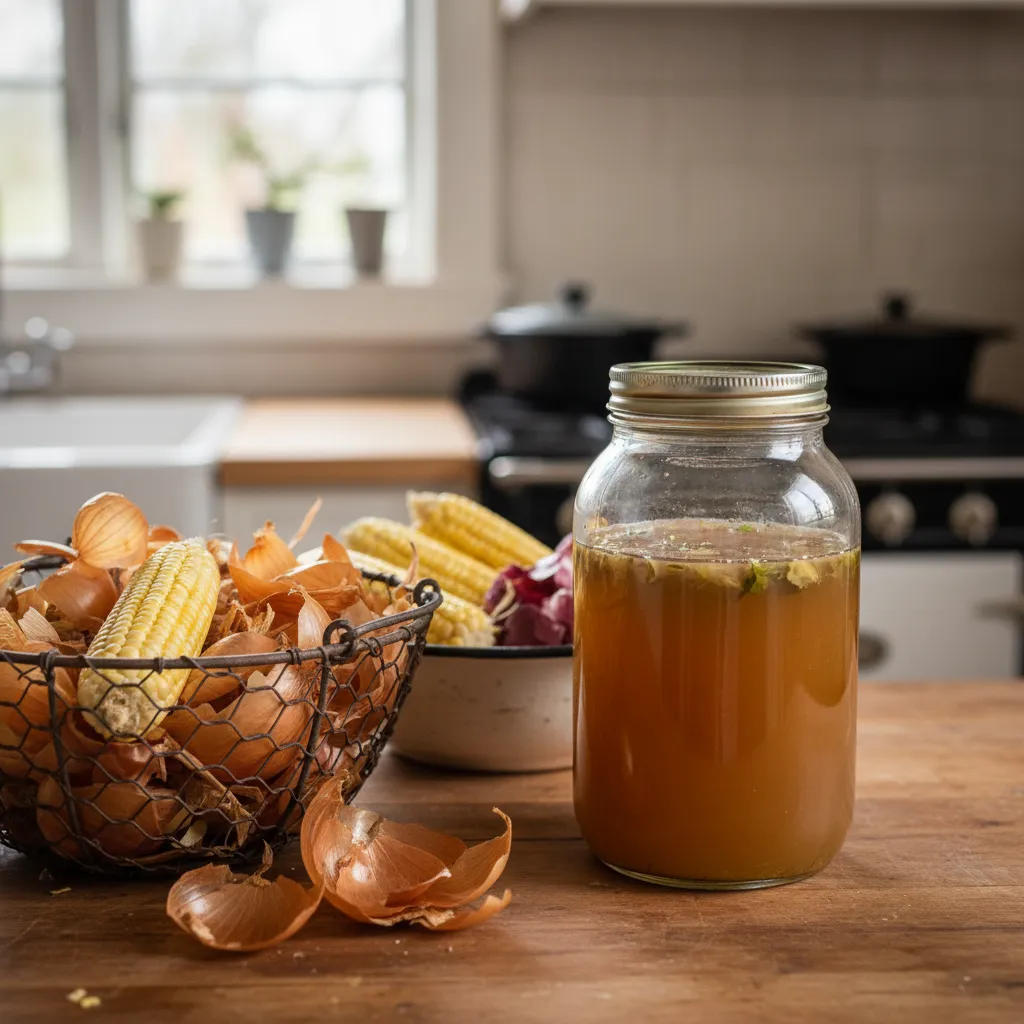
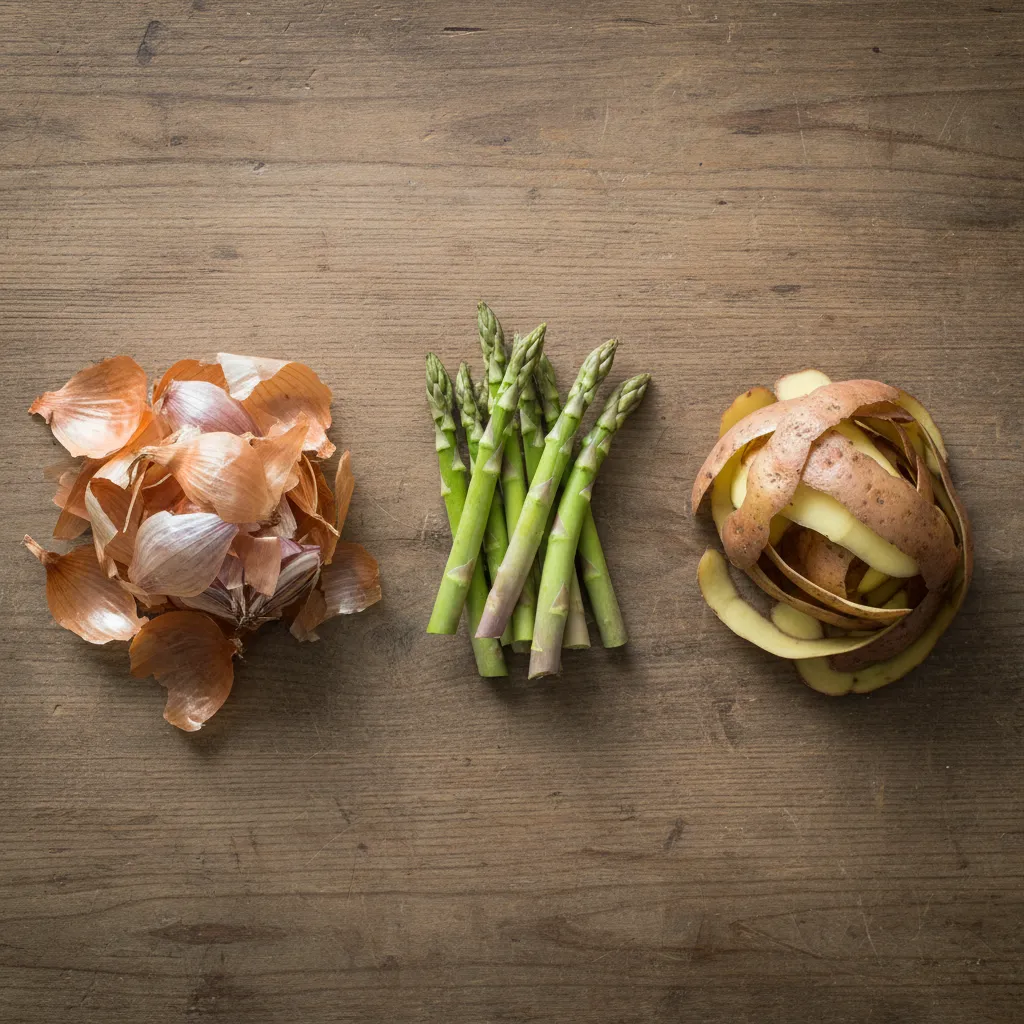
Most home cooks instinctively toss the papery outer layers of onions and garlic. This is a missed opportunity for flavor.
These skins are rich in quercetin and provide a deep, golden hue to liquids. They transform pale water into a rich broth base.
Corn cobs are equally valuable. The woody center holds a milky starch that adds sweetness and body to soups.
When you combine these elements, you create a foundation that rivals any store-bought product. It is essential for elevating your cooking.
True culinary creativity lies in seeing potential where others see waste.
Kitchen Alchemy
- Start a dedicated freezer bag for onion skins, garlic peels, and bare corn cobs; once the bag is full, dump the contents into a pot of cold water to simmer your stock.
- Utilize the high tannin content in onion skins for projects outside the kitchen; boiling them creates a vibrant golden-orange dye perfect for staining cotton fabrics or coloring Easter eggs naturally.
- Break corn cobs in half before boiling to release more of their milky starch, creating a sweet, clouded broth that adds incredible body to chowders and risottos.
The “Liquid Gold” Corn and Onion Stock
This stock is sweeter than traditional vegetable broths. It works perfectly as a base for chowders, risottos, or poaching liquids.
By understanding the difference between stock and broth, you can adjust the richness by simmering these scraps longer.
Ingredients
- 4 cups yellow onion skins (packed loosely)
- 3 stripped corn cobs (raw or cooked)
- 8 cups cold water
- 1 tsp whole black peppercorns
- 2 sprigs fresh thyme
Instructions
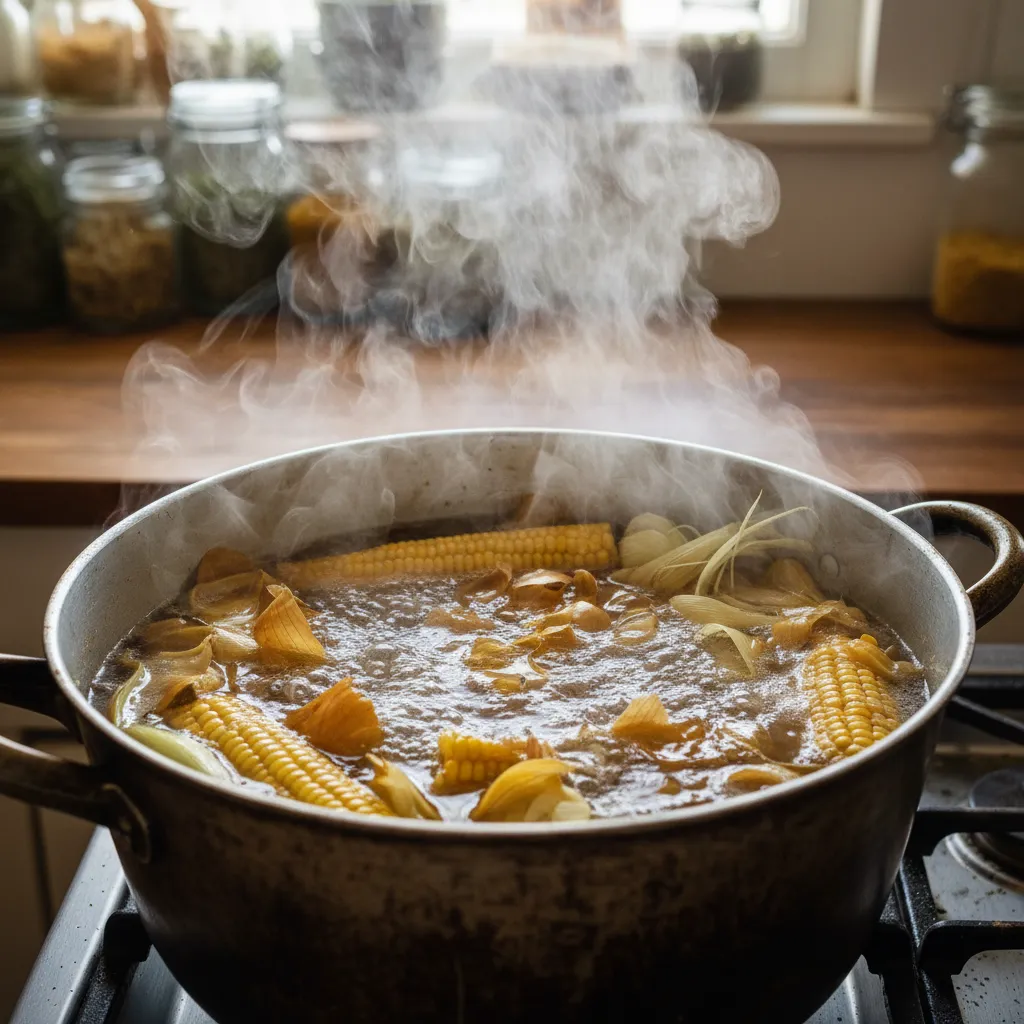
- Place the onion skins and corn cobs into a large stockpot. Break the cobs in half if they do not fit easily.
- Pour the cold water over the scraps. Ensure everything is submerged. Add the peppercorns and thyme.
- Bring the liquid to a boil over medium-high heat. Once boiling, reduce the heat immediately to a gentle simmer.
- Simmer uncovered for 45 minutes to 1 hour. The liquid should turn a deep, translucent amber color.
- Strain the stock through a fine-mesh sieve. Press down on the solids to extract every drop of flavor before discarding them.
This liquid can be frozen for up to three months. It adds a subtle sweetness that complements savory dishes without overpowering them.
Onion skins are very rich in flavonoids, particularly quercetin… these compounds are potent antioxidants.
National Onion Association, Onion Health Research
Scrap-Saving Secrets
- Start a freezer bag: Don’t feel pressured to buy corn just for stock. Keep a dedicated zip-top bag in your freezer to collect onion skins and stripped cobs over time until you have enough for a batch.
- Roast for depth: To add a smokier, more complex flavor to the sweetness, roast the corn cobs in a 400°F oven for 20 minutes before adding them to the water.
- Freeze in portions: Pour the cooled stock into standard ice cube trays. These 2-tablespoon pucks are perfect for deglazing pans or adding a splash of flavor to sauces without defrosting a large container.
From Pot to Textile: Natural Dyeing
If your pantry is already stocked, use these scraps for art. Onion skins are one of the most effective natural dyes available.
Yellow onion skins produce warm, earthy colors ranging from ochre to vibrant orange. Red onion skins yield soft greens or brownish-pinks.
This process requires no toxic chemicals. It is a safe and engaging project for families or anyone interested in sustainable living.
Natural Dyeing Success Checklist:
- Fiber Choice: Use natural fibers like cotton, wool, linen, or silk. Synthetic fabrics will not absorb the natural pigment well.
- Mordant: Pre-soak your fabric in a mixture of vinegar and water (1:4 ratio) to help the color set permanently.
- Quantity: You need roughly equal weights of onion skins and dry fabric for a strong, saturated color.
- Heat: Simmer the skins in water for an hour to extract the dye before adding the fabric. Do not boil the fabric itself.
- Patience: Let the fabric soak in the cooling dye bath overnight. The longer it sits, the deeper the final color will be.
This technique gives a second life to waste. It connects your kitchen practices to a broader cycle of sustainability and creativity.
Kitchen Studio Secrets
- Create organic patterns by wrapping your fabric with rubber bands or kitchen string before the dye bath to achieve a natural shibori effect.
- Shift the color spectrum by dipping your dyed fabric in iron water (water soaked with rusty nails), which can transform bright yellows into moody olive greens.
- Don’t rush the collection process; store dry onion skins in a breathable paper bag until you have enough to equal the weight of your fabric for maximum color saturation.
Citrus and Fruit Remnants: Infusing DIY Cleaners and Aromatic Garnishes
Most home cooks squeeze a lemon for juice and immediately toss the rind. However, the skin holds the highest concentration of essential oils in the fruit.
These oils, particularly limonene, are powerful solvents that cut through grease. They also offer a bright aroma that artificial scents cannot match.
Before you compost those skins, consider their potential in your home. If you enjoy cooking with zest, you might explore these citrus-infused dishes first.
If you have an abundance of scraps left over, turning them into a non-toxic cleaner is a practical solution. It reduces waste and eliminates the need for harsh chemicals.
Zero-Waste Wisdom
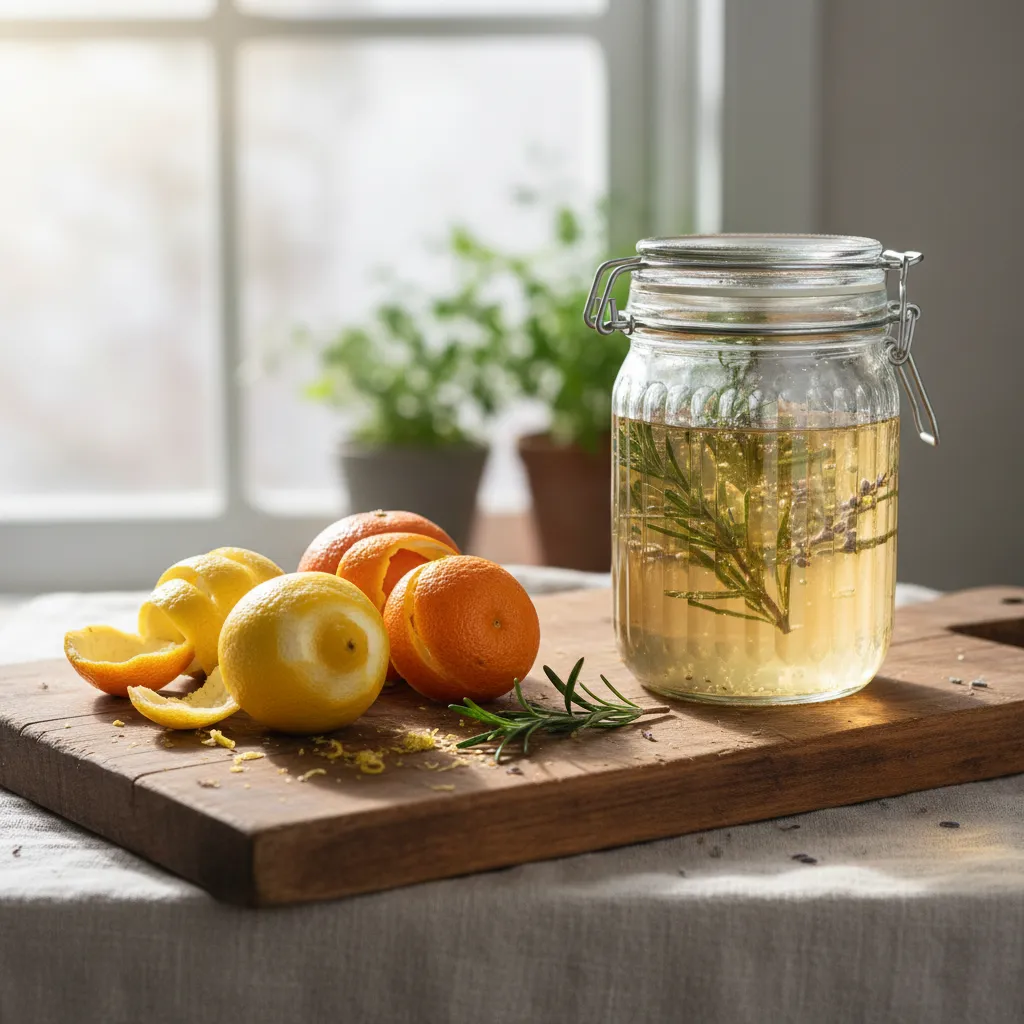
- DIY All-Purpose Cleaner: Pack a glass jar with leftover citrus rinds and cover them completely with white vinegar. Let the mixture sit for two weeks to infuse, then strain into a spray bottle for a powerful grease-cutting cleaner.
- Instant Sink Refresh: Drop a few lemon or lime peels into your garbage disposal and run it with hot water. The textured skins help clean the blades while releasing natural oils that deodorize the drain.
- Aromatic Fire Starters: Dry your orange or lemon peels on a windowsill or in a low-heat oven until brittle. These dried skins make excellent, fragrant kindling for fireplaces or wood stoves during the colder months.
DIY All-Purpose Citrus Vinegar

This simple infusion harnesses the acidity of vinegar and the oil from the peels. It is excellent for cleaning glass, countertops, and sinks. It leaves a fresh scent behind.
Ingredients
- 2 cups citrus peels (lemon, orange, grapefruit, or lime)
- 3 cups distilled white vinegar (enough to cover peels)
- 1 sprig fresh rosemary or thyme (optional for scent)
Instructions
- Pack the citrus peels tightly into a clean quart-sized mason jar.
- Pour the white vinegar over the peels until the jar is completely full. Ensure the peels are fully submerged to prevent mold.
- Seal the jar tightly with a lid and place it in a cool, dark cupboard for at least two weeks.
- Shake the jar gently every few days to help circulate the essential oils.
- After two weeks, strain the liquid through a fine-mesh sieve into a spray bottle. discard the used peels.
- Dilute the solution with equal parts water before using it on surfaces.
Vinegar helps cut grease and remove mineral deposits. It is biodegradable and safe for septic tanks.
Utah State University Extension, Cleaning With Vinegar
Eco-Cleaning Secret
- Avoid using this solution on natural stone surfaces like marble or granite, as the high acidity can etch and damage the finish.
- For an extra-strength degreaser, use the solution undiluted on tough kitchen grime, but always test a small, inconspicuous area first.
- Toss the used, vinegar-soaked peels into your garbage disposal and run it with cold water to help clean the blades and neutralize odors.
Dehydrated Fruit Garnishes

If you slice fruit rather than peeling it, the ends and odd-shaped pieces can be saved. Dehydrating these remnants creates beautiful, shelf-stable garnishes.
These dried wheels add visual flair to beverages. They are perfect for elevating easy mocktails or hot tea. They also concentrate sugars for a sweet, chewy snack.
You do not need a dehydrator to achieve this result. A low oven works perfectly fine for drying fruit slices evenly.
Oven-Dried Citrus Wheels
- Preparation: Preheat your oven to its lowest setting, usually between 170°F and 200°F (75°C to 95°C). Line a baking sheet with parchment paper.
- Slicing: Slice the citrus remnants into thin, uniform rounds or half-moons. Blot them dry with a paper towel to remove excess moisture.
- Baking: Arrange the slices in a single layer. Bake for 3 to 4 hours, flipping them every hour, until they are dry to the touch and crisp.
- Storage: Allow them to cool completely. Store in an airtight container in a dark place for up to one month.
The most aromatic part of the fruit is often the part we throw away. Capture the essence, keep the flavor.
Beyond cleaning and eating, dried peels make excellent kindling for fires. The oils in orange skin are flammable and act as a fragrant fire starter.
You can also grind dried peels into a powder. This “citrus dust” can be mixed with sugar or salt for rimming glasses or seasoning roasted vegetables.
Zero-Waste Chef Hacks
- To achieve a stained-glass effect, lightly brush your fruit slices with a simple syrup solution before placing them in the oven.
- Keep your garnishes perfectly crisp by storing them with a food-safe desiccant packet to prevent moisture re-absorption.
- Don’t limit yourself to drinks; use these as fragrant décor in a stovetop potpourri by simmering them with cinnamon sticks.
Fibrous Stalks and Leafy Tops: Regrowing Gardens and Blending Zero-Waste Pestos
Most home cooks toss broccoli stems and carrot tops without a second thought. This is a missed opportunity for incredible flavor and nutrition.
These fibrous bits often hold more intense earthy notes than the florets or roots we prize. Learning to use them transforms your cooking style.
You can turn tough stalks into tender stir-fry additions or savory soup bases. Leafy tops offer a peppery bite perfect for sauces and garnishes.
Before you compost these gems, consider their potential. They are perfect for creating rich liquids, which brings up the debate of stock vs broth in your kitchen.
The most local food you can eat is the food you grow on your own windowsill using yesterday’s scraps.
Zero-Waste Wisdom
- To regrow your own veggies, place the base of celery or romaine lettuce in a shallow bowl of water on a sunny windowsill; you will see fresh green shoots emerge in just a few days.
- When using broccoli or kale stems, use a vegetable peeler to remove the tough, woody outer layer to reveal the sweet, tender heart that is perfect for slicing into stir-frys.
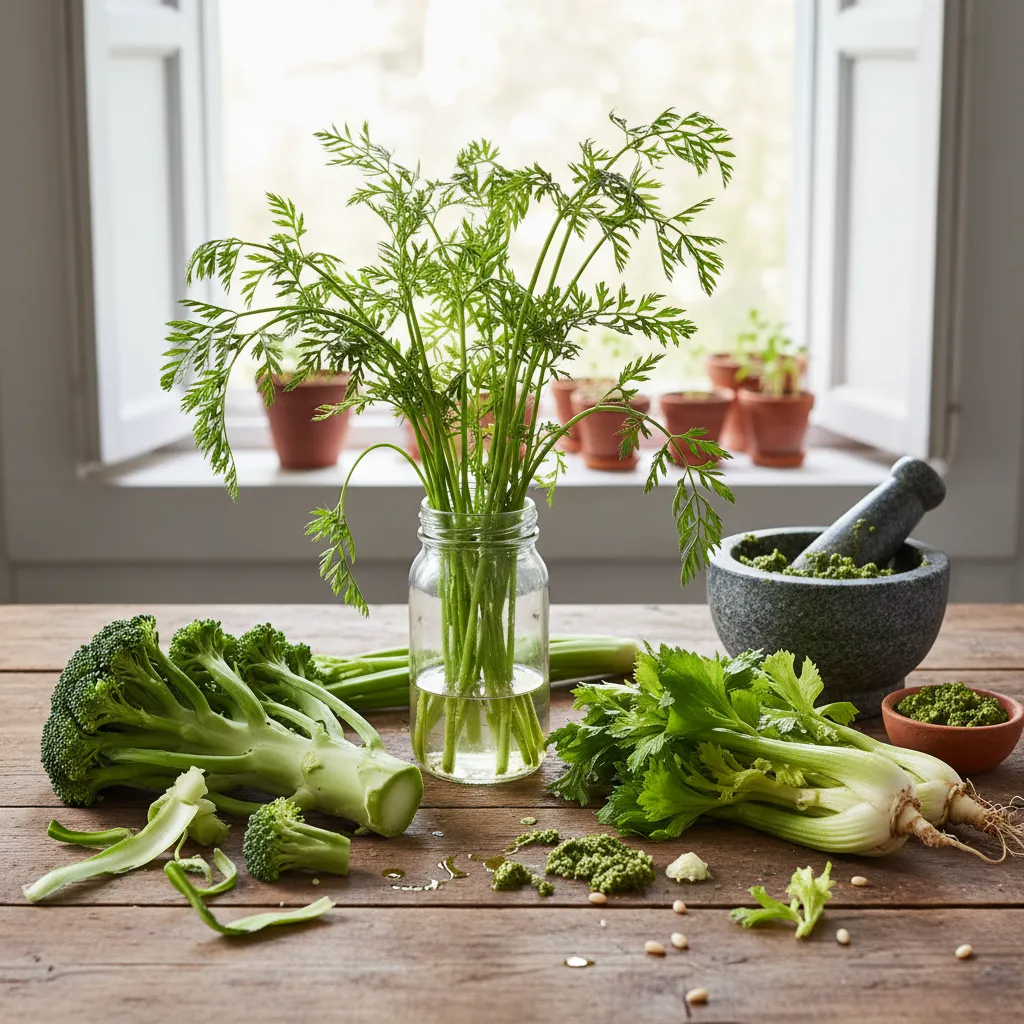
- Transform bitter carrot tops into a vibrant pesto by blanching them quickly in boiling water for 30 seconds before blending with garlic, nuts, and oil.
The Countertop Garden: Regrowing Your Scraps
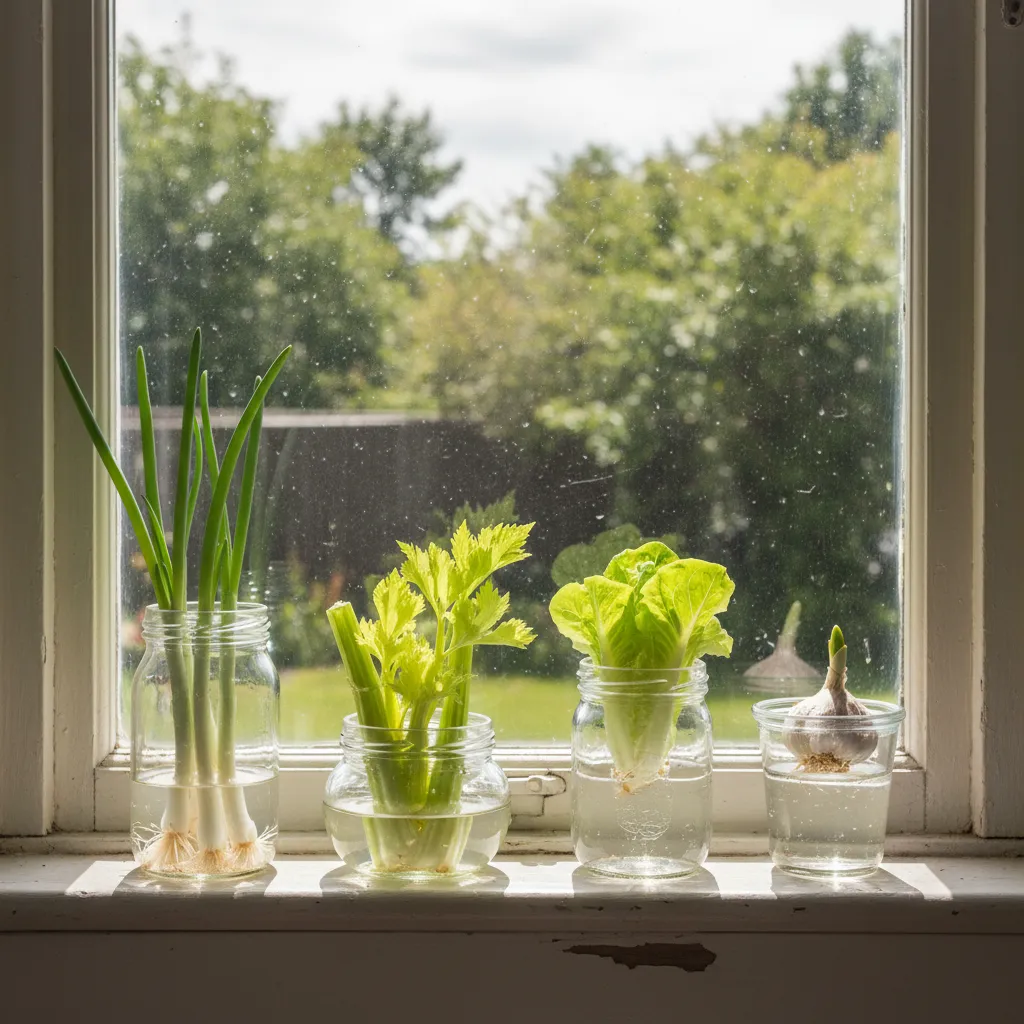
You do not need a large backyard to grow food. Many vegetable scraps possess the biological energy to regenerate right in your kitchen.
Green onions, celery, and romaine lettuce are the easiest candidates. Simply place the root ends in a shallow dish of water and watch them grow.
Change the water daily to keep it fresh and clear. Within a week, you will see fresh green shoots emerging from the center of the cut base.
Regrowing vegetables from food scraps is a fun, easy way to reduce food waste… Green onions, lettuce, and celery are easy ones to start with.
Iowa State University Extension, Gardening Projects for Kids
Garden Hacker’s Guide
- Use filtered water to prevent chlorine buildup, which can sometimes stunt the growth of sensitive romaine lettuce roots.
- Don’t submerge the entire scrap; only cover the bottom one inch in water to avoid rot and ensure the top stays breathable.
- Once roots are two inches long, transplant your scraps into a small pot with potting soil for a more sustainable, nutrient-rich harvest.
From Trash to Treasure: Carrot Top Pesto
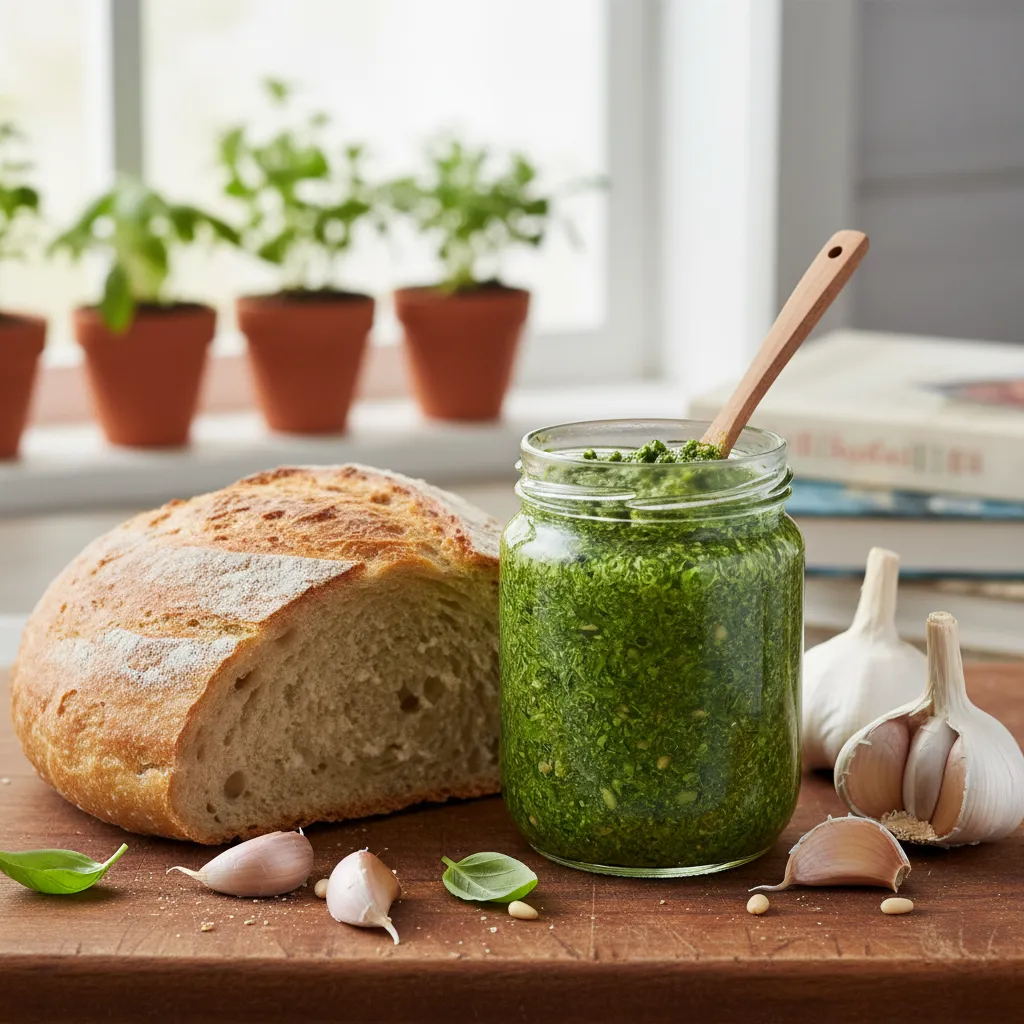
Carrot tops have an herbaceous flavor similar to parsley but with more texture. They make a stunning pesto that pairs well with pasta or roasted meat.
This vibrant sauce is also excellent for dipping. Try serving it alongside warm bread, like this sourdough focaccia recipe, for a rustic appetizer.
Ingredients
- 2 cups fresh carrot tops, washed and stems removed
- 1/3 cup toasted walnuts or pine nuts
- 1/2 cup grated Parmesan cheese
- 1 clove garlic, peeled
- 1/2 cup extra virgin olive oil
- 1 tbsp fresh lemon juice
- 1/2 tsp sea salt
Instructions
- Blanch the carrot tops in boiling water for 30 seconds to set the bright green color. Immediately plunge them into an ice bath to stop cooking.
- Drain the greens thoroughly and squeeze out any excess water with a clean kitchen towel. Excess water will make your pesto runny.
- Place the garlic and toasted nuts in a food processor. Pulse several times until they are coarsely chopped.
- Add the carrot tops, Parmesan cheese, lemon juice, and salt. Pulse again to combine the ingredients into a rough paste.
- With the motor running on low, slowly stream in the olive oil. Continue processing until the mixture emulsifies into a smooth sauce.
- Taste and adjust seasoning. Serve immediately or store in the fridge with a thin layer of oil on top to prevent browning.
Zero-Waste Wizardry
- If your carrot tops are particularly bitter, mix them with a 1:1 ratio of baby spinach or fresh parsley for a milder, more balanced sauce.
- Swap the walnuts for toasted sunflower seeds or pepitas to create a nut-free version that maintains that signature crunchy texture.
- Store your pesto with a thin layer of olive oil on top in an airtight container to prevent oxidation and keep that vibrant green hue looking fresh.
Handling Fibrous Broccoli and Kale Stems
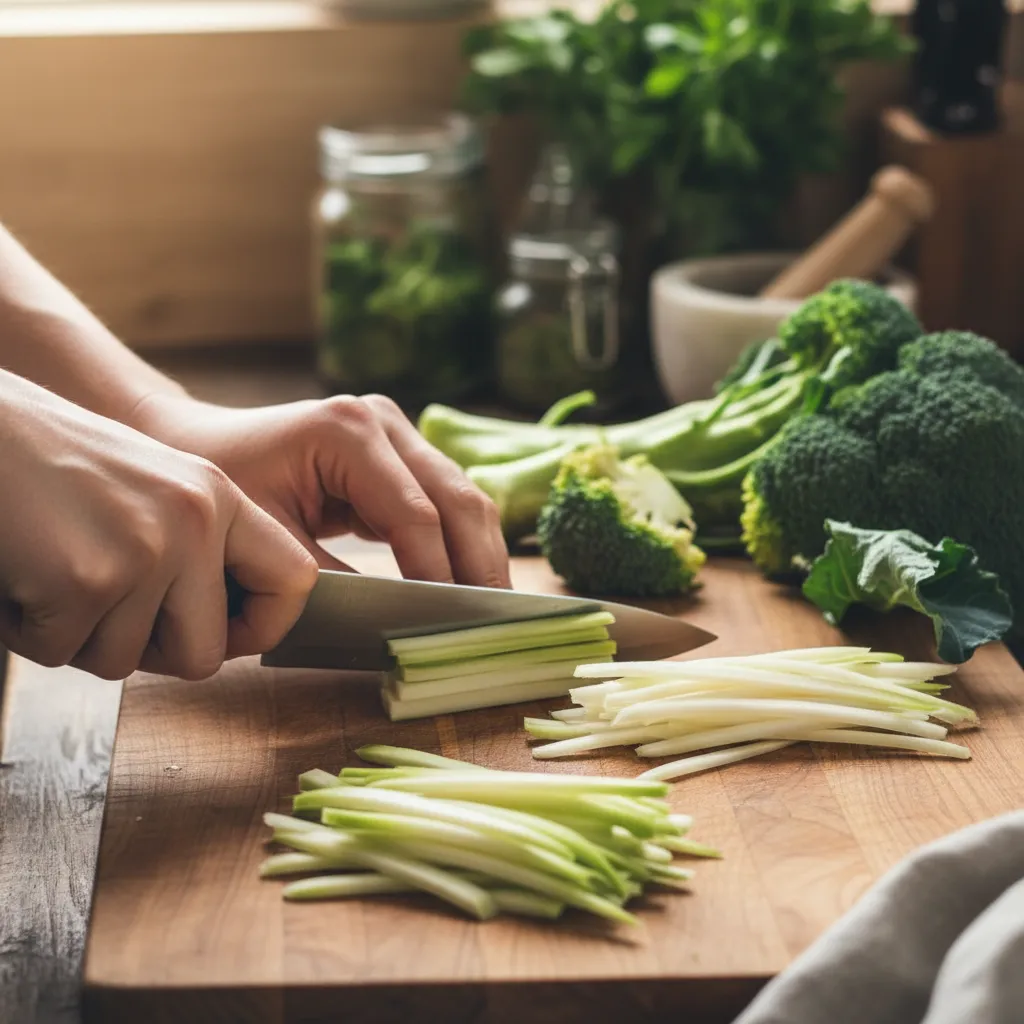
Broccoli stems are sweet and crunchy, reminiscent of kohlrabi. The only barrier to enjoying them is the tough, woody outer skin.
Use a vegetable peeler to strip away the thick exterior. Once you reach the lighter, moist center, the stem is ready for any culinary application.
Kale stems can be tough, but thin slicing solves this. Sauté them with garlic and chili flakes before adding the leaves to the pan.
Quick Ways to Use Stalks:
- Broccoli Slaw: Julienne peeled stems and toss with a creamy dressing.
- Pickled Stems: Swiss chard stems pickle beautifully in a vinegar brine.
- Soup Base: Purée cooked cauliflower cores into soups for creamy texture without dairy.
- Stir-Fry: Slice kale stems into coins and cook until tender-crisp.
Zero-Waste Chef Secrets
- Use a vegetable peeler to remove the woody exterior until you reach the moist, pale green center; these hearts are the sweetest part of the broccoli.
- Finely chop kale stems into thin coins and sauté them for 3-5 minutes before adding the leaves to ensure they reach a perfect tender-crisp texture.
- Store your trimmed stems in a freezer bag to use later as a nutrient-rich base for homemade vegetable stocks or blended soups.
Vegetable Anatomy Guide: Scrap Flavor Profiles and Pesticide Safety Protocols

Understanding the anatomy of your produce transforms how you cook. Many home cooks discard the most flavorful parts of the vegetable without knowing it.
The skin and outer layers often contain high concentrations of aromatic oils. Learning to harness these elements elevates a simple dish to artisanal status.
Flavor lives in the edges. The peel, the stem, and the root are where the vegetable tells its true story.
Scrap Mastery
- Pesticide Neutralization: Soak thick-skinned scraps in a 1:3 vinegar-water solution for 15 minutes to neutralize surface residues before repurposing them for stocks or powders.
- Aromatic Extraction: Simmer fibrous vegetable ends and herb stems in oil or butter at low heat to capture the essential aromatic oils concentrated in the plant’s outer layers.
- Texture Transformation: Flash-fry well-cleaned potato or carrot skins to create flavor-dense garnishes that add a professional crunch to soft purees.
Decoding Scrap Flavor Profiles
Not all scraps are created equal. Some provide deep, savory notes, while others offer bright, grassy aromatics. Knowing the difference is crucial.
Before tossing anything into a pot, consider the specific character of the scrap. This ensures your final stock or infusion is balanced, not bitter.
| Vegetable Part | Flavor Profile | Best Culinary Application |
|---|---|---|
| Onion Skins | Deep savory, golden color, subtle umami | Stocks, broths, and natural food dye |
| Carrot Peels | Earthy sweetness, slight bitterness | Sautéed garnishes or soup bases |
| Herb Stems | Intense aromatic concentration, piney | Infused oils and slow-simmered sauces |
| Potato Skins | Starchy, earthy, robust texture | Fried crisps or thickening agents |
| Celery Leaves | Peppery, grassy, slightly astringent | Fresh garnish or pesto bases |
You can even use sturdy scraps like broccoli stems or cauliflower leaves in preservation projects. If you enjoy tart flavors, try fermenting vegetables to unlock new dimensions.
Scrap Master Secrets
- Keep a freezer-safe bag handy to gather veggie ends over time; it ensures you always have the perfect ratio for a balanced Sunday stock.
- Enhance the natural sugars in carrot peels and onion skins by quickly toasting them in a dry pan before liquid is added.
- When using herb stems, tie them with kitchen twine into a bouquet garni for easy removal once their flavor has been fully extracted.
Cleaning Protocols for Pesticide Safety
Using skins requires strict hygiene standards. Since the peel is the first line of defense for the plant, it also collects the most residue.
Conventionally grown produce often retains pesticide residue on the surface. While organic options are cleaner, all produce requires thorough washing.
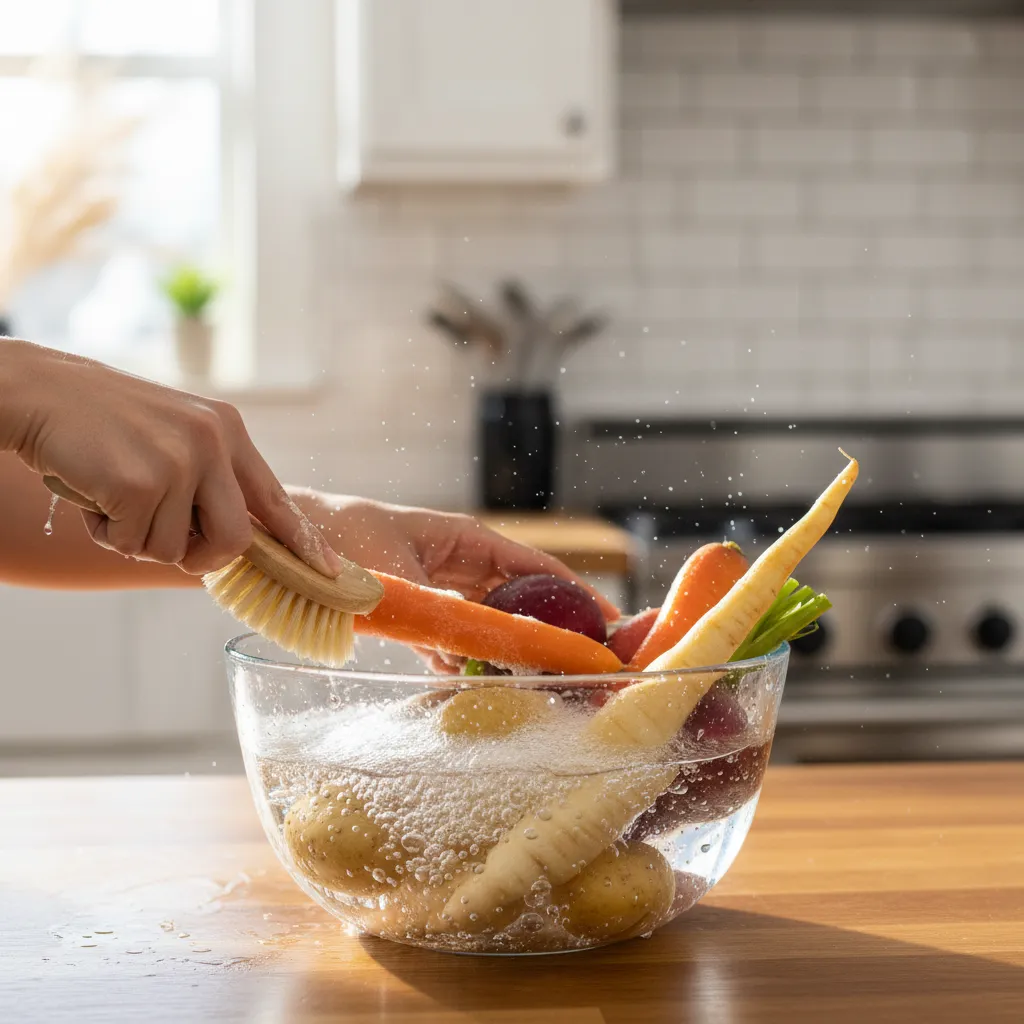
Washing fresh produce with cool tap water immediately before eating it is the best practice… Scrub firm produce like melons and cucumbers with a clean produce brush.
FDA Experts, FDA.gov Consumer Updates
For items with heavy wax or dirt, a simple water rinse is insufficient. A proper soak ensures you remove surface contaminants effectively.
This simple DIY wash helps break down waxy residues and lifts dirt from crevices. It is essential for root vegetables like potatoes and carrots.
Ingredients
- 1 large bowl of cool water
- 1 tbsp baking soda (bicarbonate of soda)
- 1 cup white vinegar (optional, for bacteria)
Instructions
- Fill a large bowl with cool water and dissolve the baking soda completely until the water is clear.
- Submerge your vegetable scraps or whole vegetables in the solution and let them soak for 12 to 15 minutes.
- Scrub the skins gently with a vegetable brush to loosen any remaining debris or stubborn dirt.
- Rinse thoroughly under cold running water and pat dry with a clean towel before cooking or storing.
Prep Pro Tips
- Designate a specific brush just for produce to prevent cross-contamination from raw meat or dish soap residues.
- Always use cold water for soaking; warm water can actually cause the skin pores to open and absorb pesticide residues further into the produce.
- Ensure your produce is completely dry before storage, as lingering moisture can lead to rapid spoilage and bacterial growth.
Embracing the Whole Harvest
Cooking with scraps is about more than just reducing waste; it is an invitation to discover hidden layers of flavor in your kitchen.
By roasting peels or simmering stocks, you unlock earthy notes and vital nutrients that usually end up in the bin.
Start small with these crispy potato skins, then let your creativity expand to broccoli stems and carrot tops.
Your pantry is fuller than you think. Enjoy the process of transforming the overlooked into the unforgettable.
Kitchen Curiosities
While organic is ideal to minimize pesticide exposure, thoroughly scrubbing conventional produce with a stiff brush makes it safe and delicious.
Absolutely. Store washed and dried peels in an airtight container in the fridge for up to two days, or freeze them for future soup stocks.
Avoid green potato skins, which contain solanine. Also, skip thick, tough rinds like those on pumpkin or winter squash unless making broth.