Table of Contents
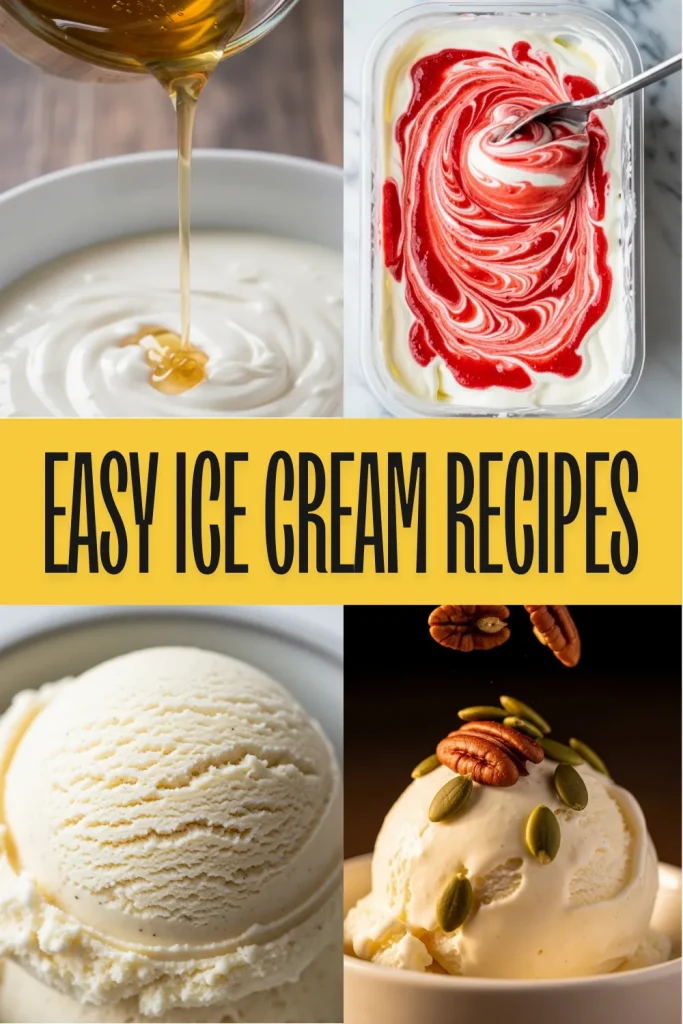
- The Gold Standard: Creamy No-Churn Condensed Milk Ice Cream
- The 5-Minute Workout: Mason Jar Shake-and-Freeze Method
- The Science Experiment: Instant Ziploc Bag Soft Serve
- Texture Troubleshooting: Preventing Crystals with Alcohol or Corn Syrup
- Customizable Canvas: Top Mix-Ins for Any Base Recipe
- Ready to Scoop the Sweetness?
- The Inside Scoop: Common Questions
There is nothing quite like the silky texture of fresh ice cream straight from the churn. While store-bought pints have their place, mastering the art of the frozen dessert at home unlocks a world of pure, unadulterated flavor that commercial brands simply cannot match.
You control the sweetness and the quality of the cream, ensuring every spoonful is rich, creamy, and completely devoid of artificial stabilizers.
You might believe that creating restaurant-quality gelato or custard requires expensive equipment or hours of labor, but I am here to tell you that simplicity is the ultimate sophistication in the kitchen.
With just a handful of wholesome ingredients like fresh milk, heavy cream, sugar, and real vanilla, you can craft a dessert that feels truly luxurious. These recipes are designed to be fail-proof and approachable for even the busiest home cook.
Preparing a batch of homemade ice cream is an act of love that transforms a simple weeknight dinner into a celebration. Whether you are serving eager children or impressing guests at a dinner party, the joy found in a scoop of scratch-made dessert is universal.
Let us tie on our aprons and explore these delightful recipes that bring the magic of the creamery right into your own kitchen.
The Gold Standard: Creamy No-Churn Condensed Milk Ice Cream
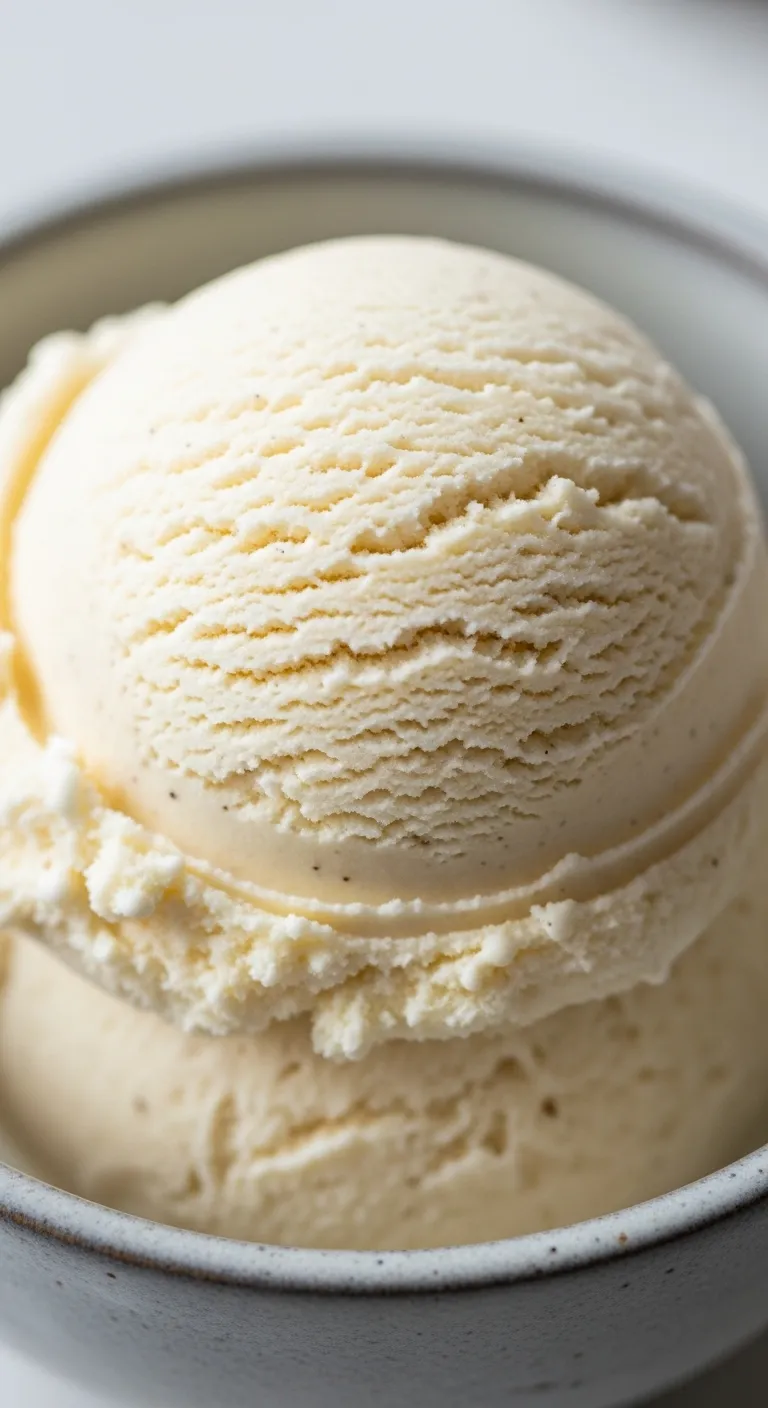
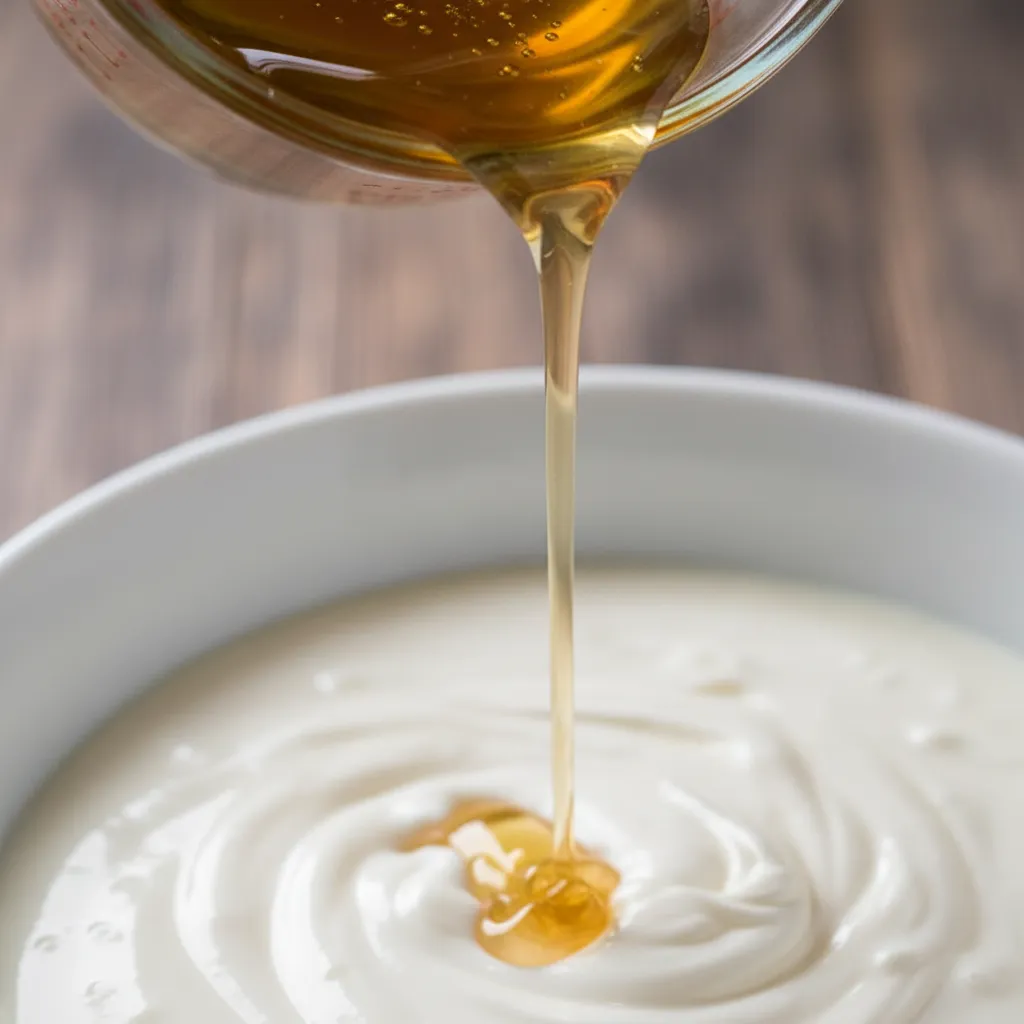
This method changes the game for home cooks everywhere. You do not need expensive gadgets or rock salt to achieve a velvety texture.
The secret lies in the unique properties of sweetened condensed milk. It replaces the traditional custard base used in complex recipes.
By removing water and adding sugar, condensed milk prevents hard ice crystals from forming. The result is a scoop that rivals artisanal shops.
This base is incredibly versatile. You can enjoy it plain or use it to top easy healthy strawberry cake recipes.
It also serves as the perfect foundation for an affogato if you love easy homemade cold coffee recipes.
Great ice cream isn’t about the machine; it is about the quality of your cream and the patience to let it freeze.
Ingredients
- 2 cups (1 pint) heavy whipping cream, extremely cold
- 1 can (14 oz) sweetened condensed milk (not evaporated milk)
- 2 teaspoons pure vanilla extract (or vanilla bean paste)
- 1/4 teaspoon fine sea salt
Instructions
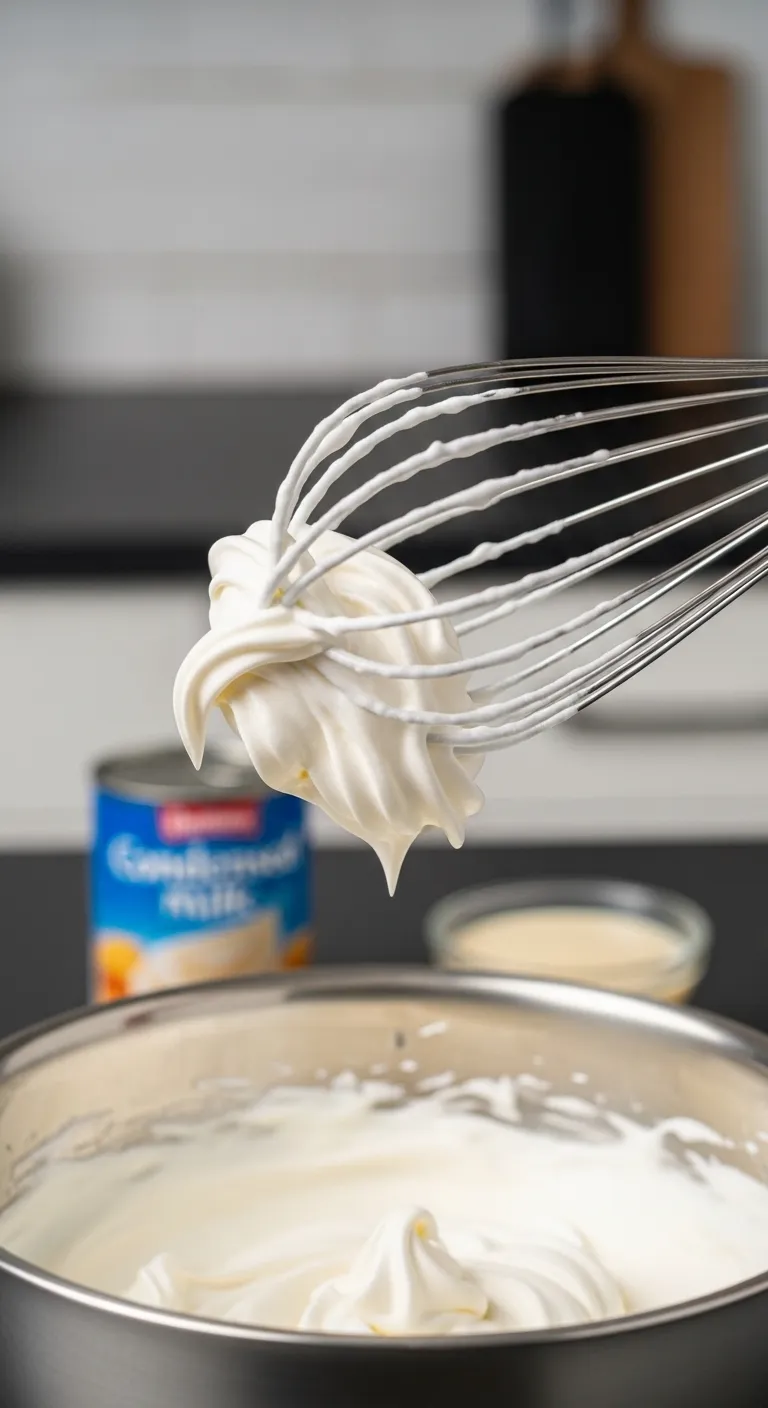
- Chill the bowl: Place your metal mixing bowl and beaters in the freezer for 15 minutes. Cold tools create better volume.
- Whip the cream: Pour the cold heavy cream into the chilled bowl. Beat on medium-high speed until stiff peaks form (about 3-4 minutes).
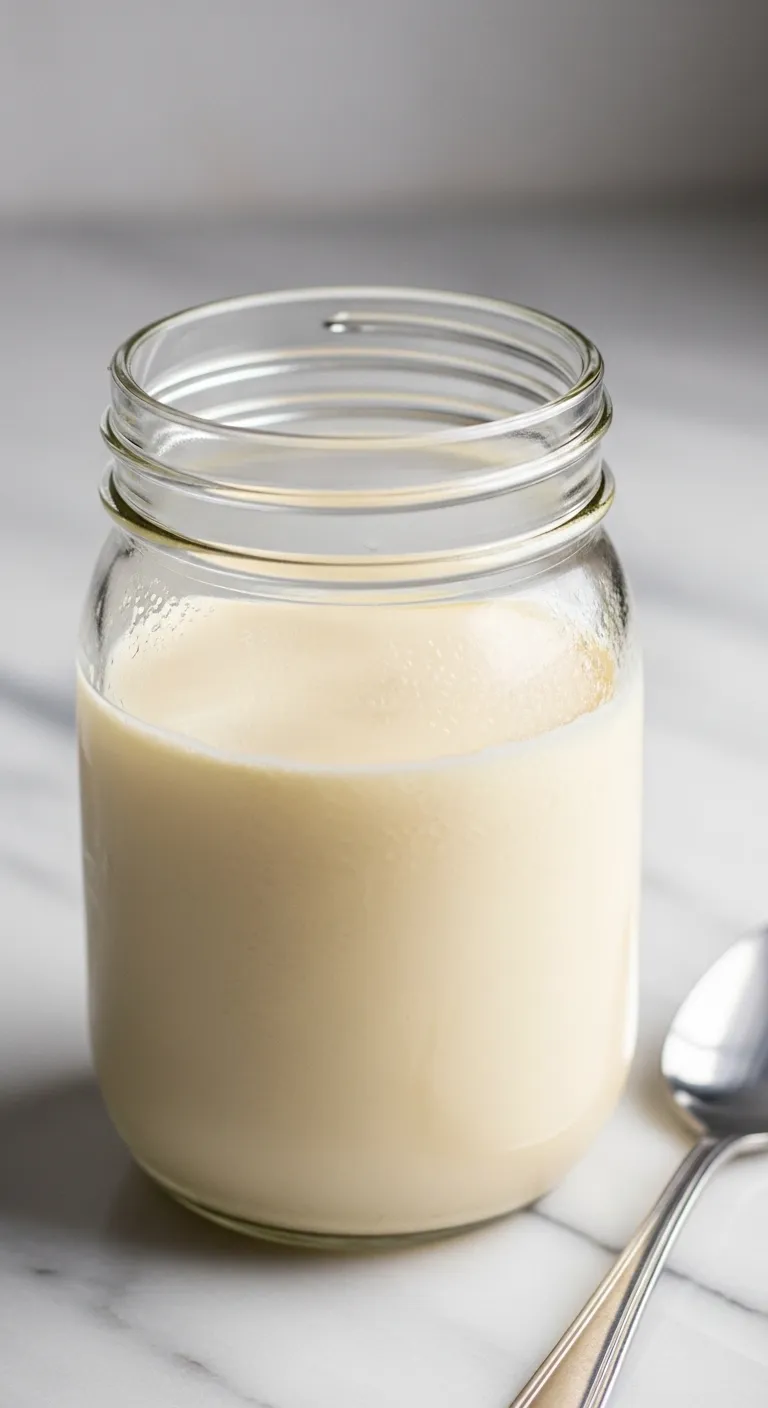
- Combine liquids: In a separate large bowl, whisk together the sweetened condensed milk, vanilla extract, and sea salt until smooth.
- Fold gently: Add one scoop of whipped cream to the condensed milk mixture. Fold gently to lighten it. Then, add the rest.
- Preserve air: Use a spatula to fold carefully. Do not overmix, or you will deflate the air bubbles that keep it light.
- Freeze: Pour into a loaf pan. Cover surface directly with wax paper to prevent freezer burn. Freeze for at least 6 hours.
Once you master this base, you can experiment with unlimited flavors. The high fat content ensures it remains scoopable straight from the freezer.
Sweetened condensed milk is a magical ingredient in ice cream. It provides the sugar and solids needed to keep the ice cream soft without the need for a custard base.
Emma Christensen, The Kitchn
The texture relies heavily on the aeration of the cream. If you under-whip, the final dish may be dense rather than fluffy.
Use this table to troubleshoot common texture issues before they happen. Small adjustments make a massive difference in the final mouthfeel.
| Issue | Probable Cause | The Fix |
|---|---|---|
| Icy Texture | Used low-fat cream | Always use 36% fat heavy whipping cream ✅ |
| Dense/Hard | Air knocked out | Fold gently; do not stir vigorously ❌ |
| Gummy Film | Over-whipped cream | Stop when stiff peaks just curl at the tip ✅ |
| Salty Taste | Wrong salt type | Use fine sea salt, not coarse table salt ✅ |
Allow the container to sit on the counter for two minutes before scooping. This brief rest lets the flavors bloom and softens the texture.
The Inside Scoop
- Lower the Freezing Point: For an even softer texture, stir in 1-2 tablespoons of alcohol (like vodka or bourbon) before freezing. Alcohol does not freeze, so it acts as antifreeze to keep the scoop velvety rather than icy.
- Cold is Gold: To get the highest volume, chill your condensed milk in the fridge alongside your heavy cream. Starting with all cold ingredients creates a more stable structure that holds air bubbles longer.
- Swirl Strategy: If adding heavy mix-ins like jams or caramel, swirl them in with a knife right before covering the pan. This creates ribbons of flavor rather than a blended color and prevents heavy pockets from sinking to the bottom.
The 5-Minute Workout: Mason Jar Shake-and-Freeze Method
This method is the ultimate entry point for beginners. It requires zero fancy equipment and relies on a simple physical reaction.
By shaking heavy cream in a sealed jar, you incorporate air bubbles. This mimics the churning process of expensive machines.
It creates a texture that is surprisingly luscious. This is also a fantastic activity to keep energetic kids occupied in the kitchen.
Great ice cream isn’t about the machine you own, but the ingredients you choose and the love you shake into it.
The result is a soft-serve consistency that hardens perfectly. You only need a standard 16-ounce mason jar and a bit of muscle power.
Ingredients
- 1 cup Heavy whipping cream (cold)
- 1 1/2 tbsp Granulated sugar
- 1/2 tsp Pure vanilla extract
- 1 pinch Sea salt (to enhance sweetness)
Instructions
- Combine: Pour the cold heavy cream, sugar, vanilla, and salt into a clean 16-ounce mason jar.
- Seal: Screw the lid on tightly to ensure no liquid escapes during the agitation process.
- Shake: Shake the jar vigorously for 3 to 5 minutes. Stop when the mixture thickens and doubles in volume.
- Check: The consistency should resemble melted chocolate ice cream or thick batter. Do not over-shake, or you will make butter.
- Freeze: Place the jar upright in the freezer. Freeze for 3 hours for soft serve or longer for a scoopable texture.
Once you master the base, you can get creative. The high fat content of the cream carries flavors beautifully.
You can easily incorporate chunks of chocolate or fruit. If you have leftovers from easy sugar cookie fudge recipes, chop them up.
Toss these solid mix-ins into the jar right after shaking but before freezing. This suspends them evenly throughout the mixture.
Sugar doesn’t just sweeten ice cream; it also lowers the freezing point of the mix, keeping it from freezing rock-hard.
David Lebovitz, Tips for Making Homemade Ice Cream
Texture is everything with this method. To avoid icy results, ensure your freezer is set to the correct temperature.
If you enjoy fruit flavors, be mindful of water content. You can treat fruit similarly to how to freeze overripe bananas for smoothies to reduce ice crystals.
Here are a few winning flavor combinations to shake things up:
- Strawberry Cheesecake: Add 1 tbsp strawberry jam and 1 tbsp cream cheese before shaking.
- Mint Chip: Add 1 drop of peppermint extract and a handful of mini dark chocolate chips.
- Honey Lavender: Swap sugar for honey and add a pinch of dried culinary lavender.
- Coffee Kick: Dissolve 1 tsp of instant espresso powder into the cream before adding other ingredients.
This technique proves that patience is the hardest ingredient to find. The 5-minute workout pays off with a rich, artisanal treat.
Shake It Up Secrets
- Chill your mason jar in the freezer for 10–15 minutes before adding ingredients. A frosty jar helps the heavy cream whip up faster and keeps the texture stable during the workout.
- Listen closely while you shake! As soon as the sound changes from a liquid slosh to a heavy thud, stop immediately so you don’t accidentally churn sweetened butter.
- If you freeze the mixture overnight, it will turn rock hard. Let the jar sit on the counter for 5–10 minutes before eating to return to that creamy, scoopable consistency.
The Science Experiment: Instant Ziploc Bag Soft Serve
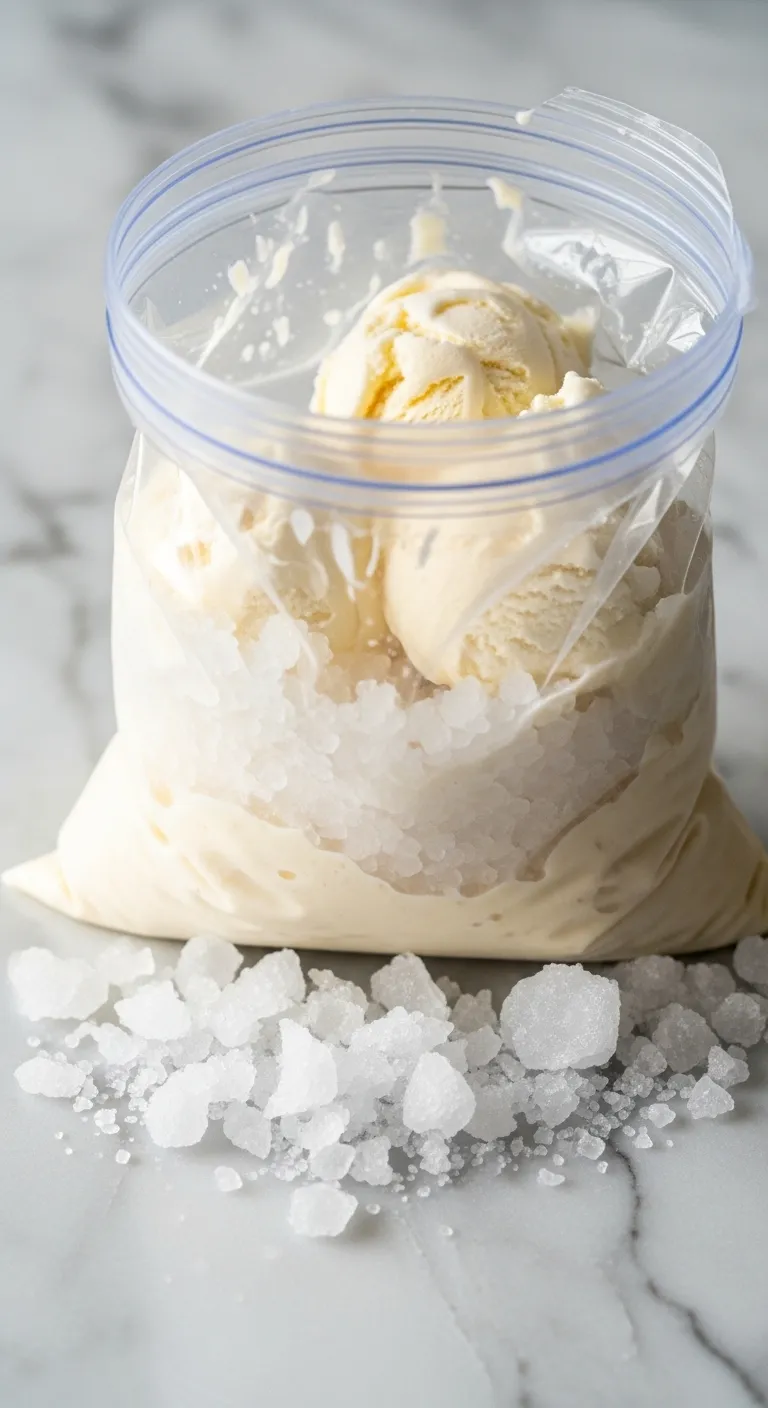
This method turns your kitchen into a delicious laboratory. It is arguably the fastest way to make frozen treats at home without a machine.
The technique relies on a fascinating chemical reaction between salt and ice. It lowers the temperature enough to freeze cream instantly.
Kids love this process because it is tactile and exciting. You can feel the mixture hardening right before your eyes as you shake the bag.
If you enjoy this hands-on approach, you might also like exploring our list of 25 easy summer treats everyone loves for more inspiration.
The best kind of science experiment is one you can eat with a spoon immediately after finishing.
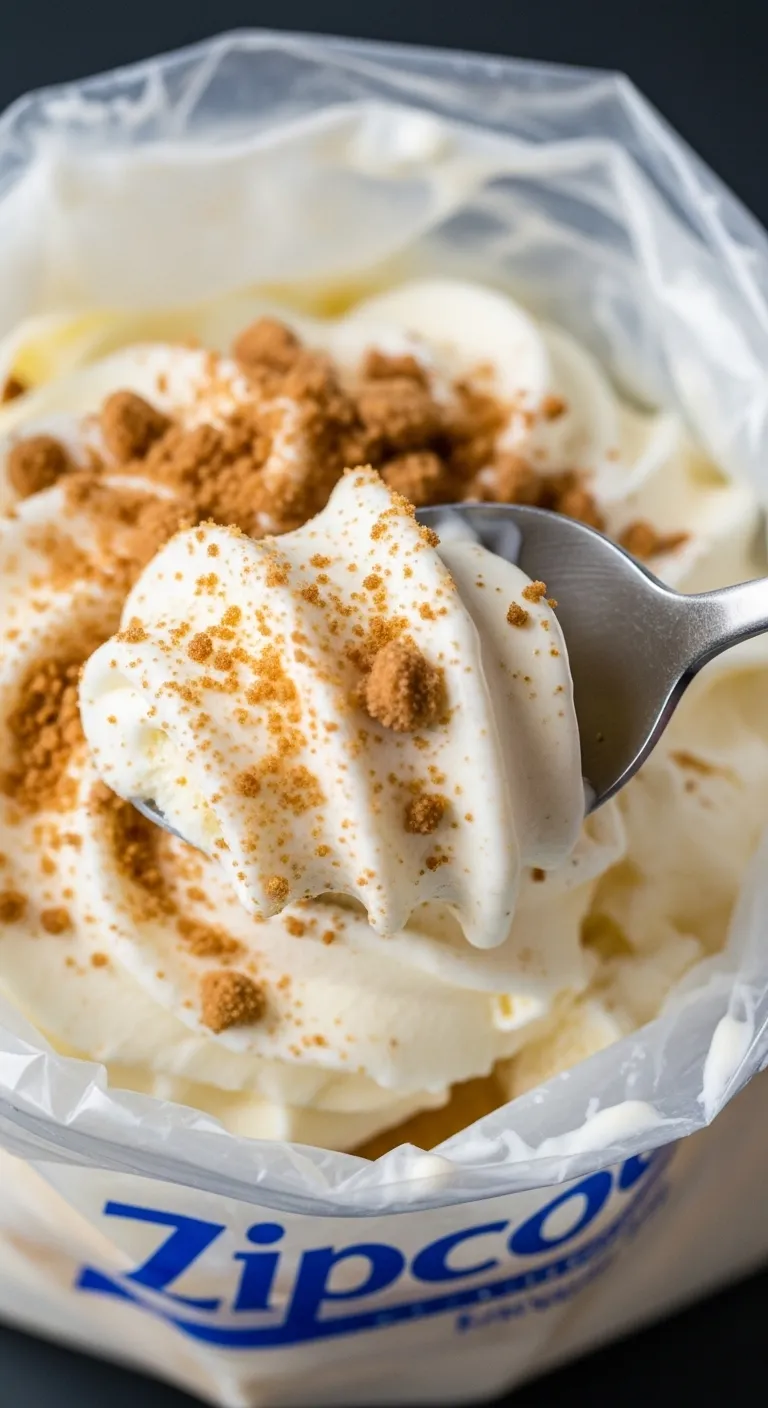
The texture results in a classic soft serve. It is best eaten straight from the bag or squeezed into a bowl immediately.
Ingredients
- 1 cup Half-and-half (or mixture of milk and cream)
- 2 tbsp Granulated sugar
- 1/2 tsp Pure vanilla extract
- 3 cups Crushed ice (cubes work, but crushed is faster)
- 1/3 cup Rock salt or coarse kosher salt
- Supplies: 1 gallon-size freezer bag, 1 quart-size freezer bag
Instructions
- Prepare the Base: Combine the half-and-half, sugar, and vanilla extract in the quart-size bag. Press out all excess air and seal it tightly.
- Prepare the Ice Bath: Fill the gallon-size bag with the ice and rock salt. The salt is crucial for lowering the temperature.
- Combine and Shake: Place the sealed small bag inside the large bag of ice. Seal the large bag securely.
- Agitate: Shake the bag vigorously for 5 to 10 minutes. Use oven mitts or a towel, as the bag will become extremely cold.
- Check Consistency:
- Serve: Remove the inner bag. Rinse it quickly under cold water to remove salty brine before opening. Scoop and enjoy immediately.
When you add salt to the ice, it lowers the freezing point of water… The melting ice absorbs heat from the ice cream mixture, which begins to freeze.
Scientific American, Scrumptious Science: Making Ice Cream in a Bag
You can easily customize this base recipe. Adding fruit creates a fresh flavor profile without complicating the chemistry.
For a fruity twist, try incorporating mashed bananas similar to our easy quick healthy banana dessert recipes.
Below is a quick guide to adding mix-ins effectively. Timing is key to maintaining that smooth, soft-serve texture.
| Mix-In Type | Preparation Method | When to Add |
|---|---|---|
| Fresh Fruit | Finely chopped or pureed | With liquid base before shaking |
| Cookies/Nuts | Crushed into small crumbs | After freezing, stir in gently |
| Chocolate | Mini chips or shavings | After freezing to avoid clumps |
| Syrups | Caramel or fudge sauce | Drizzle over finished product |
Remember to rinse the inner bag carefully. Salt water on the outside of the bag is the number one enemy of your sweet dessert.
This recipe creates a single serving. It is easy to double, but do not crowd the bag. It is better to make two separate batches.
Top-Secret Lab Notes
- Double-bag defense. Nothing ruins this experiment faster than salt water leaking into your cream. Use a second quart bag around your mixture to create an impenetrable barrier against the brine.
- Protect your paws. The chemical reaction drops the temperature well below freezing! If oven mitts feel too clunky, wrap the outer bag in a thick kitchen towel so you can shake vigorously without freezing your fingers.
- Get the air out. Before sealing your inner bag, try to squeeze out as much air as possible. This ensures the ice comes into direct contact with the liquid for a faster freeze and smoother consistency.
Texture Troubleshooting: Preventing Crystals with Alcohol or Corn Syrup
Ice crystals are the enemy of a luxurious dessert experience. They turn a creamy treat into a crunchy, icy disappointment. This happens when water freezes into large, sharp shards.
Commercial brands use gums and stabilizers to stop this. You do not need a chemistry set to achieve the same result at home. Two simple ingredients can save your batch.
Controlling the freezing point is the secret to a smooth scoop. By interfering with water molecules, we keep the texture soft and palatable.
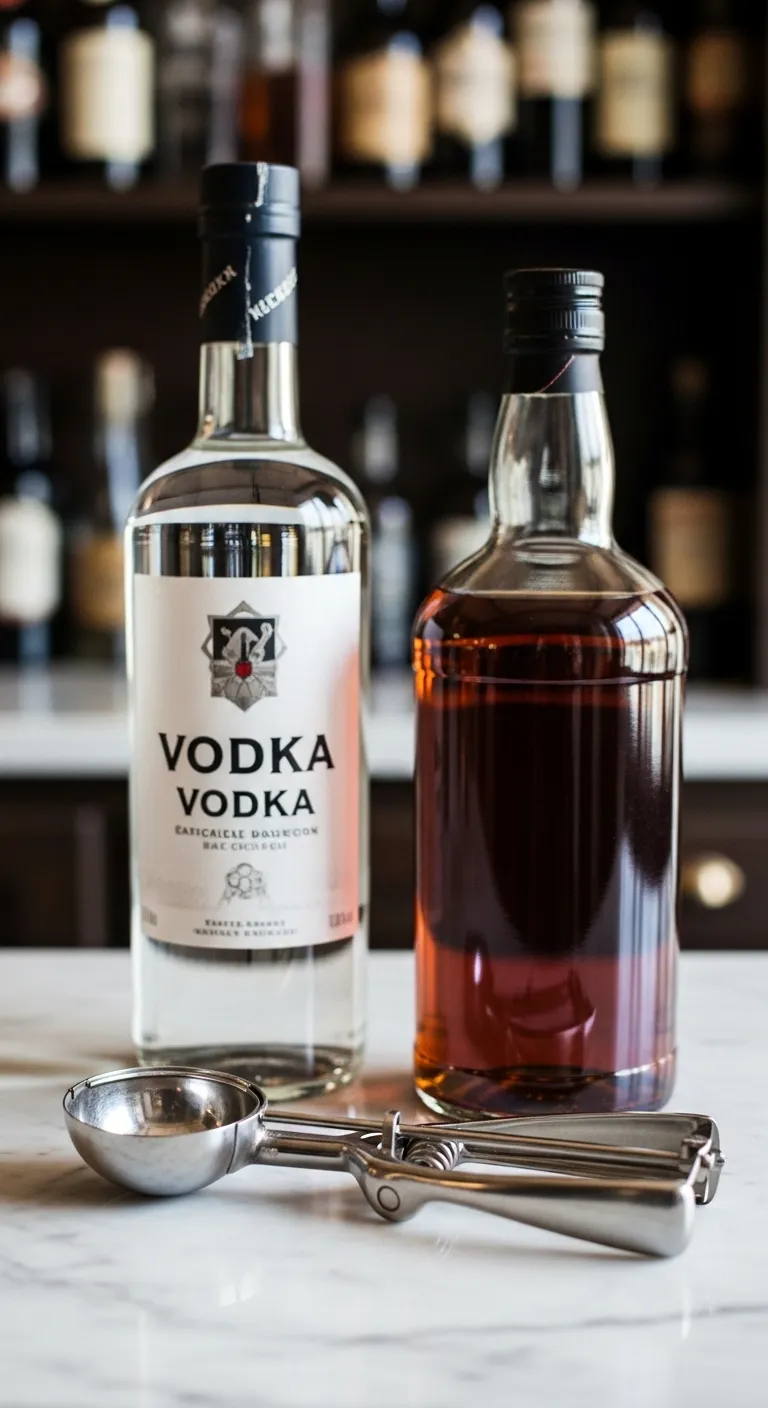
Using Spirits to Soften the Scoop
Alcohol has a much lower freezing point than water. Adding a small amount lowers the freezing point of your entire mixture. This keeps the ice cream softer.
You do not need to make the dessert boozy to get the benefits. A neutral spirit like vodka works perfectly without altering the flavor profile.
For fruit-based treats, consider using a complementary liqueur. Kirsch works well with cherries, while rum pairs beautifully with tropical flavors.
Add one to two tablespoons of alcohol per quart of base just before churning. Do not exceed this amount, or the mixture may never freeze solid.
If you prefer to keep your kitchen completely alcohol-free, you might enjoy our easy mocktails and non-alcoholic drinks instead. However, for ice cream, corn syrup is the best alcohol-free alternative.
Corn syrup is less sweet than sugar and much more viscous… giving the sorbet a glossy sheen and a rich, substantial body.
Max Falkowitz, Serious Eats
Corn Syrup for Body and Gloss
Corn syrup is an invert sugar that prevents crystallization effectively. It binds to water molecules, making it harder for them to join together as ice.
This ingredient adds a distinct chewiness to the finished product. It mimics the texture of artisanal gelato found in high-end shops.
Replace about one-quarter of the granulated sugar in your recipe with corn syrup. This provides stability without making the mixture overly sweet.
A single tablespoon of liquid sweetener can be the difference between a rock-hard block and a scoopable dream.
Since many rich ice cream recipes require egg yolks, you will have leftovers. Don’t waste them; check our guide on what to do with leftover egg whites.
Comparing Anti-Crystal Agents
Choose the right stabilizer based on the texture you desire. The following table breaks down how different ingredients affect the final mouthfeel.
| Ingredient | Effect on Texture | Effect on Flavor | Recommended Ratio |
|---|---|---|---|
| Vodka (40% ABV) | Soft, scoopable | Neutral/None | 1-2 tbsp per quart |
| Corn Syrup | Chewy, thick body | Mild sweetness | Replace 25% of sugar |
| Honey | Smooth, gooey | Distinct floral | Replace 25% of sugar |
| Vegetable Glycerin | Very soft | Slightly sweet | 1 tsp per quart |
Using liquid sweeteners like honey creates a unique texture. However, remember that honey has a strong flavor that will stand out in delicate bases.
Scoop Secrets
- Watch your pour: Never exceed two tablespoons of alcohol per quart of base. Adding too much will depress the freezing point so severely that your mixture becomes a slushy soup instead of a firm dessert.
- Flavor pairing: While vodka is the invisible hero, consider matching the spirit to your ingredients. Use rum for tropical bases or bourbon for vanilla custards to enhance the profile while keeping the texture ultra-smooth.
- The chew factor: If you crave that stretchy, artisanal gelato texture, corn syrup is your best friend. It provides a specific physical body and gloss that granular sugar simply cannot replicate.
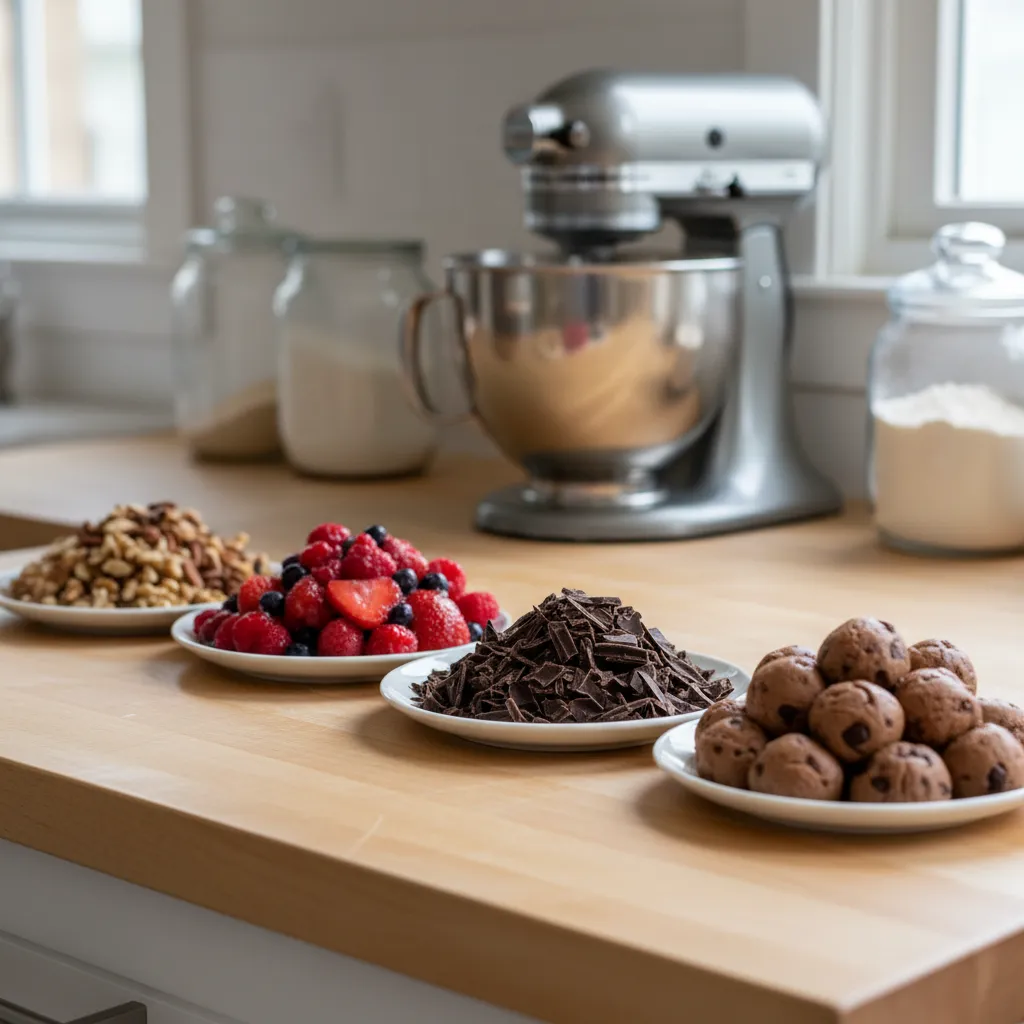
Customizable Canvas: Top Mix-Ins for Any Base Recipe
The true magic of homemade ice cream lies in your ability to customize it. You start with a simple vanilla or chocolate base and build flavor layers.
Texture plays a massive role in how we perceive taste. A successful scoop balances the smooth creaminess of the base with exciting crunchy bites.
Choosing high-quality mix-ins elevates your dessert from good to gourmet. You can use pantry staples or fresh seasonal produce to create unique blends.
Mix-Master Secrets
- Chill your add-ins: Always freeze solid chunks (like chocolate chips or nuts) and refrigerate fruit swirls before adding them to prevent melting your churned base.
- Watch the clock: Add mix-ins during the last minute of churning. This ensures even distribution without pulverizing softer ingredients like brownies or berries.
- Size matters: Chop large items into pea-sized pieces. Large chunks of fruit or candy can freeze into rock-hard boulders that are unpleasant to eat.
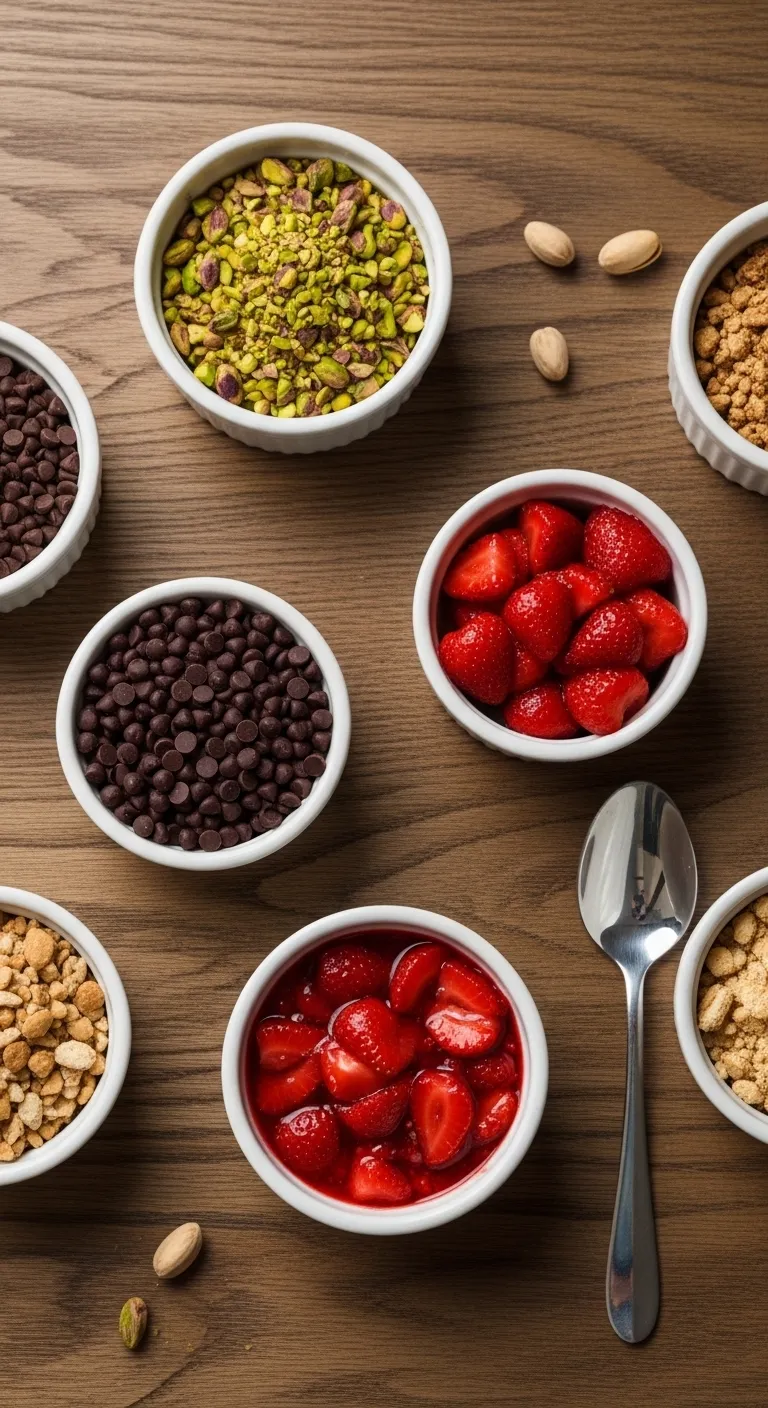
The Crunch Factor: Nuts, Seeds, and Cookies
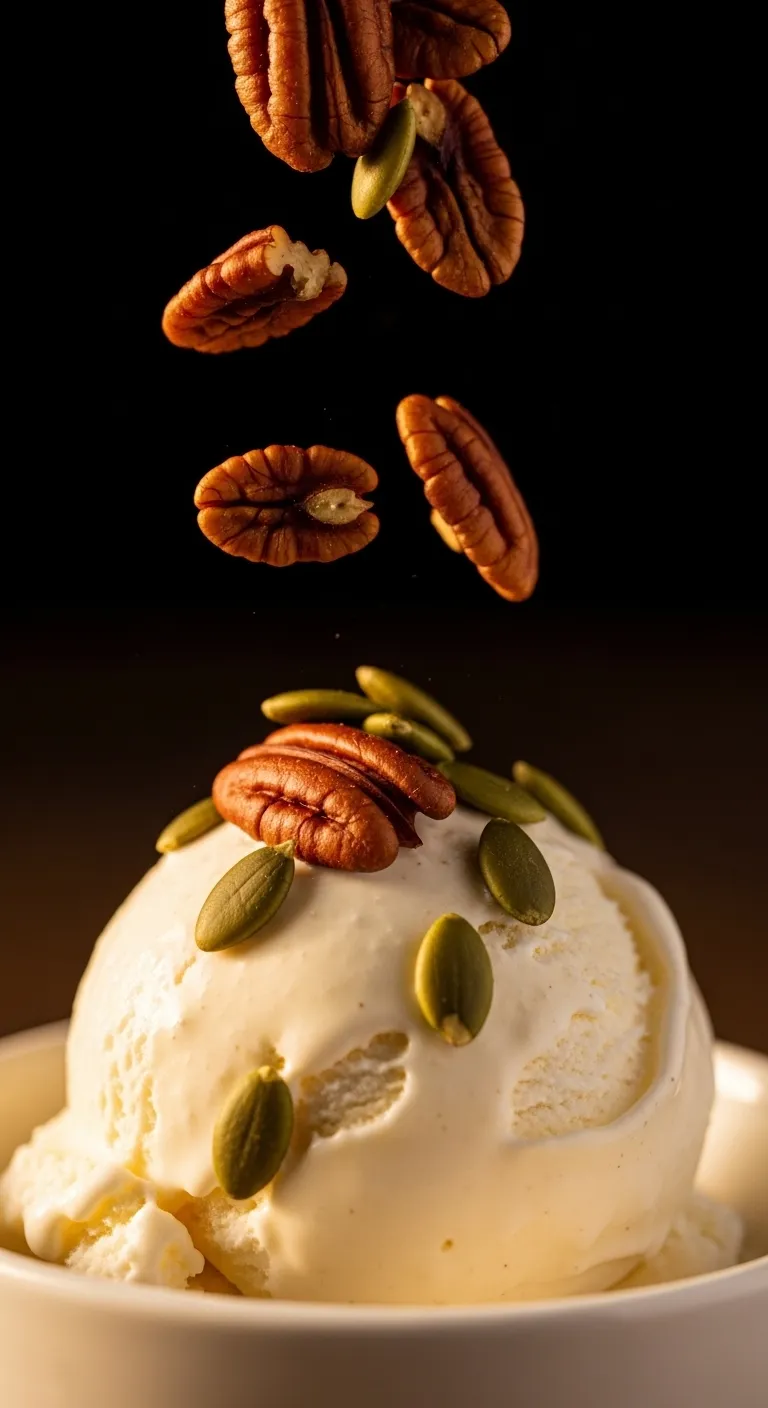
Nuts are a classic choice for adding immediate contrast to soft ice cream. Roasting them beforehand releases their essential oils and deepens flavor.
Pecans, walnuts, and pistachios pair beautifully with almost any flavor profile. Ensure you chop them into uniform pieces so they distribute evenly.
Seeds offer a delightful and unexpected crunch. You might try incorporating quick crunchy roasted pumpkin seeds for an autumnal twist.
Cookies add a nostalgic element to your bowl. Crushed chocolate sandwich cookies or ginger snaps absorb some moisture and become pleasingly soft.
Crunch Control
- Cool it down: Always allow your roasted nuts or toasted seeds to cool completely before adding them to the mixture; adding them hot will melt your ice cream base and affect the final texture.
- The chocolate shield: If you prefer cookies that stay crisp rather than soft, coat the crushed pieces in a thin layer of melted chocolate before stirring them in to prevent moisture absorption.
- Savory accents: Toss pumpkin seeds with a pinch of sea salt and cinnamon or cardamom to add a sophisticated, aromatic depth that contrasts perfectly with sweet cream.
Fruit Swirls and Natural Sweetness
Fresh fruit provides a bright and acidic counterpoint to rich dairy. However, adding raw fruit chunks can sometimes result in icy, hard textures.
Cook your fruit with a little sugar first to reduce water content. This creates a jammy consistency that remains soft even when fully frozen.
Bananas are an exception as they freeze well naturally. Learning the basics of preparing frozen bananas ensures creamy chunks every time.
Chill your mix-ins. If you add warm ingredients to the cold ice cream, it will melt the mixture and create ice crystals.
Test Kitchen Experts, Taste of Home
Scoop Secrets
- To prevent icy, hard chunks, cook your fruit with a splash of sugar first; this creates a jammy swirl that stays soft even when frozen.
- Always chill your mix-ins thoroughly before adding them to the churner to ensure they don’t melt your base and cause ice crystals.
- Skip the cooking step for bananas, as their low water content allows them to freeze perfectly without needing to be reduced down.
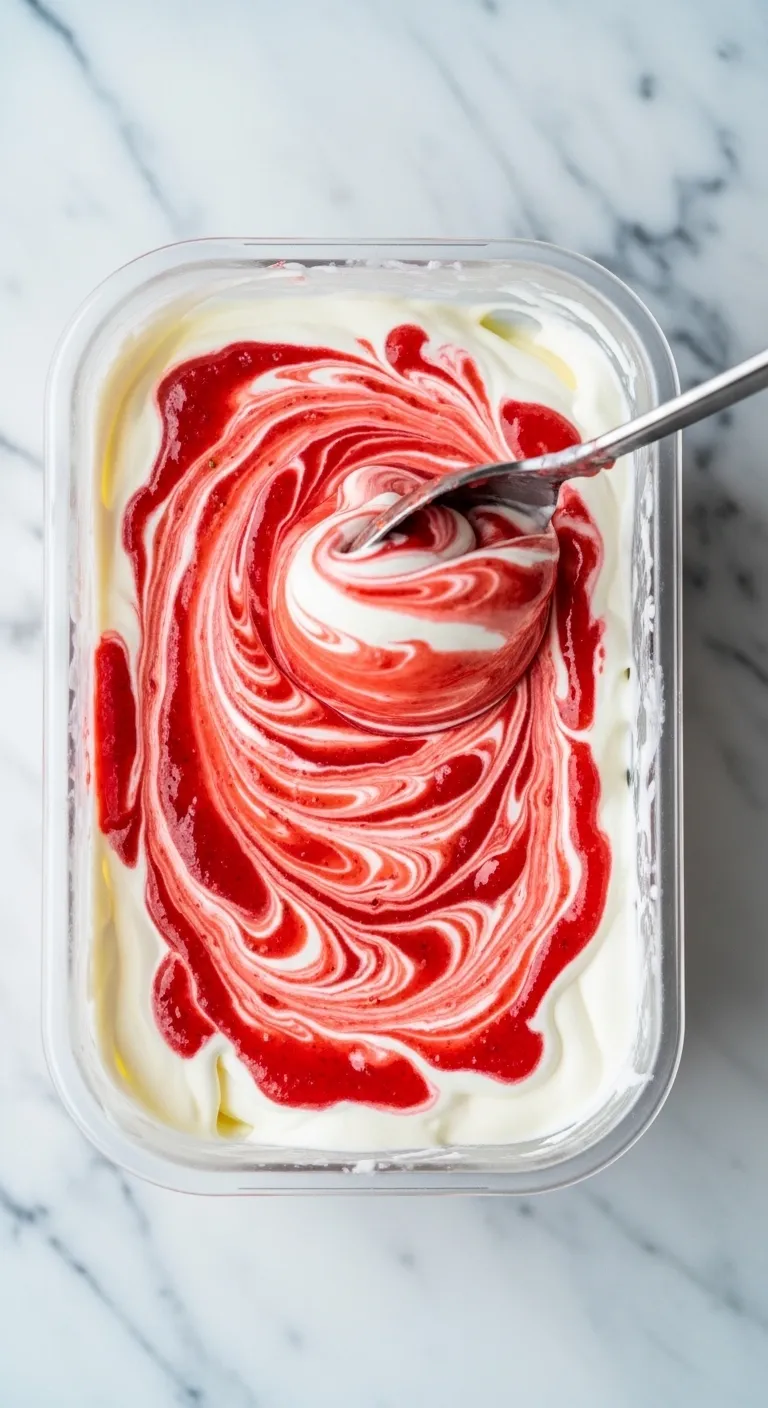
Decadent Sauces and Ripples
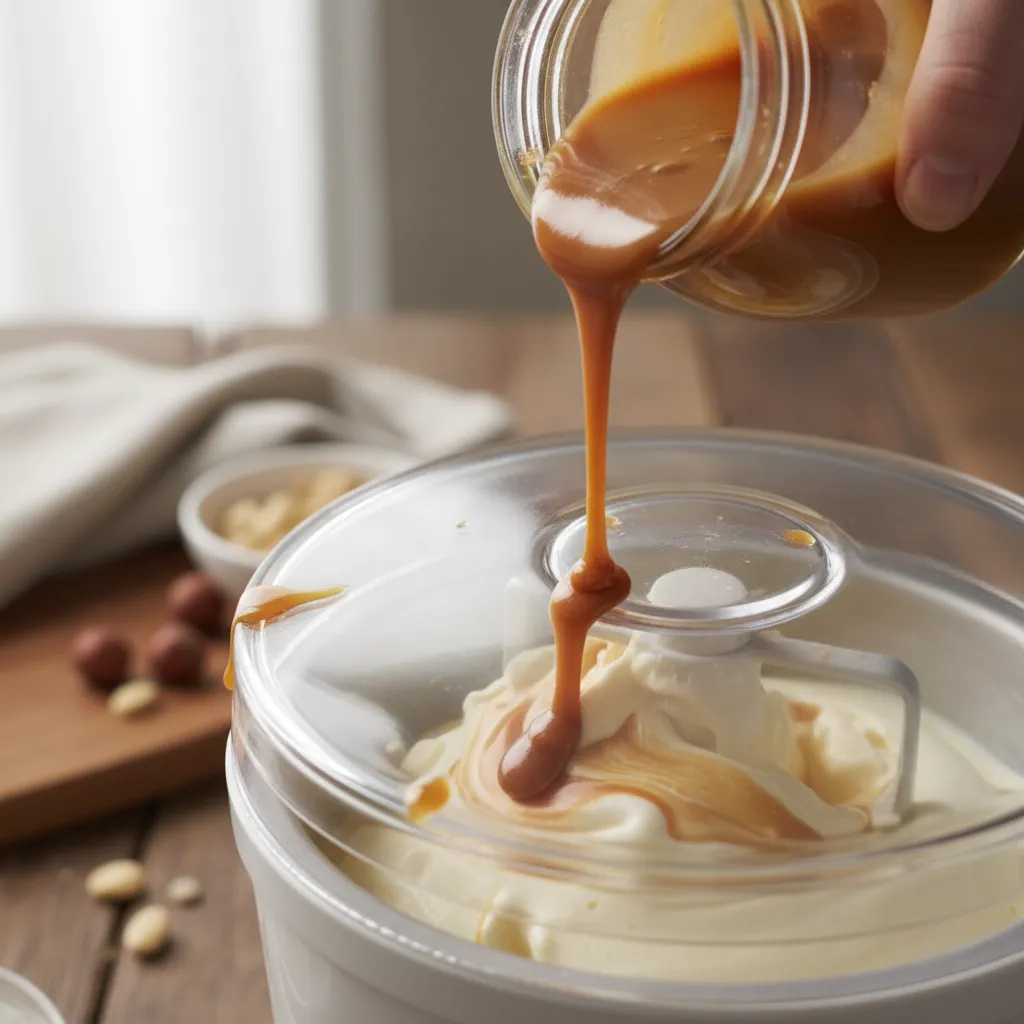
A ribbon of fudge or caramel adds visual appeal and intense flavor pockets. The key to a perfect ribbon is layering it by hand after churning.
Do not stir sauces directly into the machine during the churn. This usually blends the color into a muddy grey rather than creating distinct swirls.
Layer a third of your ice cream into the container, drizzle your sauce, and repeat. This creates beautiful pockets of flavor when you finally scoop it.
The perfect homemade scoop isn’t just about the base flavor, but the artful balance of texture and surprise in every mix-in.
Swirl Secrets
- To keep your caramel or fudge ribbons gooey even after freezing, whisk in a teaspoon of vodka or liqueur before layering; the alcohol prevents the sauce from freezing rock-hard.
- Ensure your sauce is at room temperature before layering. Piping hot sauce will melt your freshly churned base, while fridge-cold sauce may clump up unevenly.
- Use a butter knife or skewer to run a single figure-eight pattern through the container after layering if you want a marbled look, but do not over-mix!
Mix-In Preparation Matrix
Timing and preparation are critical for the best results. Use this guide to determine how to treat your ingredients before adding them to the base.
| Ingredient Type | Preparation Secret | When to Add |
|---|---|---|
| Fresh Fruit | Macerate with sugar or cook down | Layer by hand after churning |
| Nuts & Seeds | Toast lightly and chill completely | Last minute of churning |
| Chocolate | Melt and drizzle for stracciatella | Last 30 seconds of churning |
| Cookie Dough | Freeze into small bite-sized balls | Fold in by hand at the end |
| Caramel/Fudge | Chill sauce slightly to thicken | Layer during container packing |
Mix-In Mastery
- Temperature is key. Never add warm ingredients to your spun base, as they will melt the ice cream and create icy crystals upon refreezing. Ensure toasted nuts or cooked fruit reductions are completely chilled before use.
- Save your teeth. Remember that solid chunks freeze harder than room-temperature snacks. Chop nuts, chocolate, and hard candies into pieces smaller than a pea to ensure a pleasant crunch rather than a rock-hard obstacle.
- The ribbon technique. For distinct swirls of caramel or fruit preserves, do not add them to the machine. Instead, spoon a layer of churned ice cream into your container, drizzle your sauce, and repeat to create perfect pockets of flavor.
Ready to Scoop the Sweetness?
Making artisanal ice cream at home requires no fancy machines. With simple staples like heavy cream and condensed milk, you can create frozen magic.
Remember to keep your tools extremely cold and fold your mixture gently. These small steps ensure a velvety texture that rivals any scoop shop.
Do not hesitate to get creative with your mix-ins. Whether it is fresh fruit swirls or crunchy chocolate chunks, the flavor possibilities are endless.
Now it is time to clear some freezer space. Gather your family, grab your spoons, and enjoy the creamy satisfaction of a homemade dessert.
The Inside Scoop: Common Questions
No, heavy whipping cream is essential here. Its high fat content allows it to whip up stiff peaks, creating the air bubbles needed for a soft texture.
It tastes best within two weeks. To prevent freezer burn, press a piece of wax paper or plastic wrap directly onto the surface before covering tightly.
The sugar in condensed milk actually prevents hard freezing. Reducing the sugar content might leave you with a rock-hard block instead of creamy scoops.
Yes, you can substitute full-fat coconut cream and sweetened condensed coconut milk. The flavor will be tropical, and the texture slightly denser.