Table of Contents
- The Staleness Scale: Diagnosing Texture and Rehydration Techniques
- Oven-Baked Flatbread Crackers with Olive Oil and Herbs
- Personal Thin-Crust Tortilla Pizzas
- One-Pan Migas with Scrambled Eggs
- Sweet Cinnamon-Sugar Tortilla Churro Crisps
- No Tortilla Left Behind: Your Kitchen Strategy
- Tortilla Troubleshooting: Kitchen Curiosities
We have all discovered that forgotten package of flour tortillas hiding in the back of the pantry. While they may feel stiff and unyielding, I urge you not to throw them away.
As a chef, I see these dried rounds not as kitchen waste but as a blank canvas waiting for a second life full of incredible texture.
With just a little heat and creativity, that stale starch transforms into something golden and irresistibly crunchy.
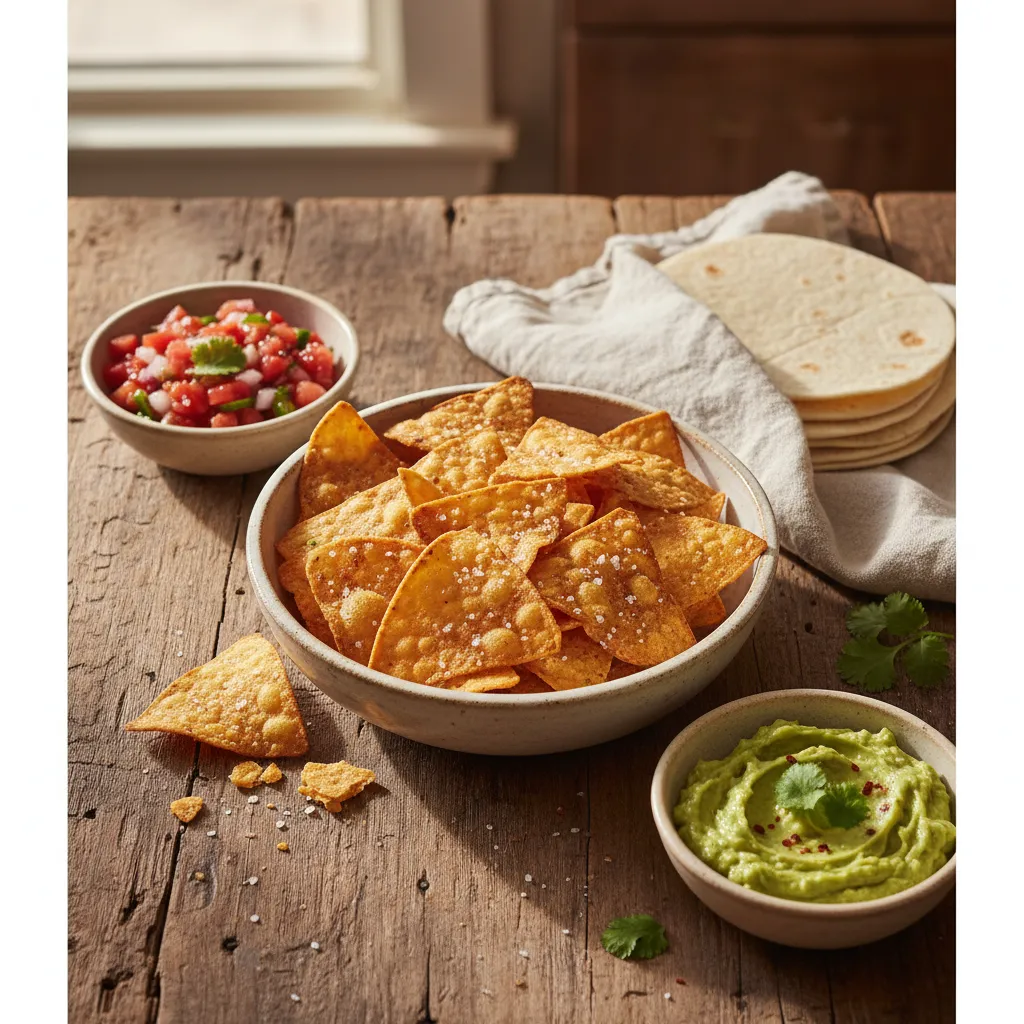
You can easily create oven-baked chips dusted with sea salt or simmer them into a rich, comforting chilaquiles that warms the soul.
This is where culinary technique meets practical home cooking to save both money and ingredients without sacrificing taste.
Reviving these humble ingredients allows you to put a delicious, nutritious meal on the table with absolute pride. It is about respecting the food we buy and sharing that love with your family and friends.
Let us tie on our aprons and turn those leftovers into a feast that celebrates the simple joy of eating together.
The Staleness Scale: Diagnosing Texture and Rehydration Techniques
Before you toss that rigid package of tortillas, pause for a moment. Dryness does not strictly equal spoilage. It often just means the moisture has left the building.
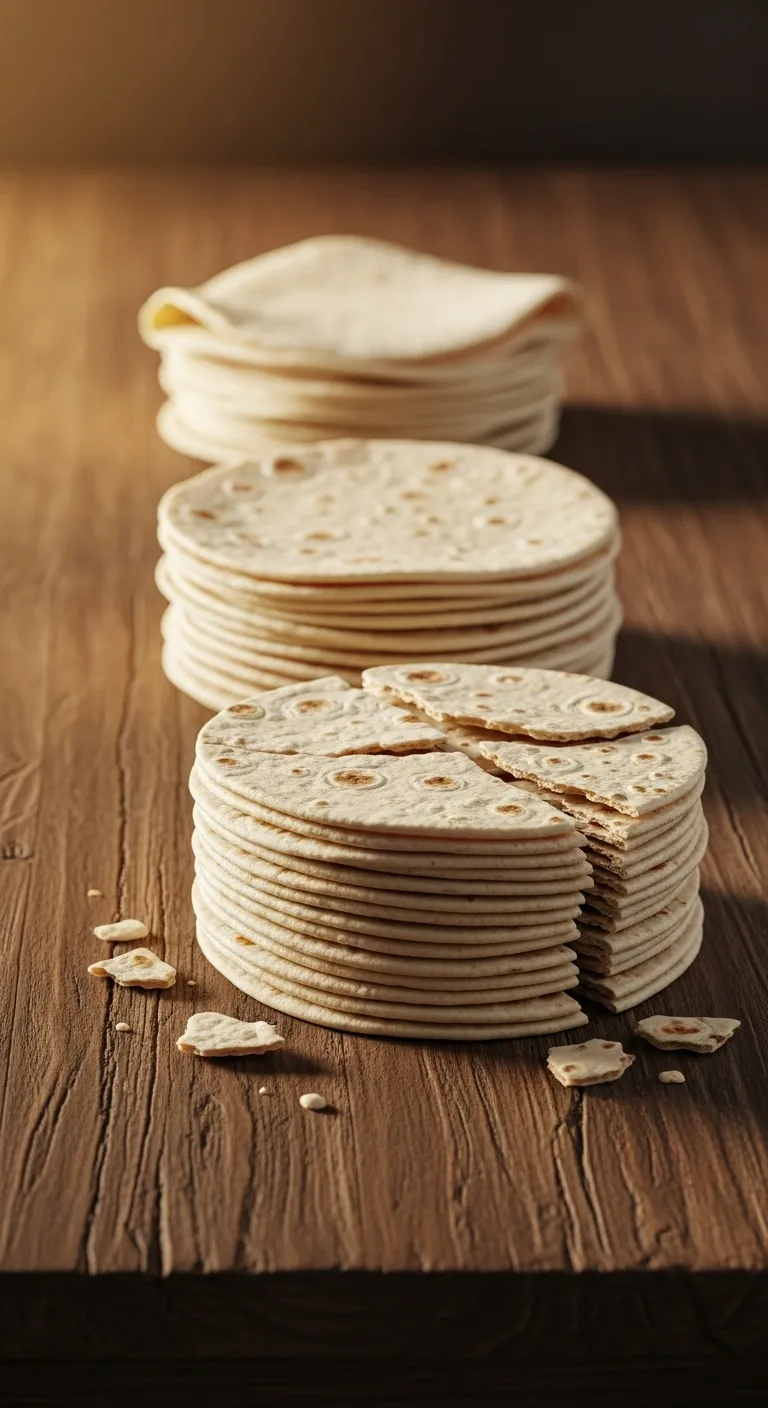
Think of stale tortillas as a new ingredient entirely. The texture dictates the culinary destiny of the wrap. We classify them into three distinct stages.
Tortillas are best if consumed immediately… you can also store them in the refrigerator to extend the shelf life.
Mission Foods, Storage & Handling FAQ
Tortilla Rescue Mission
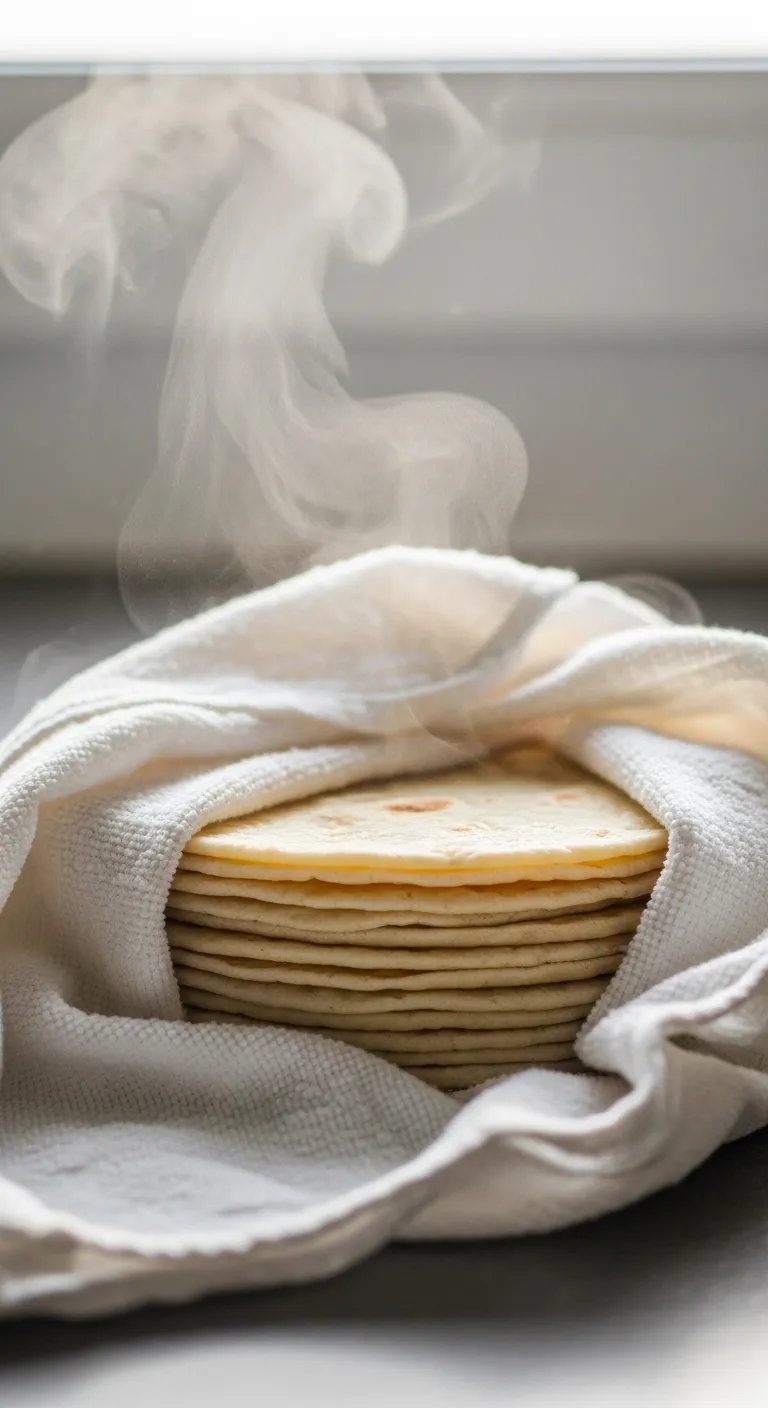
- The Steam Revival: Place dry tortillas between damp paper towels and microwave for 10-15 seconds to restore flexibility instantly.
- Fry, Don’t Toss: If a tortilla cracks when folded, it has officially graduated to chip status, cut into wedges, brush with oil, and bake for homemade nachos.
- Freeze Frame: To prevent staleness before it starts, separate fresh tortillas with parchment paper and store them in the freezer for up to six months.
The Texture Diagnosis Chart
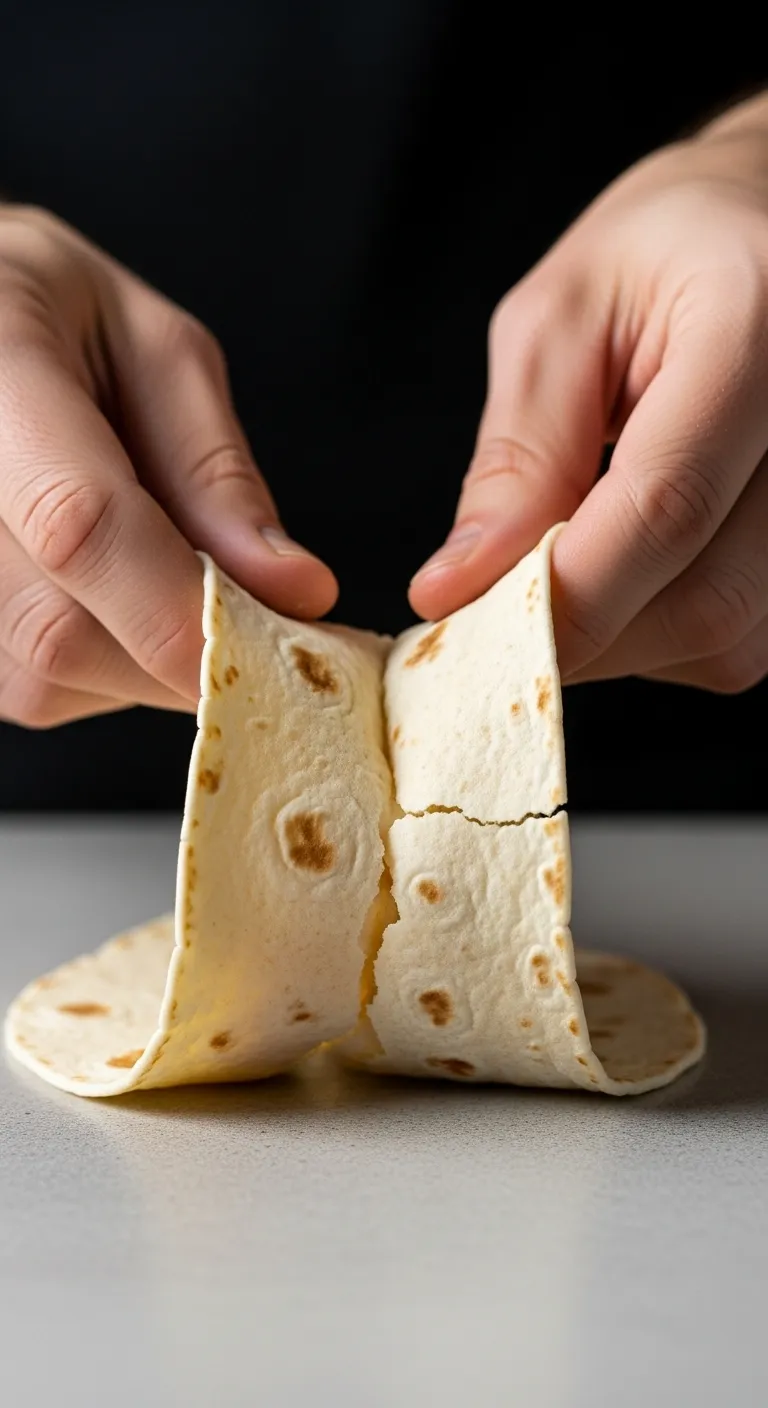
Identifying the level of staleness ensures you choose the right revival method or recipe application. Use this simple tactile test to decide your next move.
| Stage | The Tactile Test | Best Application |
|---|---|---|
| Stage 1: The Bendy Break | Resists folding slightly and shows small hairline cracks at the edges. | Revive & Roll. Best for burritos, soft tacos, or quick and easy Tex-Mex recipes. |
| Stage 2: The Leather Effect | Stiff and tough. It requires force to bend and feels like soft cardboard. | Sauce & Bake. Ideal for enchiladas, casseroles, or chilaquiles where sauce softens them. |
| Stage 3: The Shatter | Snaps cleanly when bent. Zero moisture remains. | Fry or Crumble. Perfect for chips, salad strips, or breading alternatives. |
A stale tortilla isn’t food waste; it is simply a crunchy crouton waiting to happen.
Tortilla Triage
- Don’t force a ‘Leather Effect’ tortilla to roll. If you see deep cracks forming during the bend test, pivot immediately to an enchilada or casserole recipe to avoid a structural burrito failure.
- Need Stage 3 chips but only have fresh tortillas? Speed up the aging process by leaving them directly on a warm oven rack for 5–10 minutes before frying.
- The damp paper towel microwave hack works wonders for Stage 1, but it rarely saves Stage 3. Once they snap cleanly, embrace the crunch and make chilaquiles instead of fighting physics.
The Steam Revival Method
If your tortillas are in Stage 1 or early Stage 2, you can coax the elasticity back into the gluten network. Moisture and heat are the secrets here.
This method works wonders for creating pliable wraps for lunch. It prevents the dreaded blowout when you try to roll a burrito.
Ingredients
- 6 stale flour tortillas (Stage 1 or 2)
- 3 tbsp water (for dampening)
Instructions
- Dampen the Towel: Wet two paper towels or a clean kitchen cloth. Wring them out thoroughly so they are moist but not dripping wet.
- Wrap the Stack: Place the tortillas between the damp towels. Ensure the top and bottom are completely covered to trap the steam.
- Microwave: Heat on high for 30 to 45 seconds. The water in the towel turns to steam and penetrates the flour layers instantly.
- Rest Briefly: Let them sit wrapped for 15 seconds before opening. This allows the heat to distribute evenly to the center.
- Serve Immediately: Use them right away. Once they cool down, they will return to their stiff state quickly.
For a crispier finish, you can skip the microwave and use a hot skillet. Flash heating a stale tortilla in a dry pan for ten seconds per side can release dormant oils.
This skillet technique adds a lovely char. It works beautifully alongside spicy stir-fry recipes where you want a bit of texture to scoop up the sauce.
Freshness Hacks
- Trap the heat: After steaming, immediately transfer the stack to a tortilla warmer or wrap them tightly in aluminum foil. This extends their pliability window significantly beyond the microwave’s initial blast.
- The skillet hybrid: If you choose the skillet method, brush each side of the tortilla lightly with water before tossing it in the pan. This combines internal steaming with external charring for the perfect texture.
- Paper towel safety: If using paper towels, ensure they are high-quality and merely damp, not soaking. Excess water can cause cheap paper to disintegrate and stick to the flour dough.
Oven-Baked Flatbread Crackers with Olive Oil and Herbs
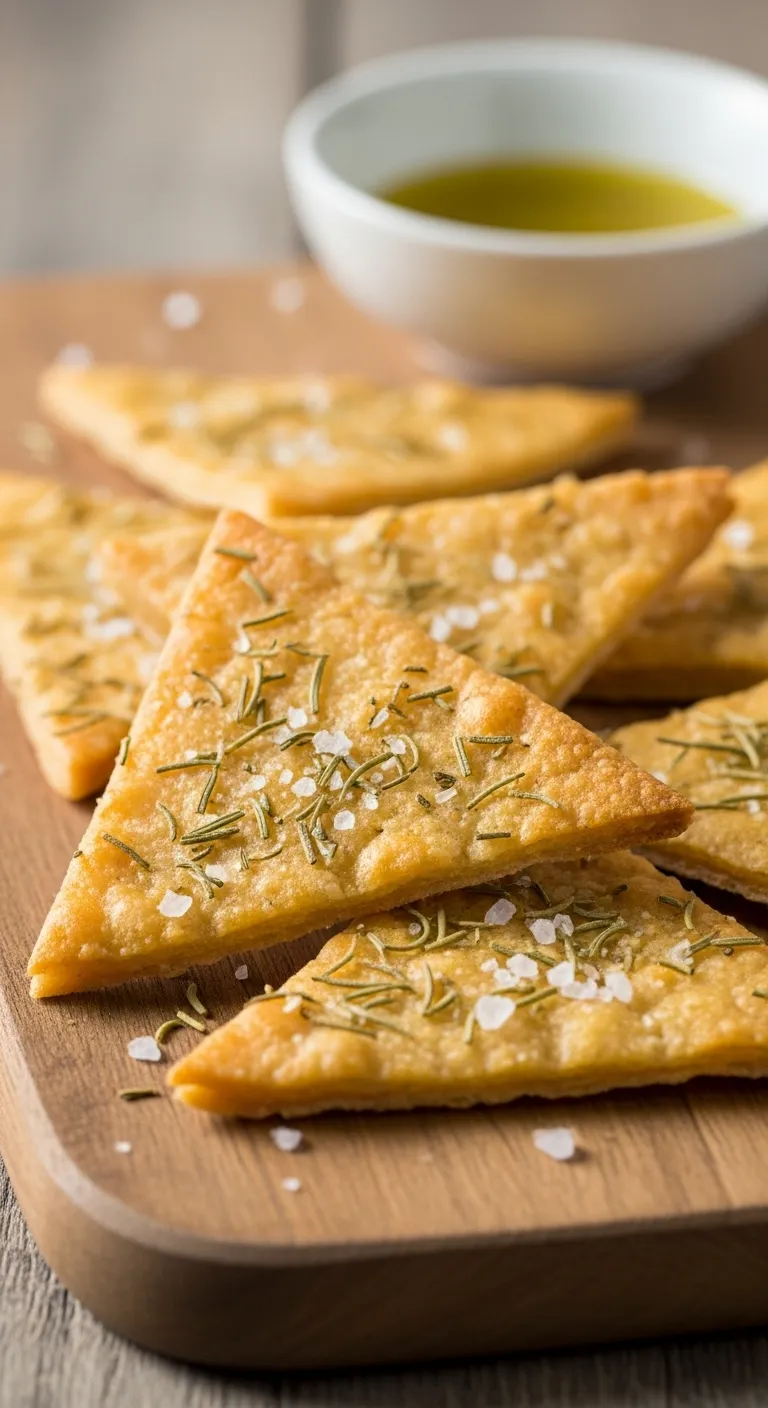
Do not toss those stiff tortillas just yet. They are moments away from becoming a crispy, artisanal snack that rivals high-end brands.
This method transforms stale wraps into sturdy crackers. The drying process in the oven revitalizes the texture, creating a satisfying snap.
The key is using high-quality fat. Extra virgin olive oil adds a savory richness that neutral vegetable oils simply cannot match.
These crackers are robust enough for heavy scoops. They pair perfectly with rich appetizers like these 10 must-try buffalo chicken dips.
Stale ingredients are often just one step away from becoming the best texture component of your meal.
You can customize the flavor profile easily. While rosemary is classic, feel free to experiment with spices you have in your pantry.
Serve these alongside lighter fare as well. They add a wonderful crunch to lunch items like fresh salad recipes for every season.
Ingredients
- 4 large stale flour tortillas
- 3 tbsp extra virgin olive oil
- 1 tbsp fresh rosemary, finely chopped (or 1 tsp dried)
- 0.5 tsp garlic powder
- 1 tsp flaky sea salt
- 0.25 tsp cracked black pepper
Instructions
- Preheat your oven to 375°F (190°C). Line two large baking sheets with parchment paper.
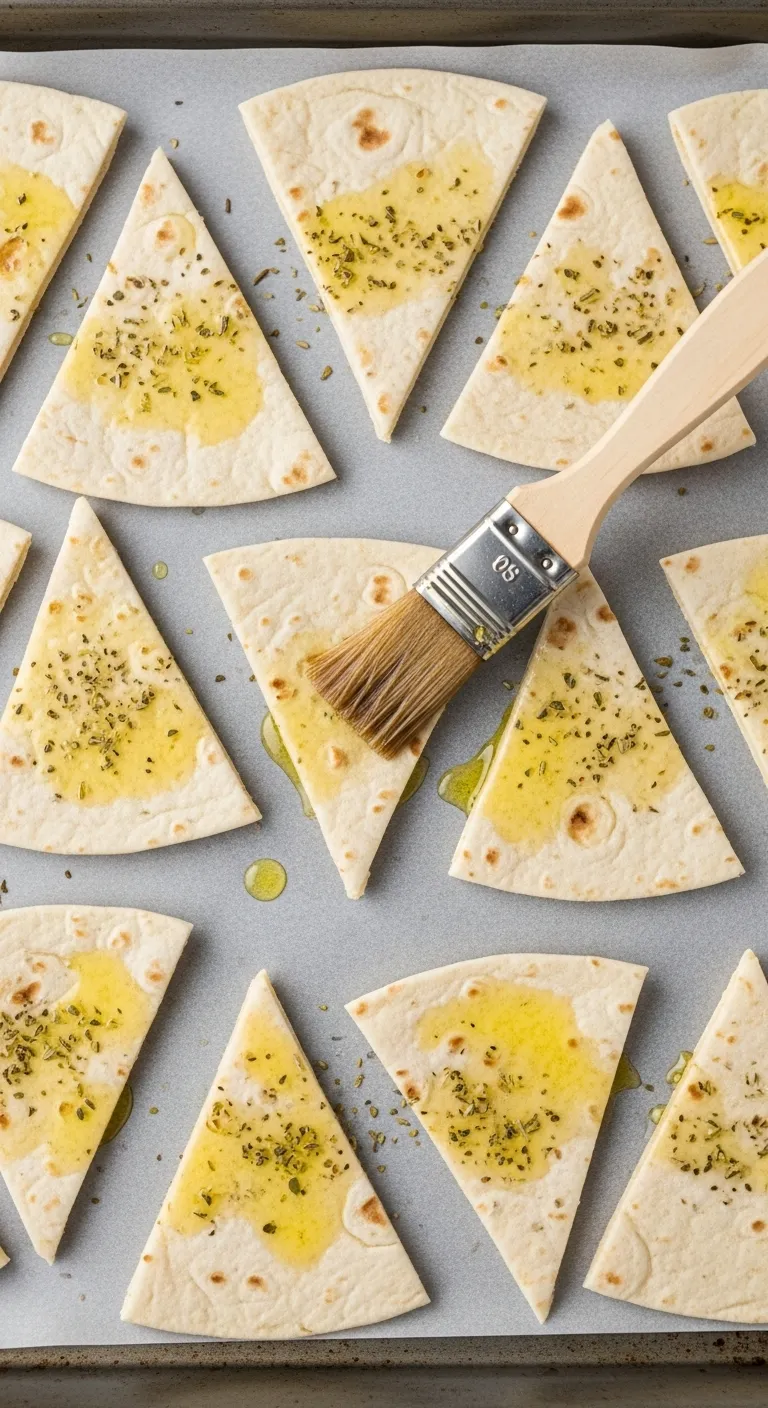
- Stack the tortillas and cut them into 8 wedges each using a sharp knife or kitchen shears.
- Arrange the wedges in a single layer on the baking sheets. Do not overlap them to ensure even browning.
- Brush each wedge generously with olive oil. Ensure the edges are coated to promote crisping.
- Mix the rosemary, garlic powder, salt, and pepper in a small bowl. Sprinkle the mixture evenly over the wedges.
- Bake for 8 to 12 minutes. Rotate the pans halfway through cooking for consistent color.
- Remove from the oven when they are golden brown. Let them cool completely on the pan to reach maximum crunch.
The difference between a perfectly crisp chip and a burnt one is about 30 seconds, so keep a close eye on the oven.
Emma Christensen, The Kitchn
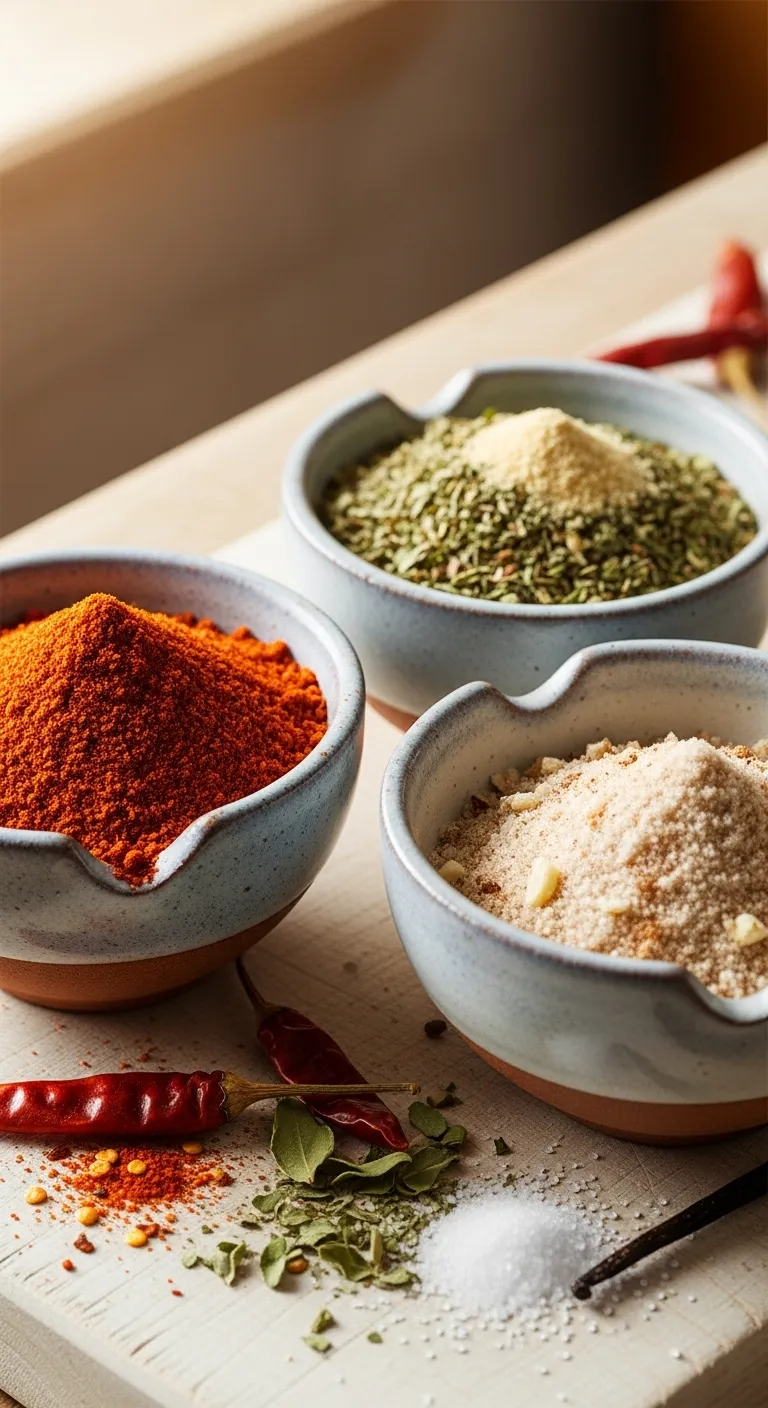
Flavor Variations
Once you master the base recipe, try these seasoning blends. They transform the humble tortilla into a gourmet experience.
| Flavor Profile | Seasoning Mix | Best Served With |
|---|---|---|
| Zesty Italian | Dried oregano, basil, and grated Parmesan cheese. | Marinara sauce or creamy tomato soup. |
| Spicy Lime | Chili powder, paprika, and fresh lime zest. | Guacamole or fresh mango salsa. |
| Sweet Treat | Cinnamon and granulated sugar (use butter instead of oil). | Vanilla yogurt or fruit salad. |
| Savory Umami | Nutritional yeast, onion powder, and smoked paprika. | Hummus or roasted red pepper dip. |
Store your cooled crackers in an airtight container. They will stay crisp for up to three days if kept away from humidity.
Crispy Intel
- For faster prep and more even flavor distribution, toss the tortilla wedges with the oil and seasonings in a large mixing bowl instead of brushing each piece individually.
- If your crackers do not have a perfect snap after cooling, pop them back into a warm, turned-off oven for 10 minutes to dehydrate further without burning.
- Use a pizza cutter to slice through a stack of multiple tortillas at once to create uniform wedges in seconds.
Personal Thin-Crust Tortilla Pizzas

Don’t throw away those stiff tortillas just yet. When flour tortillas lose their flexibility, they actually become better suited for one specific dish.
Staleness means less moisture. In the culinary world, less moisture is the secret to a cracker-thin, ultra-crispy crust that snaps when you bite it.
This transforms your food waste into a gourmet lunch. It mimics the texture of artisanal flatbreads found in high-end bistros.
If you enjoy classic Italian pizza recipes, you will love this shortcut. It delivers that satisfying crunch without the hassle of kneading dough.
For the crispiest crust, bake the tortillas directly on the oven rack. This allows hot air to circulate around the entire tortilla.
The Kitchn Editors, How To Make Extra-Crispy Tortilla Pizza
This method is also incredibly fast. It fits perfectly into a rotation of quick and easy dinner recipes for busy nights.
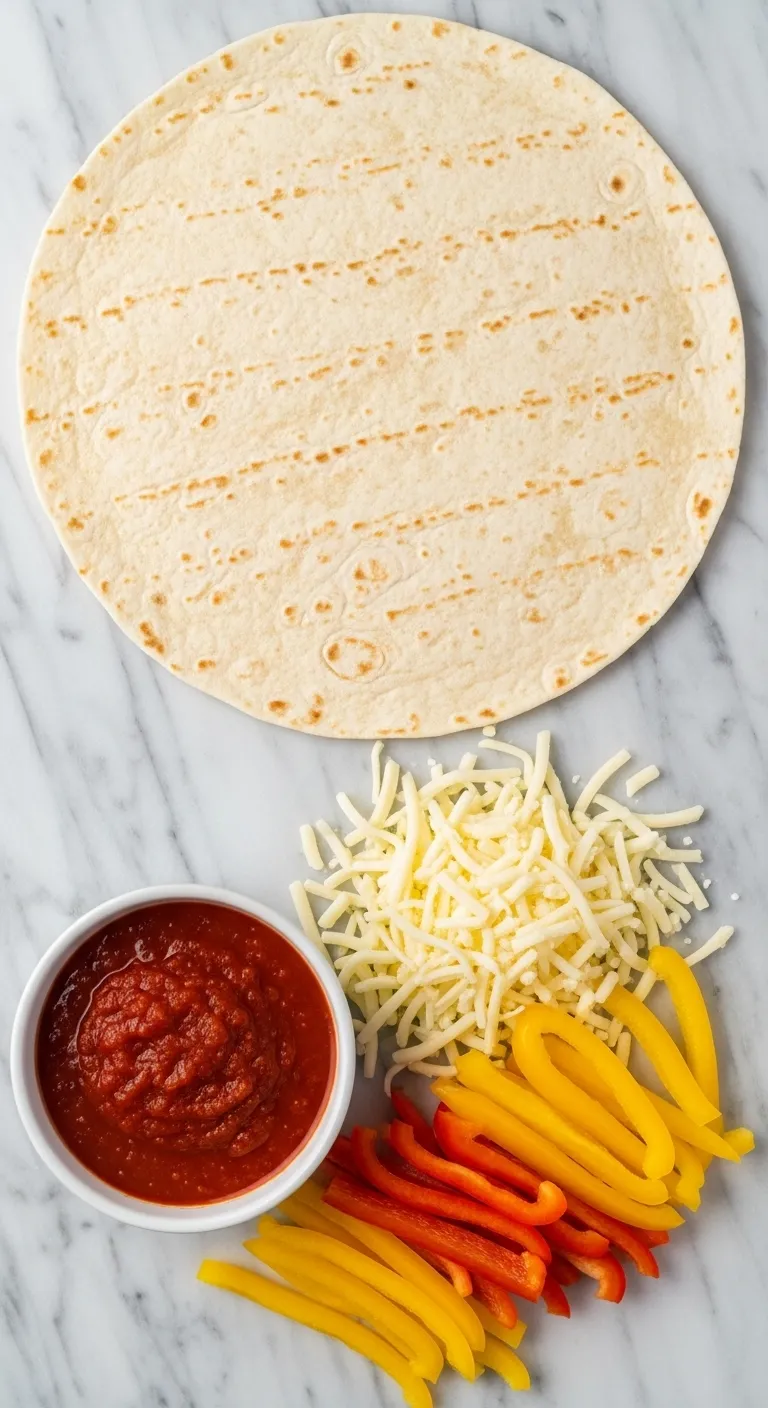
Ingredients
- 2 large stale flour tortillas (burrito size works best)
- 1/2 cup marinara sauce or pesto
- 1 cup shredded mozzarella cheese (low-moisture is ideal)
- 1 tsp olive oil
- Fresh basil or dried oregano for garnish
Instructions
- Preheat your oven to 400°F (200°C). Brush both sides of the stale tortillas lightly with olive oil to create a moisture barrier.
- Place the tortillas directly on the middle oven rack. Bake for 3-4 minutes until they just begin to firm up and turn pale gold.
- Remove carefully with tongs. Place them on a baking sheet. Spread sauce thinly, leaving a small border for the crust.
- Sprinkle evenly with cheese and your chosen toppings. Do not overload the center, or the crust may become soggy.
- Bake for another 5-7 minutes until the cheese is bubbling and the edges are deep golden brown. Slice and serve immediately.
A stale tortilla is just a gourmet thin-crust pizza waiting for its second chance to shine.
The beauty of this dish lies in its versatility. You can adapt the toppings to whatever leftovers you have in your refrigerator.
To help you get started, here are some winning flavor combinations that move beyond standard pepperoni.
| Flavor Profile | Base Sauce | Cheese | Key Toppings |
|---|---|---|---|
| The Mediterranean | Pesto | Feta & Mozzarella | Kalamata olives, sun-dried tomatoes |
| BBQ Chicken | BBQ Sauce | Smoked Gouda | Red onion, cilantro, cooked chicken |
| White Garlic | Garlic Oil | Ricotta & Parm | Spinach, artichoke hearts, chili flakes |
| Spicy Hawaiian | Marinara | Provolone | Pineapple, jalapeños, crispy bacon |
Keep a close eye on the oven during the final minutes. Since the base is already dry, it can go from perfectly caramelized to burnt very quickly.
Crispy Crust Hacks
- Only have fresh tortillas? Mimic the stale texture by drying them out in a 200°F oven for 10 minutes before cranking up the heat for assembly.
- For a sturdier base that can handle heavier toppings, sandwich a thin layer of cheddar cheese between two tortillas to create a double-decker crust.
- Prevent a soggy center by sautéing high-moisture vegetables like mushrooms or spinach before adding them to the pizza to release excess water.
One-Pan Migas with Scrambled Eggs
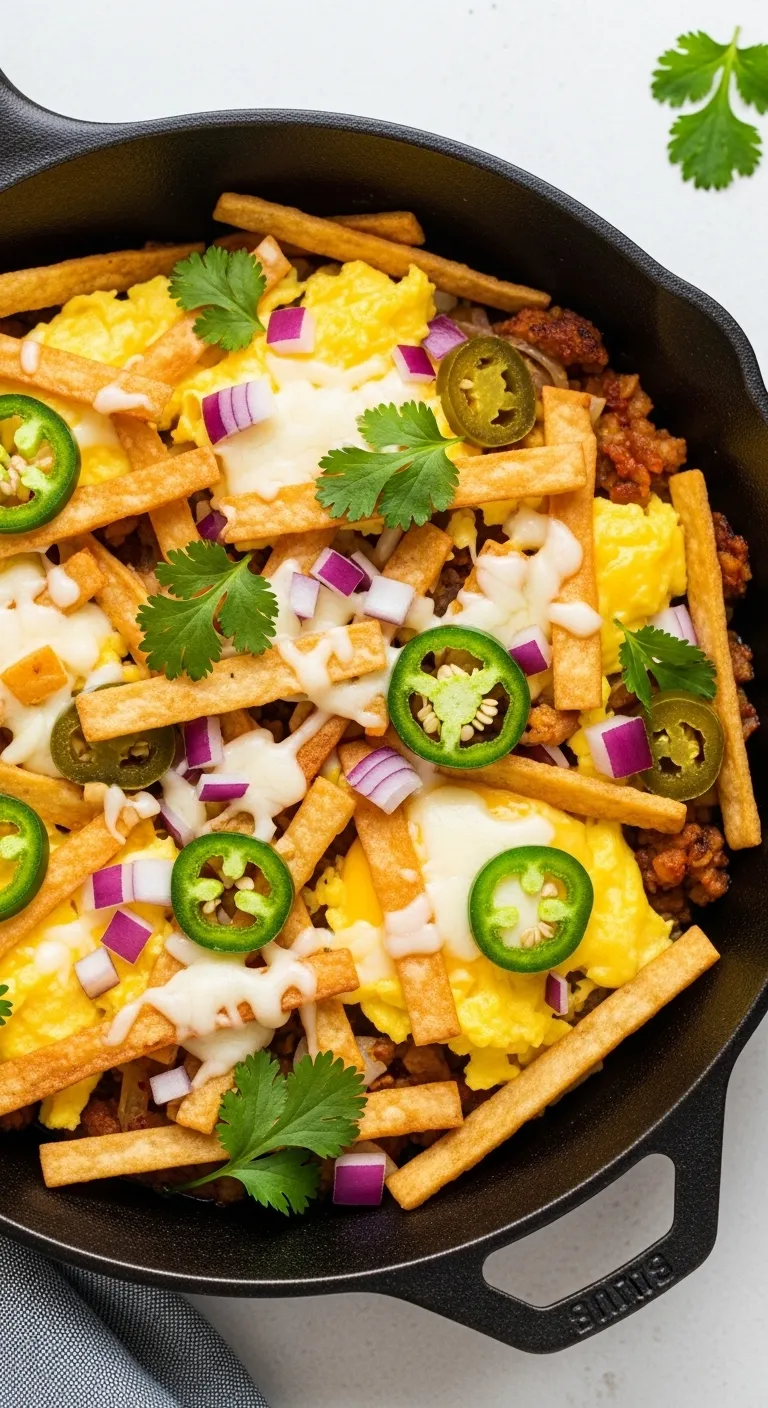
Migas is the ultimate redemption arc for your leftover wraps. This traditional dish turns dry, unappealing tortillas into a savory breakfast masterpiece.
The stale texture is actually a virtue here. Older flour tortillas have lower moisture content, which allows them to fry up crisper without absorbing excess oil.
While traditional Migas uses corn tortillas, the flour version offers a unique, pillowy crunch. It creates a texture similar to a savory fried pastry.
This meal comes together in minutes. It fits perfectly alongside other quick and easy Tex-Mex recipes you might crave.
The most important thing to know about migas is that you are essentially making fried tortilla strips… You want them to be crunchy.
Bon Appétit, Common Mistakes to Avoid When Making Migas
The key is the mise en place. Have your eggs whisked and veggies chopped before the heat goes on. The frying process happens fast.
Don’t toss those dry tortillas. Fry them, scramble them, and watch them become the best breakfast you’ve had all week.
If you are looking for more midday meal inspiration, this hearty dish doubles as one of those quick lunches for busy workdays.
Ingredients
- 3 large stale flour tortillas, cut into 1-inch strips or squares
- 4 large eggs, lightly beaten
- 2 tbsp neutral oil (vegetable or canola)
- 1/4 cup white onion, diced
- 1 jalapeño, deseeded and minced (optional for heat)
- 1/2 cup shredded cheese (Monterey Jack or Cheddar)
- Salt and pepper to taste
- Garnish: Fresh cilantro, sliced avocado, or salsa
Instructions
- Heat the oil in a large skillet over medium-high heat. Add the tortilla strips in a single layer to ensure even cooking.
- Fry the strips for 3 to 4 minutes, tossing frequently, until they are golden-brown and crispy. Do not let them burn.
- Lower the heat to medium. Add the onions and jalapeños directly to the pan with the crisped tortillas. Sauté for 2 minutes until softened.
- Pour the beaten eggs over the tortilla and veggie mixture. Let them sit for 30 seconds to set slightly on the bottom.
- Gently fold the mixture with a spatula. Continue scrambling until the eggs are cooked through but still soft and moist.
- Remove from heat immediately. Sprinkle the cheese over the top and cover the pan for 1 minute to melt the cheese.
- Season with salt and pepper. Serve hot, topped with fresh cilantro and avocado slices.
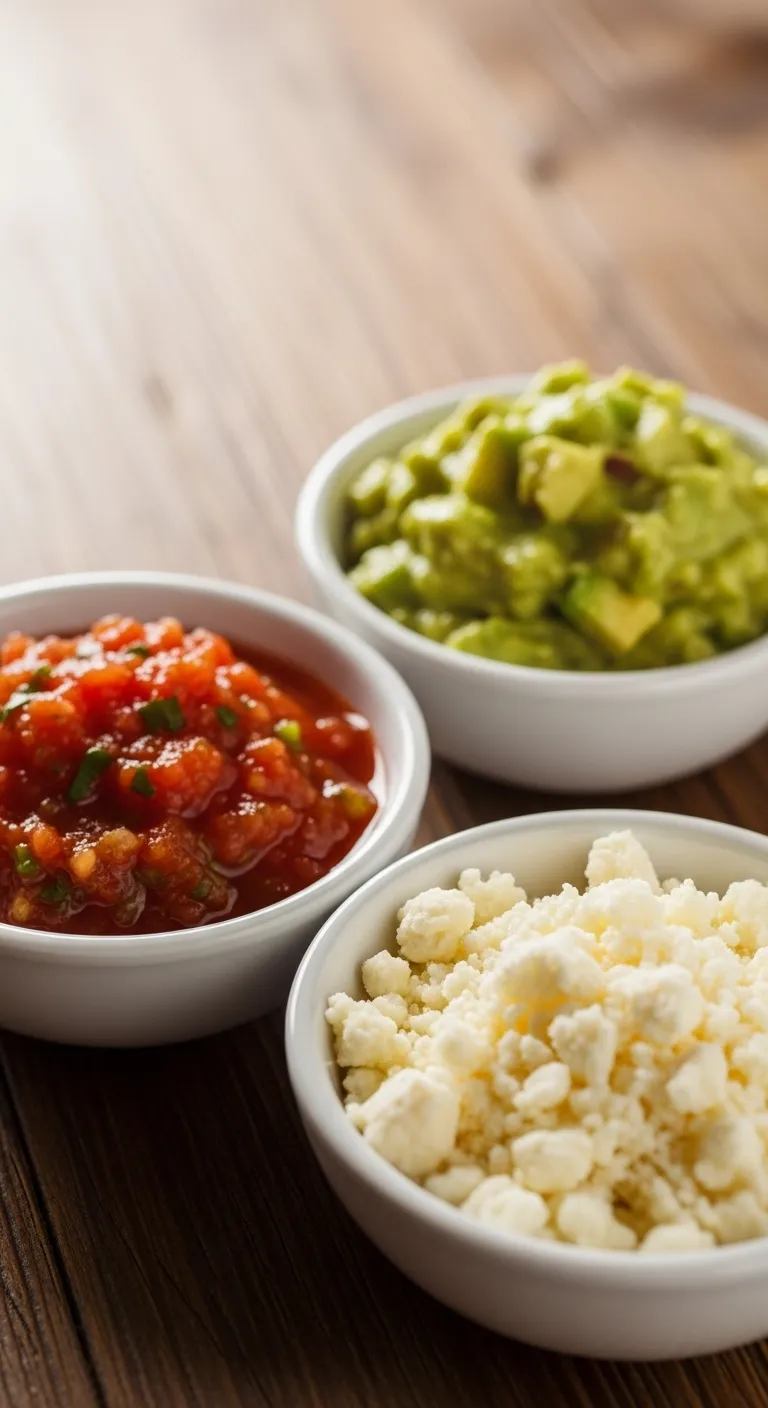
| Flavor Profile | Suggested Add-Ins | Perfect Topping |
|---|---|---|
| Spicy Chorizo | Crumbled chorizo, diced poblano peppers | Hot sauce & lime crema |
| Garden Fresh | Spinach, diced tomatoes, red bell pepper | Sliced avocado & scallions |
| Cheesy Comfort | Double portion of sharp cheddar | Dollop of sour cream |
Kitchen Redemption Hacks
- Too fresh to fry? If your tortillas are soft and new, dry them out in a low oven (200°F) for 10 minutes or leave them uncovered on the counter for a few hours to ensure they crisp up without becoming greasy.
- Preserve the crunch. Ensure your tortilla strips are fully golden-brown before adding the onions or eggs; once moisture hits the pan, the crisping stops, so patience here guarantees that signature texture.
- Crowd control. If you are doubling the recipe, fry the tortilla strips in batches. Overcrowding the pan causes them to steam rather than fry, leading to a soggy rather than pillowy finish.
Sweet Cinnamon-Sugar Tortilla Churro Crisps
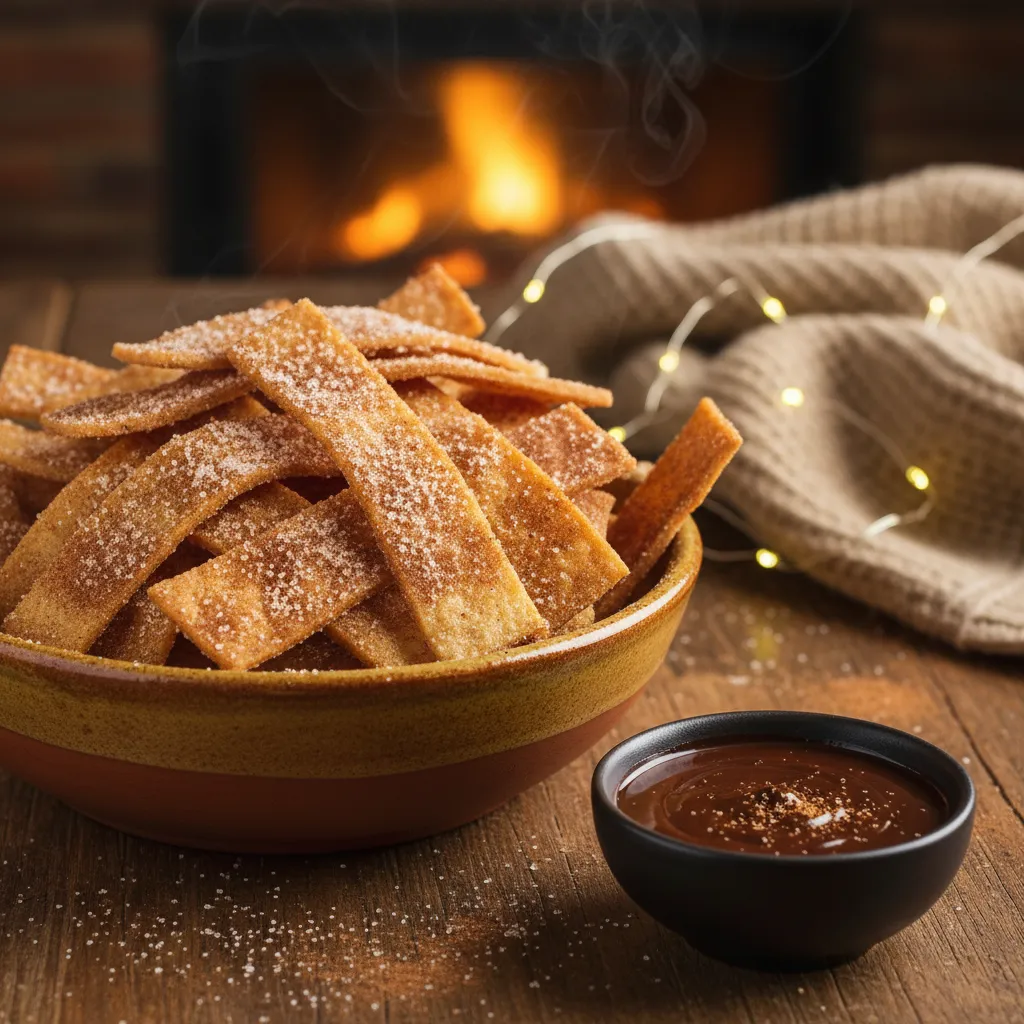
Do not let those stiff tortillas go to waste. Transform them into a dessert that rivals your favorite fairground treat. This recipe mimics the texture of churros without the hassle of piping dough.
Stale tortillas are actually superior for this method. They have less moisture, which means they crisp up faster in the oven. The result is a golden, crunchy snack coated in sweet spice.
Staling is just the first step toward the perfect crunch.
You can serve these crisps on their own or pair them with a rich dipping sauce. They act as a lighter alternative to heavy pastries. This makes them one of our favorite 25 Sweet Treats for Your 500 Days of Summer.
Tortillas can go from crisp to burnt in a matter of seconds, so keep a close eye on the oven.
The Spruce Eats Team, Baked Tortilla Chips Recipe
Ingredients
- 4 large stale flour tortillas
- 1/4 cup unsalted butter, melted
- 1/2 cup granulated sugar
- 1 tbsp ground cinnamon
- 1 pinch sea salt
Instructions
- Preheat your oven to 400°F (200°C) and line a baking sheet with parchment paper.
- Cut the tortillas into 1-inch wide strips using a sharp knife or pizza cutter.
- In a shallow bowl, whisk together the granulated sugar, cinnamon, and sea salt.
- Brush both sides of each tortilla strip generously with the melted butter.
- Toss the buttered strips in the sugar mixture until fully coated.
- Arrange the strips in a single layer on the baking sheet without overlapping.
- Bake for 8 to 10 minutes, flipping halfway through, until golden and crispy.
- Let them cool on a wire rack for 5 minutes to harden before serving.
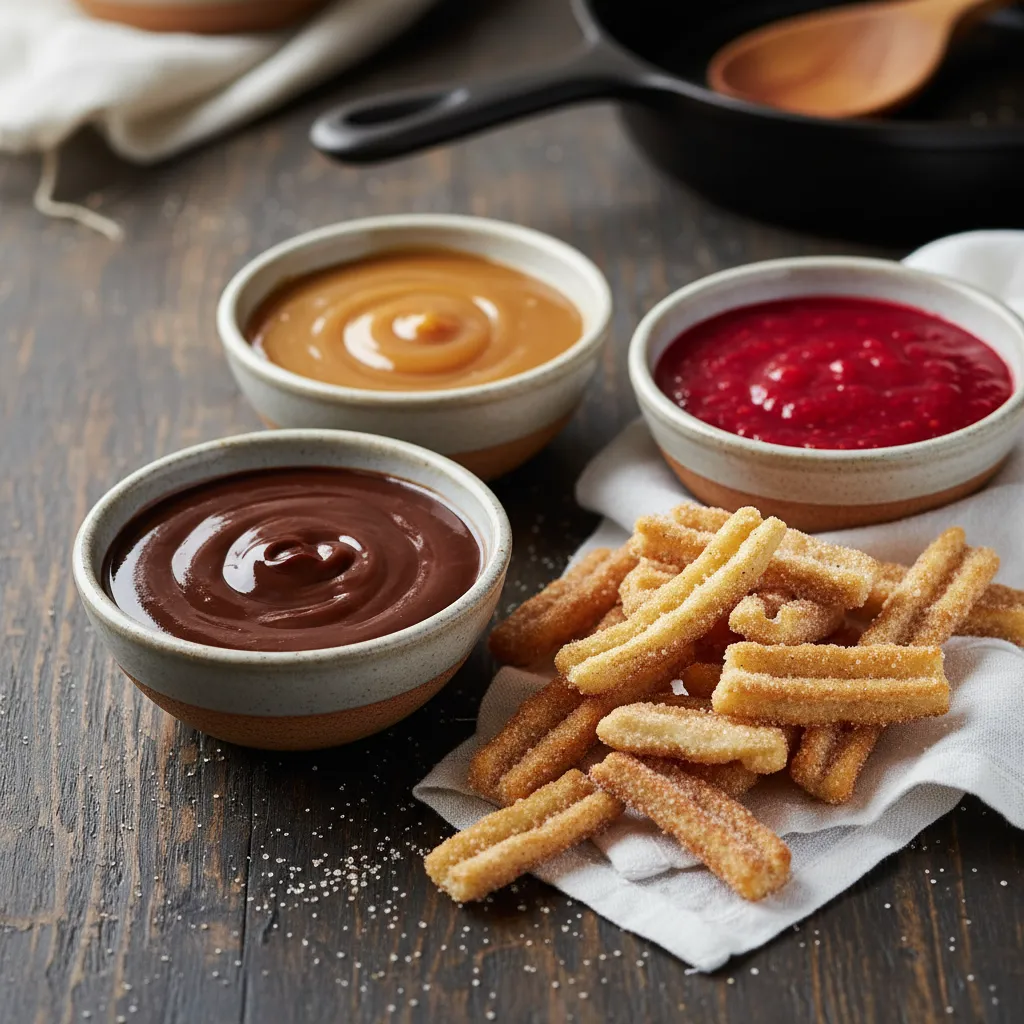
Perfect Dipping Pairings
While these crisps are delicious on their own, the right sauce elevates the experience. Here are some flavor combinations to try.
| Dip Type | Flavor Profile | Best For |
|---|---|---|
| Mexican Chocolate | Spicy & Rich | Dinner parties |
| Dulce de Leche | Creamy Caramel | Sweet tooth cravings |
| Fruit Salsa | Tart & Fresh | Summer gatherings |
| Honey Yogurt | Tangy & Light | Quick snack |
Sweet Tooth Secrets
- Make it festive by using cookie cutters to stamp out stars, hearts, or seasonal shapes from the tortillas instead of cutting simple strips.
- Add a tiny pinch of cayenne pepper or nutmeg to your cinnamon-sugar mix to give the crisps a warm, complex flavor profile.
- Don’t just dip them; crumble leftover crisps over vanilla ice cream or yogurt bowls for an instant texture upgrade.
No Tortilla Left Behind: Your Kitchen Strategy
Never view a dry tortilla as trash. It is merely an ingredient waiting for a crunchy transformation in your next meal.
Remember the tactile test we practiced. Steam the bendy ones, bake the leathery ones, and fry the ones that shatter. Let texture guide you.
Great cooking is about adaptation. Turning today’s dry leftovers into tomorrow’s chilaquiles is the mark of a resourceful chef.
Tortilla Troubleshooting: Kitchen Curiosities
No. Unlike hard cheese, mold on soft bread extends invisible roots deep inside. If you see green or black spots, discard the entire bag.
Commercial brands use preservatives and dough conditioners to retain moisture. Homemade versions lack these additives, drying out in 24 hours.
Absolutely. Freezing halts the staling process. Place parchment paper between them so they do not stick, then seal them in an airtight bag.
Mostly, yes. However, corn tortillas are more brittle. They often respond better to frying for chips rather than steaming for rolling.