Table of Contents
- Professional Gel Paste Red Velvet for Maximum Vibrancy
- Natural Beet Juice Red Velvet for Chemical-Free Coloring
- Quick Liquid Dye Red Velvet for Beginner Bakers
- Red Velvet Coloring Masterclass: Troubleshooting Common Failures
- Achieving the Perfect Crumb: Buttermilk and Vinegar Secrets
- Bake Your Own Scarlet Masterpiece
- Red Velvet Secrets Revealed
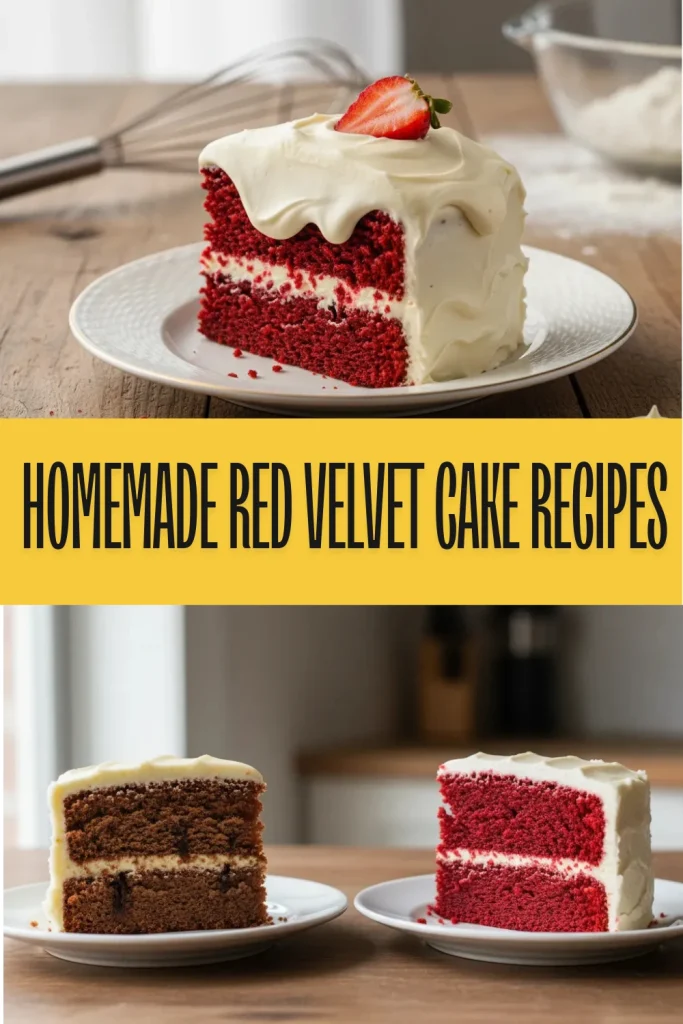
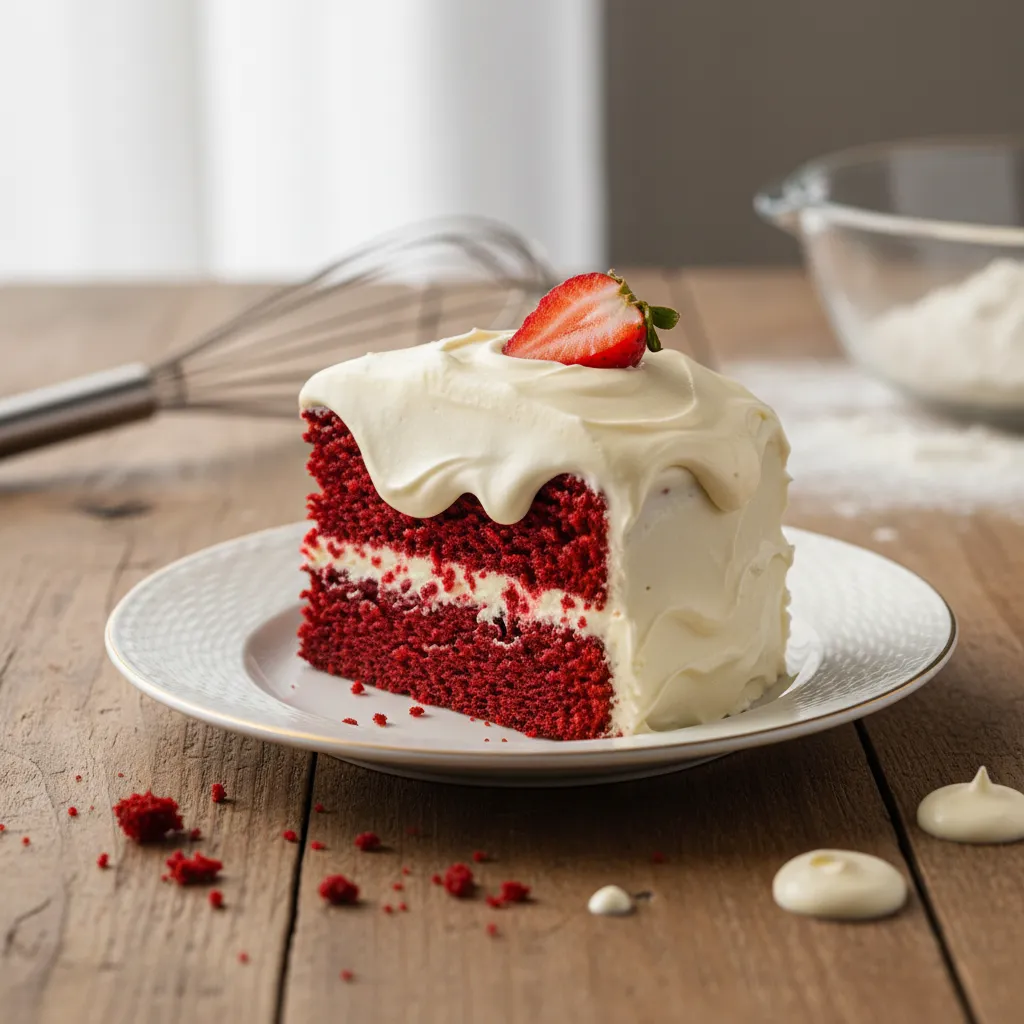
Welcome to your kitchen, where we will master the art of the perfect red velvet cake.
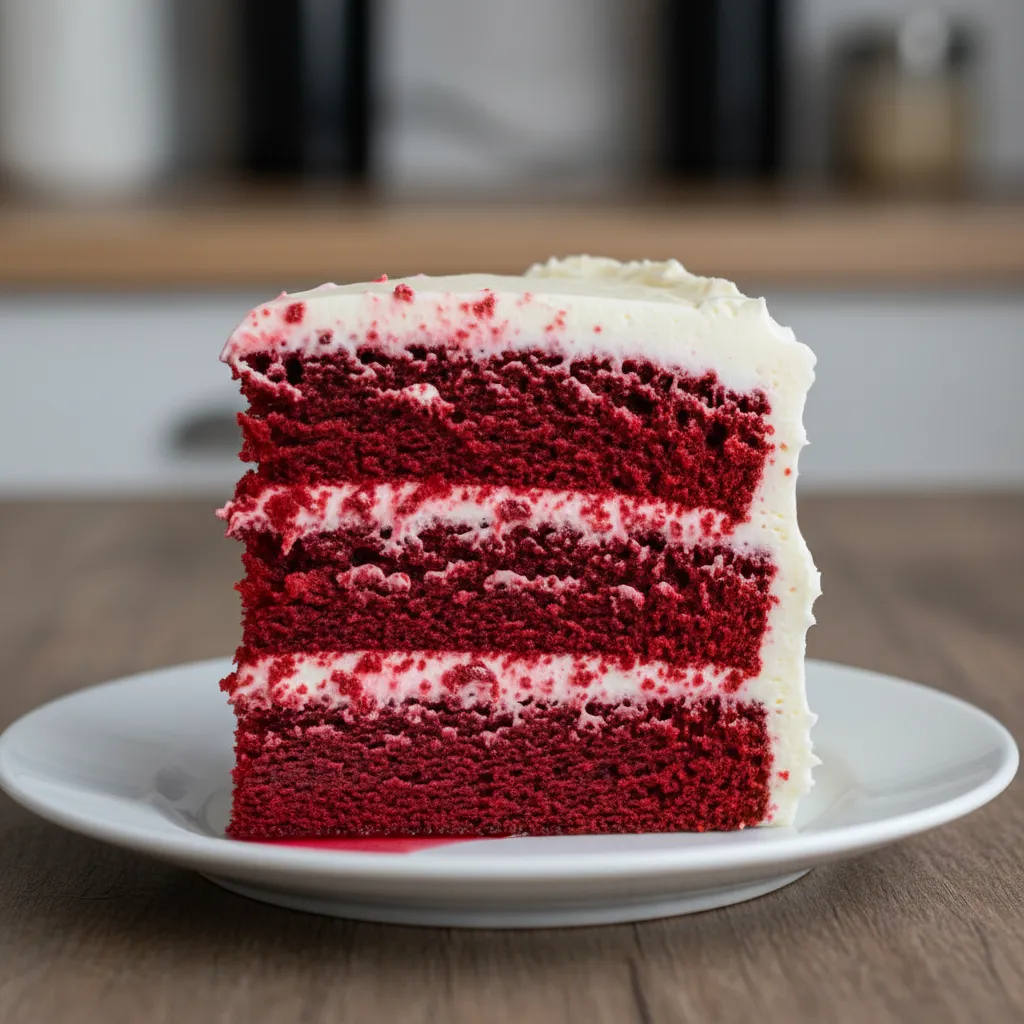
This recipe celebrates the deep, cocoa-infused flavor and striking crimson hue that defines this classic dessert.
Every slice offers a luxurious experience that balances decadence with a light, airy crumb.
Achieving that iconic moist texture is simpler than you might imagine.
Whether you are a busy parent or a budding pastry chef, these steps ensure success every time you preheat the oven.
We focus on quality ingredients that provide richness without unnecessary complexity, making this a true kitchen staple.
There is a unique joy in presenting a vibrant cake to your loved ones after a shared meal.
It is more than just a sweet treat; it is a centerpiece that reflects your care and culinary passion.
Let us begin this journey toward baking a cake that is as stunning to look at as it is delicious to eat.
Professional Gel Paste Red Velvet for Maximum Vibrancy
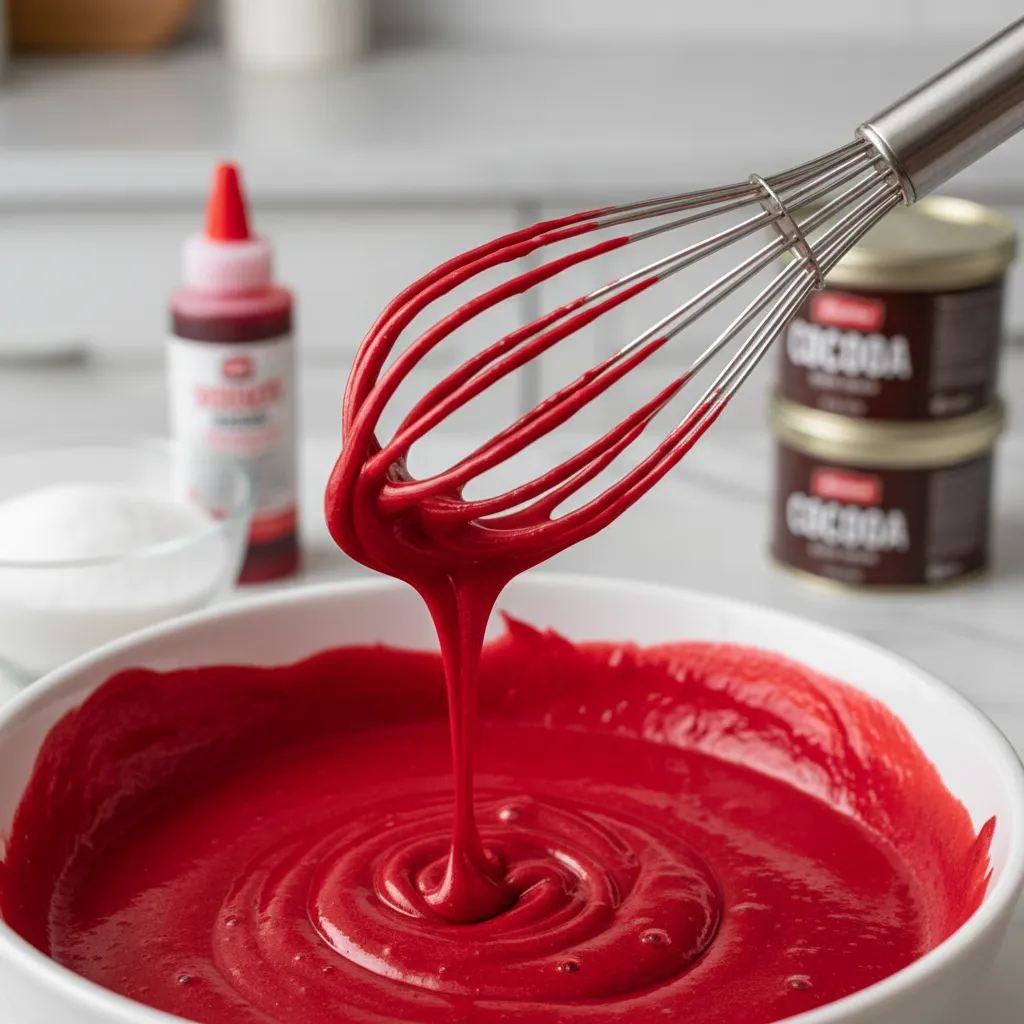
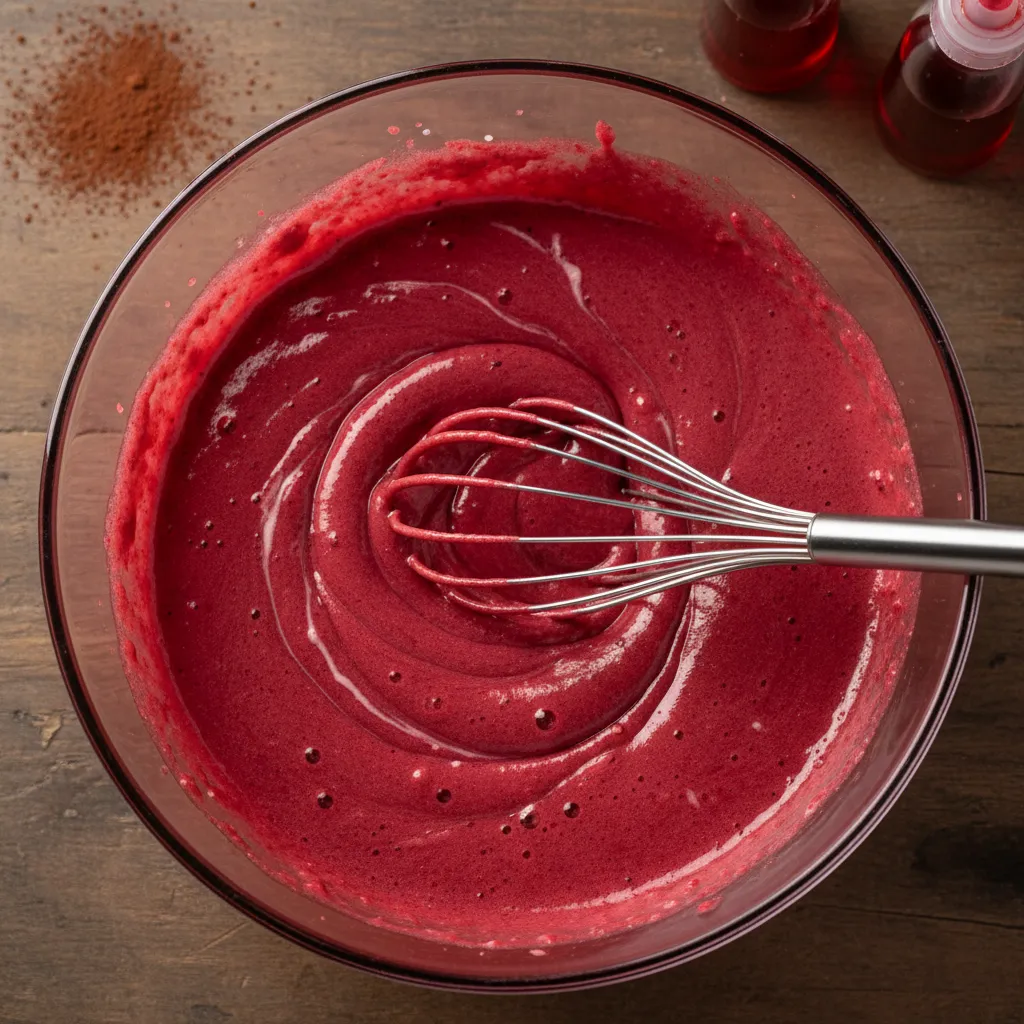
Achieving a striking red hue requires more than just cocoa. Professional gel paste offers intense pigment. It prevents the batter from thinning out too much during the mixing process.
| Feature | Gel Paste Color | Liquid Food Coloring |
|---|---|---|
| Color Intensity | ✅ High/Vibrant | ❌ Low/Faded |
| Moisture Impact | ✅ Minimal | ❌ Significant |
| Flavor Alteration | ✅ Neutral | ❌ Often Bitter |
Professional bakers prefer gel paste for its concentration. It allows you to use less product to achieve a much deeper color. This keeps the flavor profile of the cocoa and vanilla pure.
For the most vivid color, use a concentrated gel paste. It provides a deep, saturated red that liquid colors simply cannot match.
PJ Hamel, King Arthur Baking
Gel paste provides a stable color that stays bright during baking. This prevents your cake from turning a dull brown or muddy brick color. It ensures your dessert looks artisanal and appetizing.
Why Gel Paste Outperforms Liquid Dye
The chemical reaction between vinegar and buttermilk creates a slight tint. Modern gel paste amplifies this for a showstopping appearance. It blends effortlessly into the emulsified fats.
While this cake is a classic, you might also enjoy these strawberry cake recipes for more colorful dessert inspiration.
Ingredients
- 2.5 cups all-purpose flour
- 1.5 cups granulated sugar
- 1 tsp baking soda
- 1 tsp fine sea salt
- 1 tsp unsweetened cocoa powder
- 1 cup whole buttermilk, room temperature
- 2 large eggs, room temperature
- 1.5 cups vegetable oil
- 1 tsp white distilled vinegar
- 1 tsp pure vanilla extract
- 1 tbsp red gel paste food coloring
Instructions
- Preheat your oven to 350 degrees Fahrenheit and grease two eight-inch round cake pans.
- Sift the flour, sugar, baking soda, salt, and cocoa powder into a large mixing bowl.
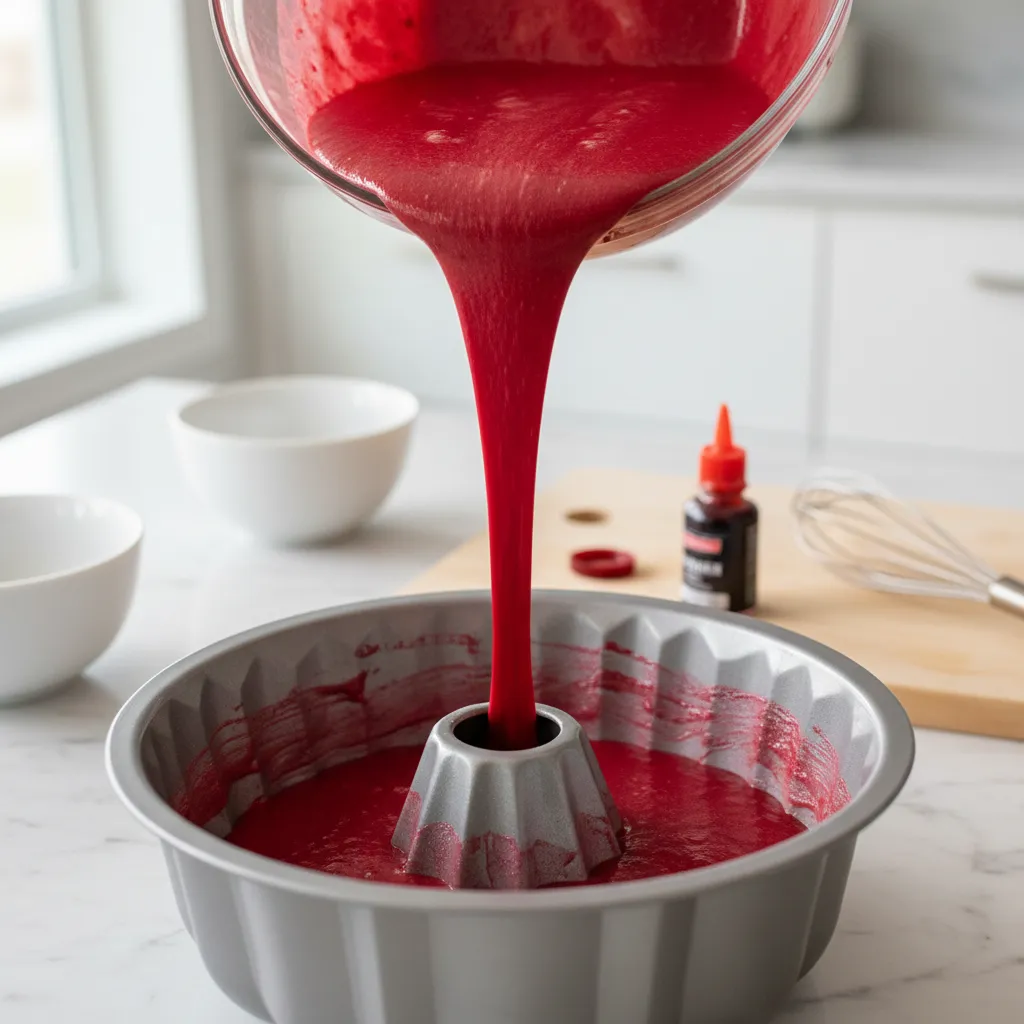
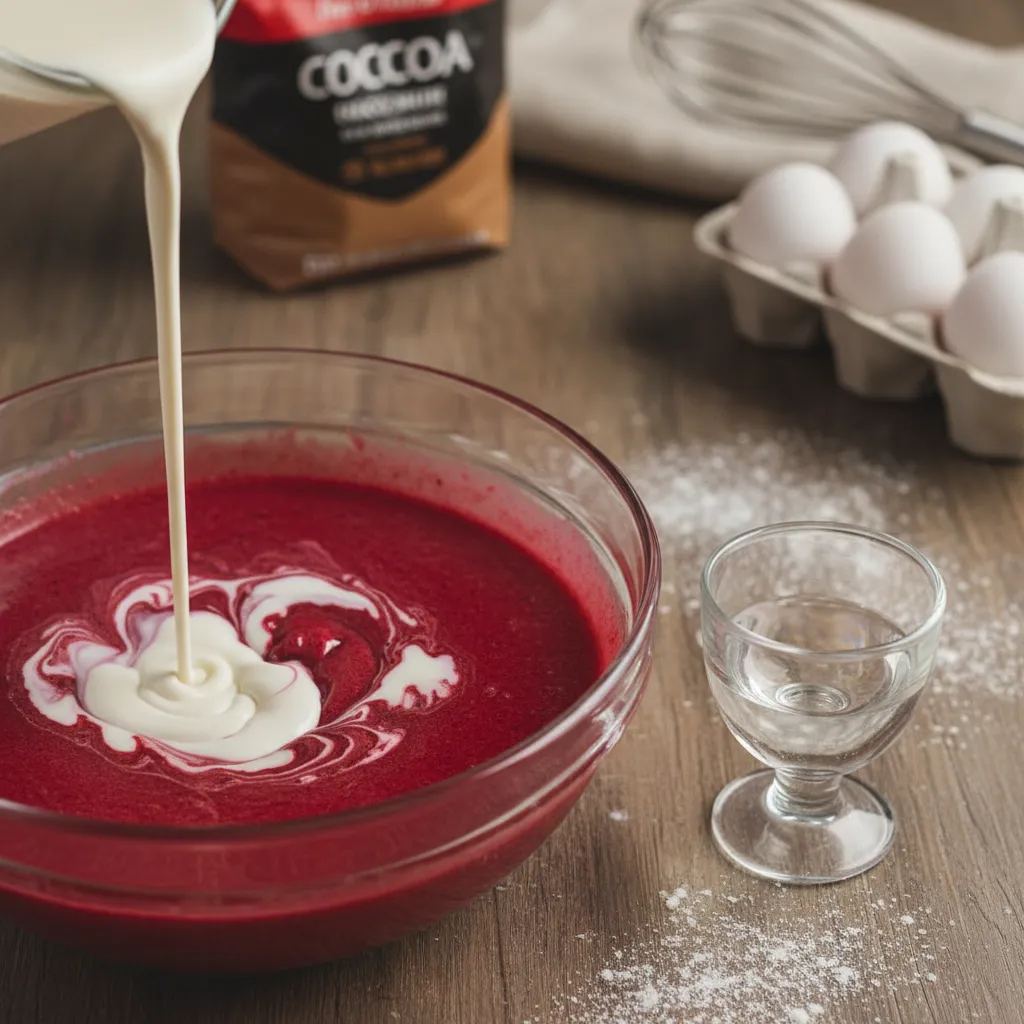
- In a separate bowl, whisk the buttermilk, eggs, oil, vinegar, vanilla, and red gel paste.
- Gradually add the wet ingredients to the dry ingredients, mixing until the batter is smooth.
- Divide the batter evenly between the prepared pans and tap them to release air bubbles.
- Bake for 30 to 35 minutes or until a toothpick inserted in the center comes out clean.
- Allow the cakes to cool in the pans for ten minutes before transferring to a wire rack.
The secret to a showstopping red velvet cake is the depth of its color, achieved only through quality gel paste.
If you want more baking tips, check out why cookies spread flat to master your oven heat and cake height.
Pro Baker’s Color Secret
- To ensure an even distribution without overmixing the flour, always whisk your red gel paste into the liquid ingredients before combining them with the dry mixture.
- For the most intense vibrancy, let your finished batter rest for 5-10 minutes before baking; this allows the pigments to fully hydrate and deepen for a richer hue.
- If you want a more natural ruby tone, choose a super red or crimson professional gel rather than a standard red, as these are formulated to resist fading under high oven heat.
Natural Beet Juice Red Velvet for Chemical-Free Coloring

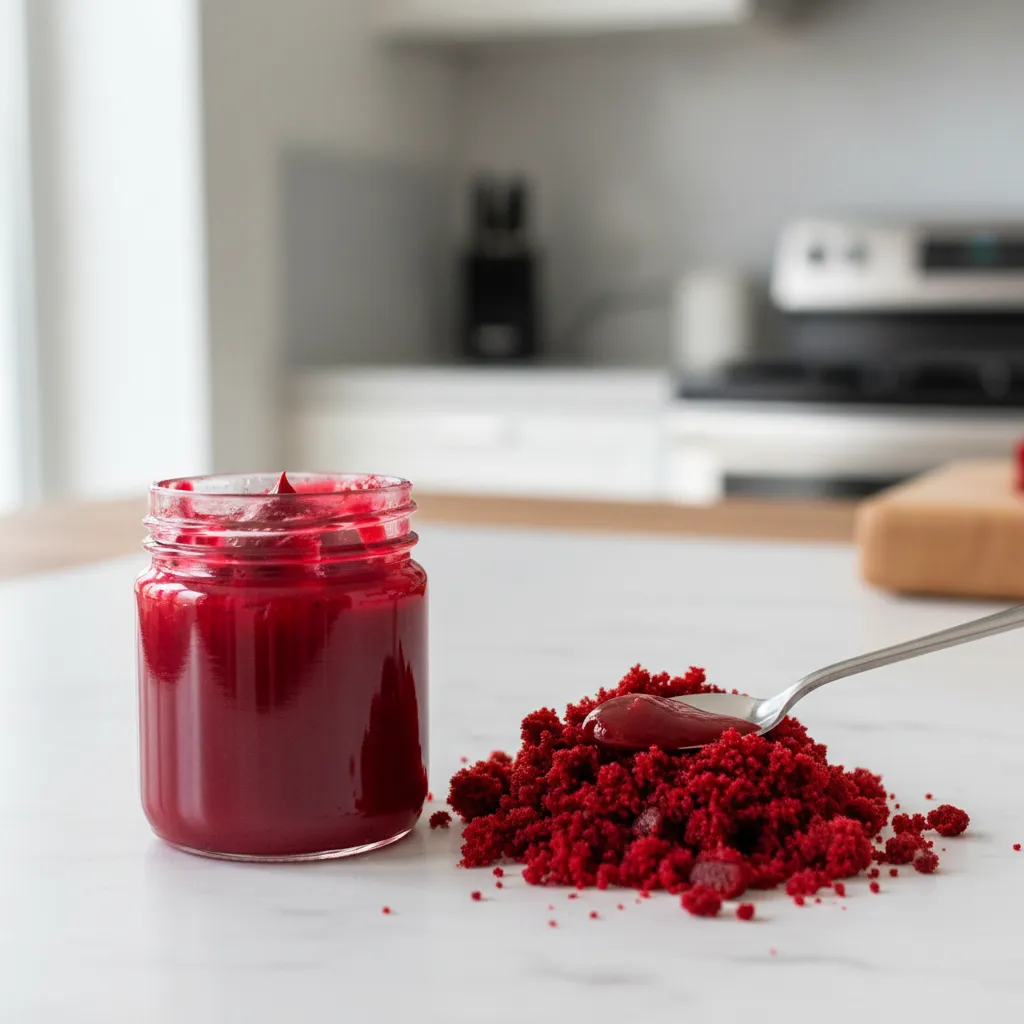
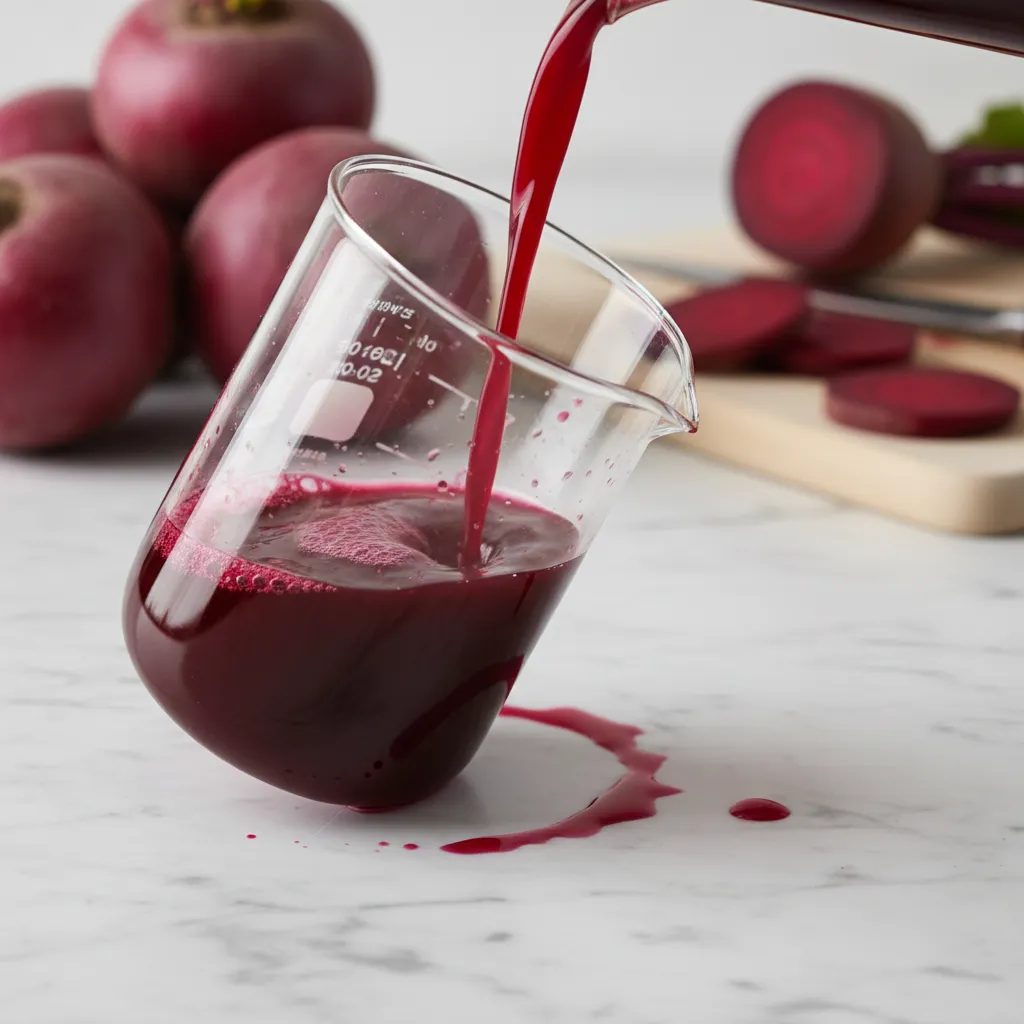
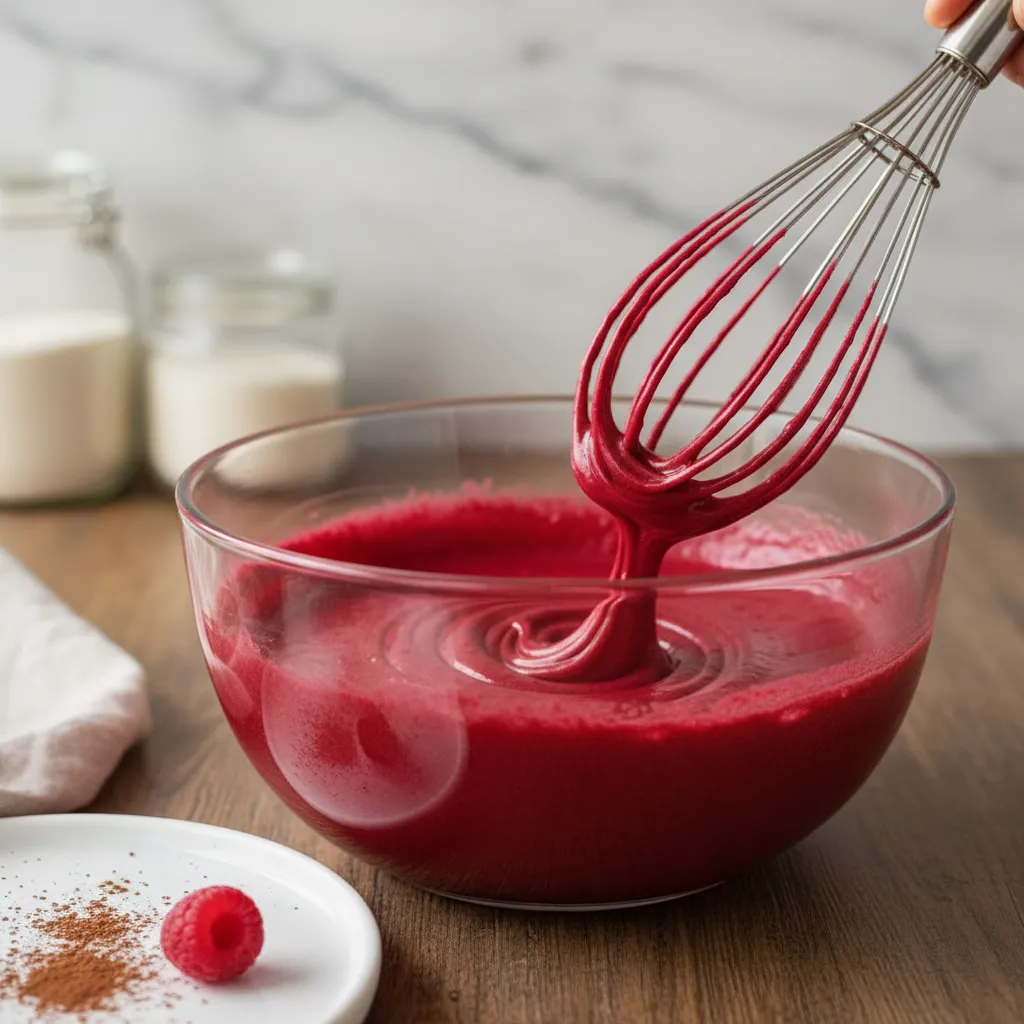
Modern bakers prefer organic alternatives to synthetic dyes. Beet juice provides a stunning, chemical-free hue. It ensures your dessert is as wholesome as it is beautiful.
Using fresh beet juice offers an artisanal approach. You get a deep, organic crimson without any synthetic additives. It is a smart choice for health-conscious families.
Ditch the dye for the deep, earthy magic of beets.
The Magic of Natural Pigments
Fresh beet juice creates an earthy depth. It pairs perfectly with the cocoa’s umami profile. This combination satisfies a sophisticated palate effortlessly.
This technique is perfect for parents exploring hidden vegetables in their baking. It adds nutrients while maintaining a classic look.
Beets contain betacyanin, which gives them their rich purple-red color. This pigment is heat-sensitive, so adding an acid like vinegar is crucial to keep the cake red.
Harold McGee, On Food and Cooking: The Science and Lore of the Kitchen
If you have leftover beets, consider trying cold pressed juice for a morning boost. The health benefits of beets are truly remarkable.
| Color Source | Health Impact | Flavor Profile |
|---|---|---|
| Fresh Beet Juice | High in Antioxidants | Rich and Earthy |
| Natural Beet Powder | Contains Fiber | Mildly Sweet |
| Liquid Red Dye | No Nutritional Value | Slightly Chemical |
Ingredients
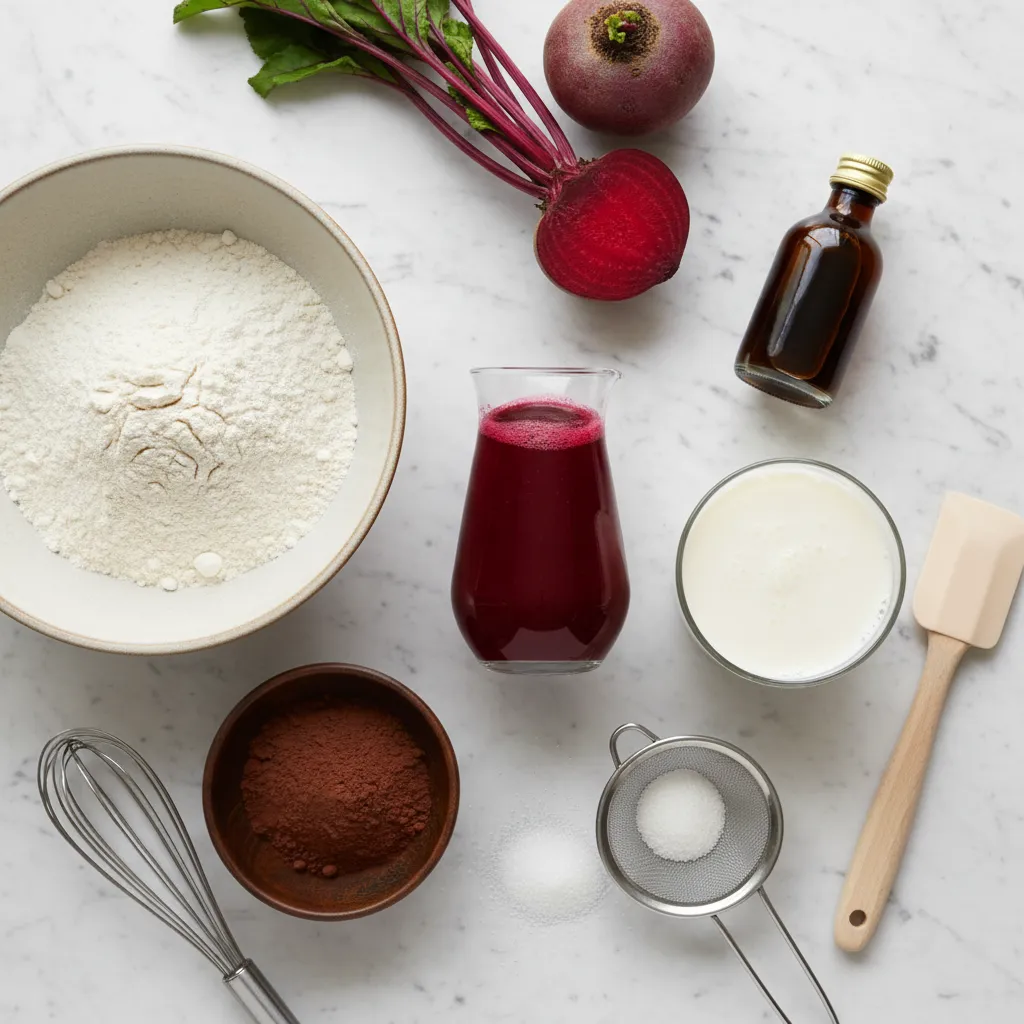
- 2 1/2 cups all-purpose flour
- 1 1/2 cups granulated sugar
- 1 tsp baking soda
- 1 tsp cocoa powder (non-alkalized)
- 1 cup fresh beet juice
- 1 cup buttermilk
- 2 large eggs
- 1 tsp white vinegar
- 1 tsp vanilla extract
Instructions
- Preheat your oven to 350 degrees. Grease two round cake pans thoroughly to prevent sticking.
- In a large bowl, whisk the flour, sugar, baking soda, and cocoa. Ensure the mixture is lump-free.
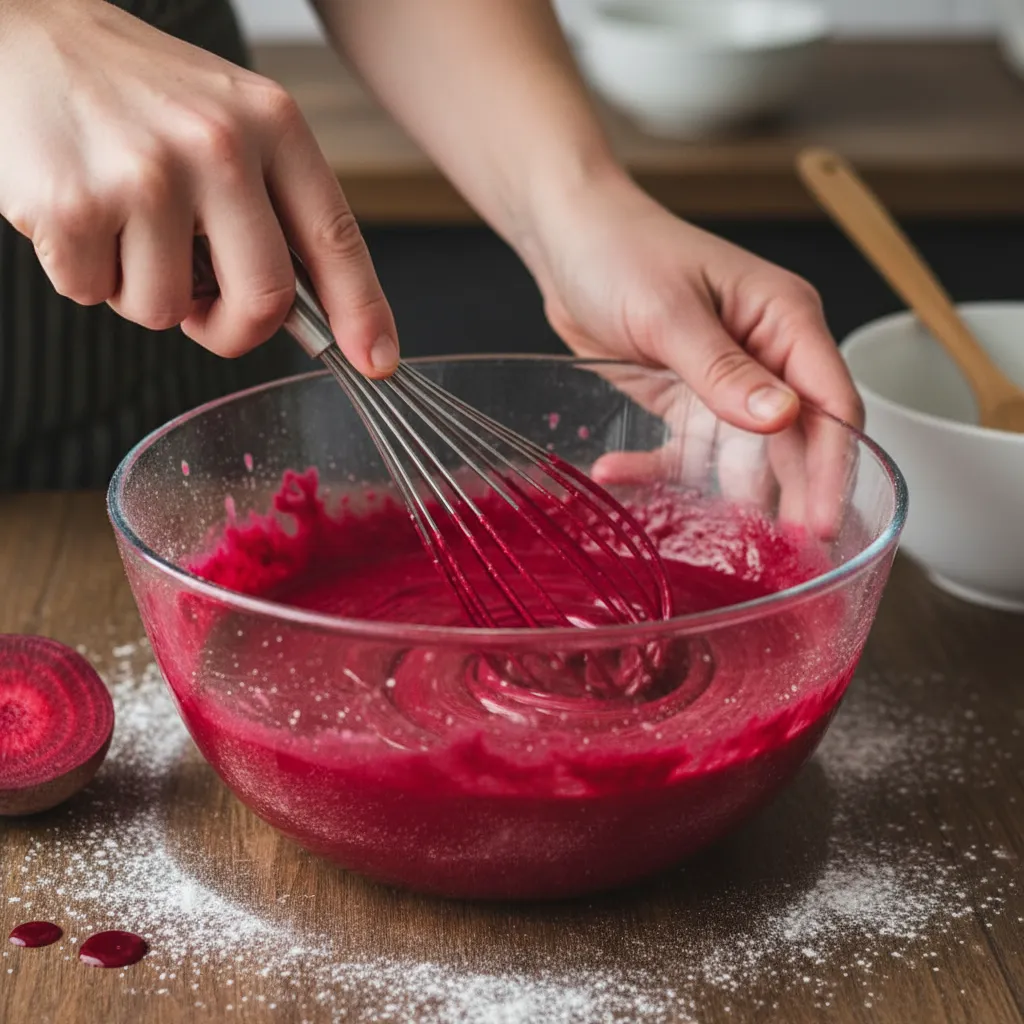
- In a separate bowl, whisk the eggs, beet juice, buttermilk, vinegar, and vanilla. The color will be vivid.
- Gradually fold the wet ingredients into the dry mixture. Stir until just combined to keep the texture light.
- Divide the batter evenly between the pans. Bake for 30 minutes or until a toothpick comes out clean.
- Cool completely on a wire rack. Garnish with a light zest of lemon for a bright finish.
The resulting texture is incredibly moist. The beets provide a natural caramelization that deepens during baking. It is a truly artisanal experience for any home cook.
The Artisan Baker’s Secret
- To maintain that vibrant crimson, always use non-alkalized (natural) cocoa powder. Dutch-processed cocoa raises the pH level, which can turn the natural beet pigments into an unappealing shade of brown or gray.
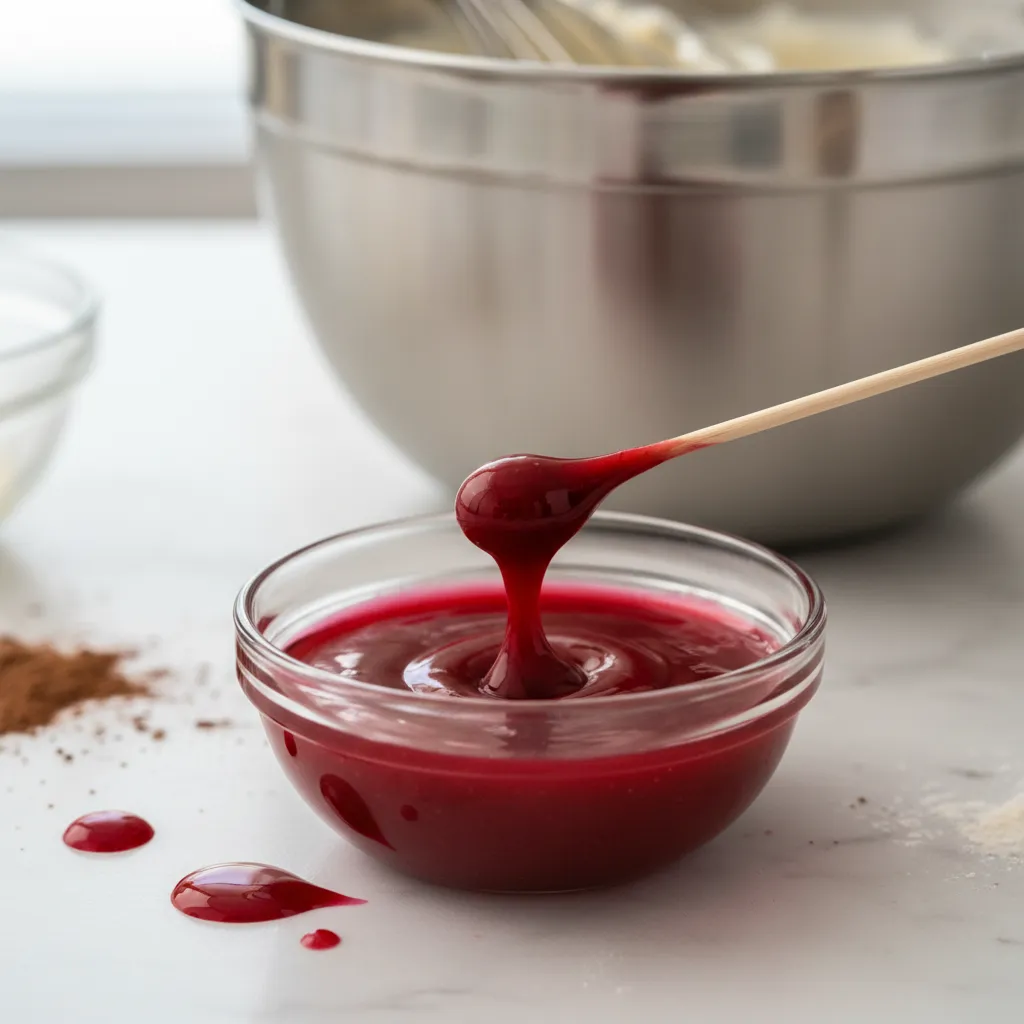
- For the most intense hue without thinning your batter, try reducing your beet juice over low heat until it is concentrated. This ensures a deep ruby color while preserving the perfect cake texture.
- If you are sensitive to earthy notes, roast your beets instead of boiling them before juicing. Roasting concentrates the natural sugars and results in a sweeter, more mellow flavor that blends seamlessly with the cocoa.
Quick Liquid Dye Red Velvet for Beginner Bakers
Liquid food coloring is the most accessible option for home bakers. It is likely already in your pantry from previous decorating projects.
This method yields a classic crimson shade. It pairs beautifully with tangy buttermilk to create that iconic, velvety crumb texture.
If you are just starting your baking journey, this cake is as simple to master as our favorite chocolate chip cookies.
Red velvet is more than just a color; it is a delicate balance of cocoa, tang, and silky smooth texture.
Ingredients
- 2.5 cups all-purpose flour
- 1.5 cups granulated sugar
- 1 teaspoon baking soda
- 1 teaspoon fine sea salt
- 1/4 cup unsweetened cocoa powder
- 1.5 cups vegetable oil
- 1 cup room temperature buttermilk
- 2 large eggs, room temperature
- 1 fluid ounce red liquid food coloring
- 1 teaspoon white distilled vinegar
- 2 teaspoons vanilla extract
Instructions
- Preheat your oven to 350 degrees Fahrenheit. Grease and flour two 9-inch round cake pans.
- Sift the flour, sugar, baking soda, salt, and cocoa powder into a large mixing bowl.
- Whisk the oil, buttermilk, eggs, food coloring, vinegar, and vanilla in a separate medium bowl.
- Slowly fold the wet ingredients into the dry ingredients. Mix until the batter is just smooth.
- Divide the vibrant red batter evenly between the prepared pans. Tap them on the counter to release air bubbles.
- Bake for 30 to 35 minutes. A toothpick inserted into the center should come out clean.
- Cool in the pans for 10 minutes. Transfer to a wire rack to cool completely before frosting.
For a classic Red Velvet Cake, use 1 tablespoon of red food color for a standard 2-layer cake to achieve the iconic crimson hue.
McCormick Kitchens, Red Velvet Cake Recipe
Why Liquid Dye Works for Beginners
Liquid dye is perfect for beginners because it mixes instantly into the wet ingredients. You do not need to worry about clumping.
The thin consistency ensures the batter flows easily into the pans. This creates a perfectly level surface for your cream cheese frosting.
Serve your masterpiece alongside some non-alcoholic pink drinks to complete a beautiful dessert table.
Use the following guide to troubleshoot your first attempt. It helps ensure a perfect result every time you bake.
| Common Issue | Probable Cause | Quick Fix |
|---|---|---|
| Dull Brown Color | Too much cocoa powder. | Strictly follow the 1/4 cup limit. |
| Dry Texture | Overbaked in the oven. | Check for crumbs at 25 minutes. |
| Coarse Crumb | Overmixing the batter. | Fold gently until just combined. |
Always use room temperature eggs and buttermilk. This allows the fat to emulsify properly, creating a luxurious and savory depth of flavor.
The addition of vinegar is crucial. It reacts with the baking soda to provide an airy and moist lift to the cake layers.
The Velvet Touch
- To ensure a smooth, velvety crumb, make sure your room temperature eggs and buttermilk are truly at room temperature; this helps the fats emulsify perfectly with the cocoa.
- When using liquid dye, add it to the wet ingredients before combining with the dry mix to ensure the color is evenly distributed without overworking the batter.
- For a deeper crimson without extra dye, use natural cocoa powder instead of Dutch-processed; the acidity reacts better with the vinegar and buttermilk for that classic hue.
Red Velvet Coloring Masterclass: Troubleshooting Common Failures
Achieving that iconic crimson hue is a culinary art form. It requires more than just a bottle of red dye. Understanding the chemistry ensures your cake stays vibrant and bold.
Why Your Cake Turned Brown
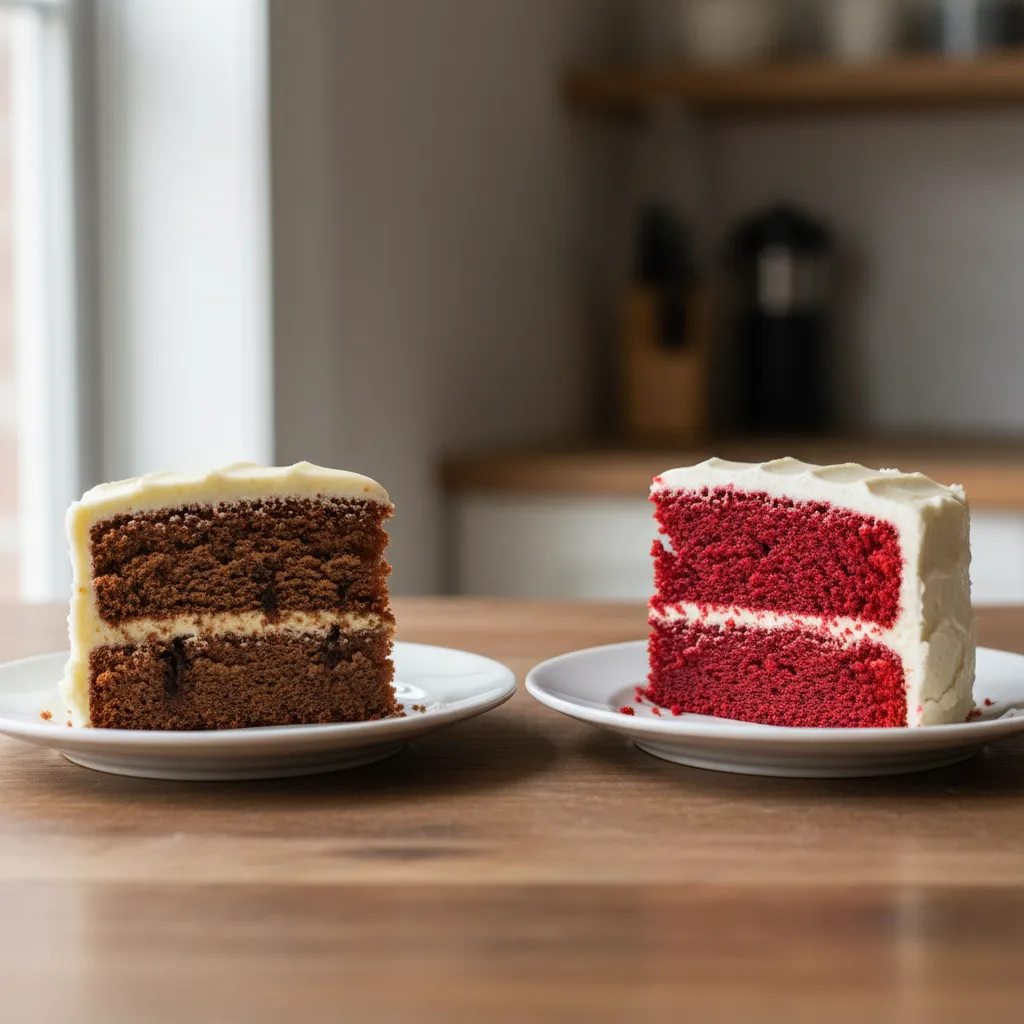
The most common failure is a muddy, brown interior. This happens when the pH balance is off. Natural cocoa powder contains anthocyanins which turn red in acidic environments.
If you use Dutch-processed cocoa, the acidity is neutralized. This prevents the natural red reaction. Stick to natural cocoa for the best results in your easy homemade red velvet cake recipes.
The secret to a stunning red velvet cake lies in the delicate dance between cocoa and acid.
Choosing the Right Coloring Agent

Not all dyes are created equal. Liquid food coloring is often too diluted. It can water down your batter and provide a weak, pinkish tint rather than a deep, velvet red.
- Gel Paste: Highly concentrated and provides the most intense color without thinning the batter or altering the chemistry.
- Liquid Dye: Best for subtle tints but requires large, messy amounts to achieve a true red velvet appearance.
- Beet Powder: A natural alternative that offers an earthy flavor and a muted, deep maroon shade for health-conscious bakers.
If you are looking for other colorful treats, explore our lush non alcoholic pink drink recipes for your next party or event.
The anthocyanins in cocoa are pH-sensitive. To keep them red, you need a high-acid environment provided by buttermilk and vinegar.
Stella Parks, Serious Eats: The Real Red Velvet Cake
Troubleshooting Color Bleeding
Color bleeding occurs when the cake is frosted while still warm. Heat causes the moisture to move, carrying the pigment into your pristine white cream cheese frosting.
Always allow your layers to cool completely. For even better results, chill the cakes before frosting. This sets the crumb and locks the color in place perfectly.
Much like when you troubleshoot why cookies spread flat, temperature control is vital for a professional, bakery-style finish every time.
Quick Color Fixes
| Common Issue | Possible Cause | Simple Solution |
|---|---|---|
| Pale Pink Hue | Too little dye used | Switch to concentrated gel paste |
| Dark Brown Tint | Too much cocoa powder | Limit cocoa to two tablespoons |
| Streaky Batter | Incomplete mixing | Whisk until the color is uniform |
The Baker’s Secret Stash
- Mix your gel color directly into the buttermilk and vinegar mixture before adding it to the batter to ensure the pigment is fully emulsified and the color remains perfectly even.
- For the cleanest visual contrast, chill your cake layers for at least two hours before frosting; this prevents vibrant red crumbs from breaking off and bleeding into your pristine white cream cheese frosting.
- Always double-check your cocoa label; ensure it explicitly says natural cocoa rather than alkalized or Dutch-processed to maintain the necessary acidity for that iconic red reaction.
Achieving the Perfect Crumb: Buttermilk and Vinegar Secrets
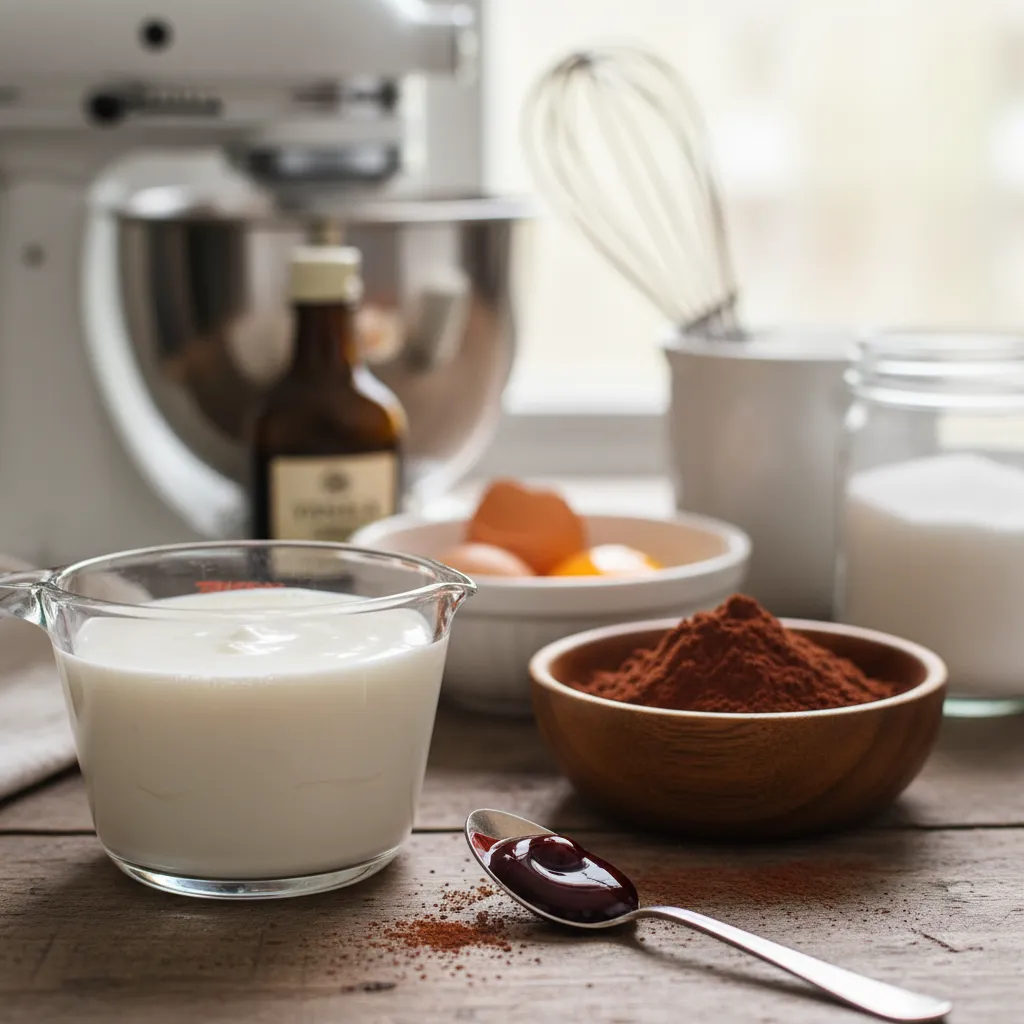
Red velvet is more than a chocolate cake. It is defined by a specific velvety texture. This unique crumb comes from the magic of acidity.
Buttermilk acts as a primary tenderizer. It breaks down long gluten strands. This creates a soft, fine crumb that melts in your mouth with every bite.
Just as with easy and fast fluffy pancakes recipes, buttermilk is the key to moisture and tenderness.
| Component | Primary Function | Texture Result |
|---|---|---|
| Buttermilk | Gluten Tenderizer | Fine, uniform crumb. |
| Vinegar | Leavening Catalyst | Light, airy lift. |
The Science of the Sizzle
Vinegar provides an extra acidic boost. This keeps the red hue vibrant and ensures the baking soda reacts fully for a perfect rise in the oven.
When these liquids meet baking soda, they create carbon dioxide. This gas expands, giving the cake its signature airy and light structure.
The acidity of buttermilk and vinegar reacts with the baking soda to create carbon dioxide, which provides the cake with its characteristic lift.
Rose Levy Beranbaum, The Cake Bible
Essential Ratios for Success
If you lack buttermilk, use acidic liquids from creative uses for leftover yogurt whey to mimic the tenderizing effect.
Precision is vital when balancing these ingredients. Too much vinegar can make the cake sharp, while too little results in a heavy, dense crumb.
The secret to a velvet crumb is the bubbly dance between vinegar and buttermilk.
Ingredients
- 1 cup whole buttermilk
- 1 teaspoon distilled white vinegar
- 1 teaspoon baking soda
- 2 tablespoons unsweetened cocoa powder
Instructions
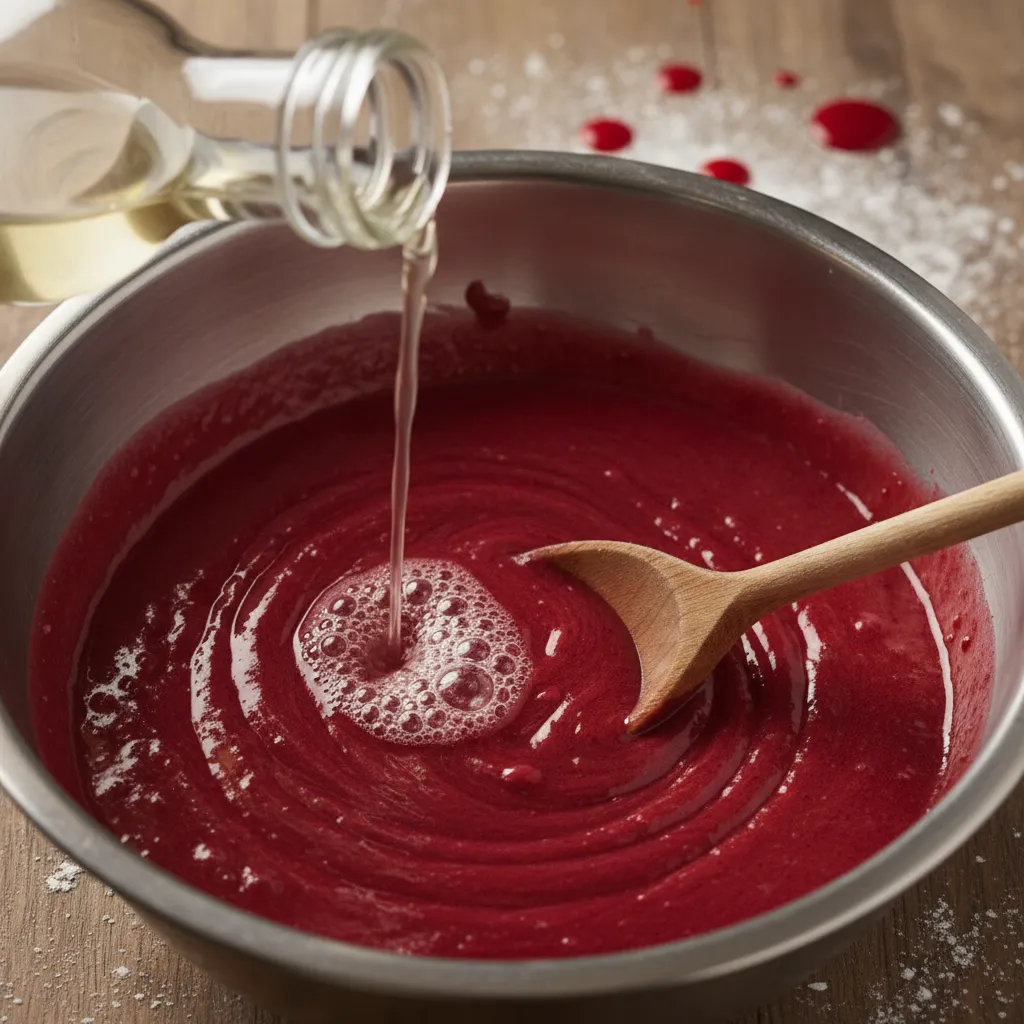
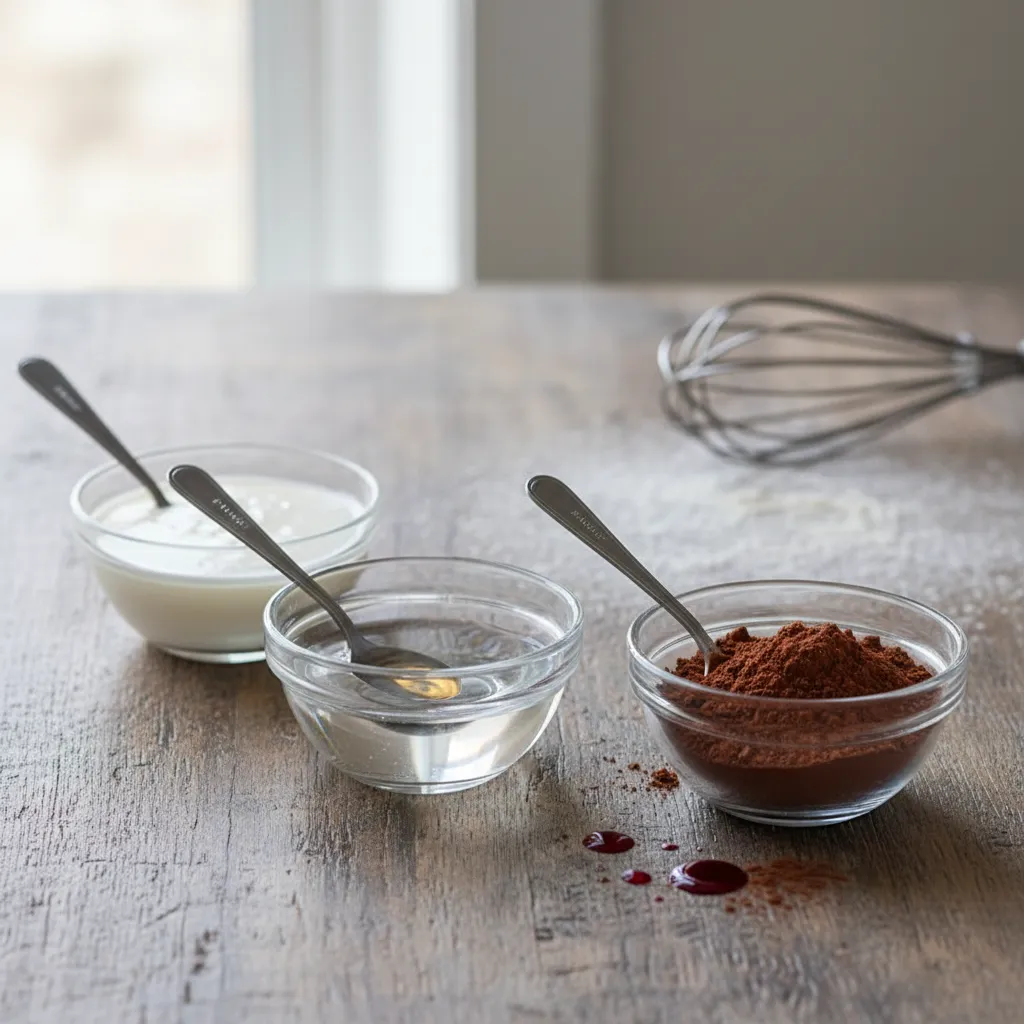
- Whisk the buttermilk and vinegar together in a small glass bowl.
- In a separate cup, mix the baking soda into the liquid mixture.
- Wait for the mixture to fizz and bubble immediately.
- Fold this active mixture gently into your prepared red cake batter.
The Science of Softness
- Never overmix the batter once you fold in the buttermilk and baking soda mixture; overworking it will deflate the carbon dioxide bubbles and lead to a tough, gummy cake.
- Ensure your buttermilk is at room temperature before mixing to prevent the fats in your butter from curdling, which ensures a perfectly smooth and uniform crumb.
- For the brightest color and cleanest taste, use distilled white vinegar rather than apple cider vinegar, as its neutral profile won’t compete with the delicate cocoa notes.
Bake Your Own Scarlet Masterpiece
Mastering the iconic red velvet cake is a joyful journey. With the right gel paste and tangy buttermilk, you can create a dessert that is as beautiful as it is delicious.
Remember, the secret lies in those small chemical reactions. Using high-quality ingredients ensures a moist crumb and that signature flavor balance every time.
Now it is your turn to preheat the oven and share a slice of homemade love. Happy baking, and may your kitchen be filled with the sweet scent of success!
Red Velvet Secrets Revealed
Yes, beet powder is a popular natural choice. However, it may result in an earthy flavor and a more muted, brick-red color compared to the vibrancy of professional gel paste.
Vinegar reacts with the buttermilk and baking soda to create a light, fluffy texture. It also helps stabilize the red color, ensuring your cake looks stunning after baking.
You can make a quick substitute by adding one tablespoon of lemon juice or vinegar to a cup of milk. Let it sit for five minutes until it curdles slightly before using.
Absolutely! Simply fill cupcake liners two-thirds full and bake at 350 degrees for about 18 to 22 minutes. Keep an eye on them so they stay moist and tender.