Table of Contents
- 1. Simmering and Reduction: The Zero-Ingredient Method (Includes Thickener Comparison Matrix)
- 2. Mashing Existing Beans: Natural Puréed Creaminess for Gluten-Free Diets
- 3. Stirring in Tomato Paste: The Acidic Pantry Staple Quick Fix
- 4. Whisking in All-Purpose Flour: A Reliable Corn-Free Thickener
- 5. Adding Xanthan Gum: The Keto Binder (How to Prevent a Slimy Texture)
- The Final Simmer: Perfecting Your Chili
- Questions Bubbling Up?
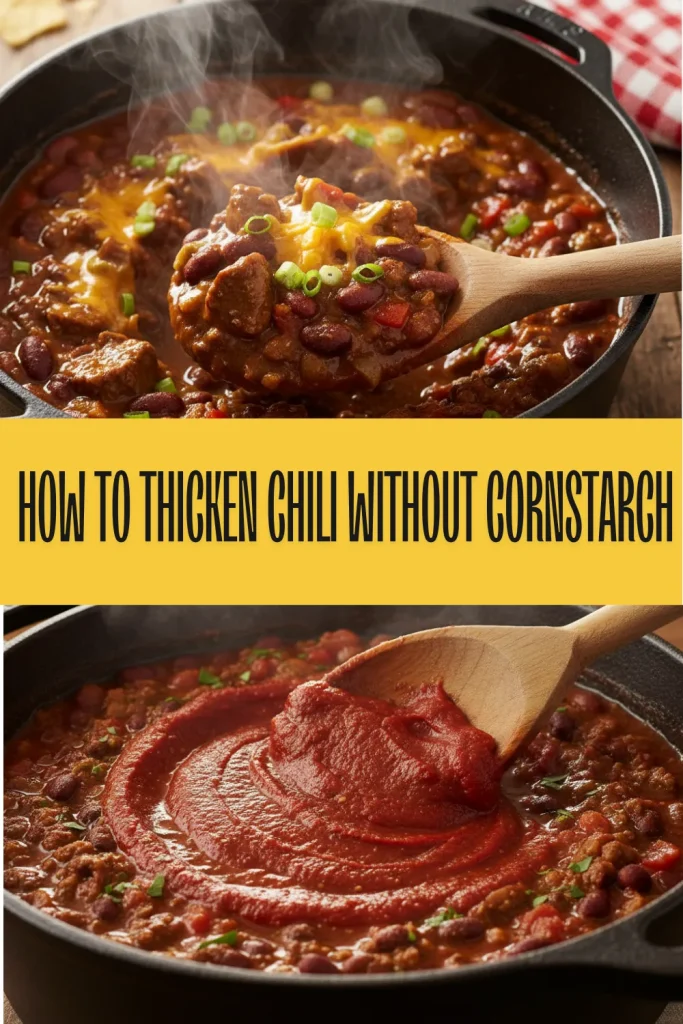
There is nothing quite like a steaming bowl of hearty chili to warm the soul, yet a thin and watery texture can often dampen the experience.
While cornstarch is a common fix, many of us find ourselves reaching for alternatives due to dietary needs or simply an empty pantry.
Mastering the art of a thick, robust consistency is a skill every home cook should cherish.
We can achieve that perfect mouthfeel by utilizing pantry staples like beans, tomato paste, or even a slow reduction.
These methods not only enhance the body of your stew but also deepen the complex layers of flavor you have worked so hard to build.
By mashing a portion of the beans or allowing the liquid to simmer down, you create a velvety texture that coats the spoon beautifully.
Cooking is a journey of discovery, and finding the right balance of ingredients makes every meal more rewarding.
Whether you are feeding a hungry family or hosting a cozy gathering, these simple adjustments ensure your chili is the star of the table.
Let us dive into these tried and true techniques to elevate your next batch into a culinary masterpiece.
1. Simmering and Reduction: The Zero-Ingredient Method (Includes Thickener Comparison Matrix)

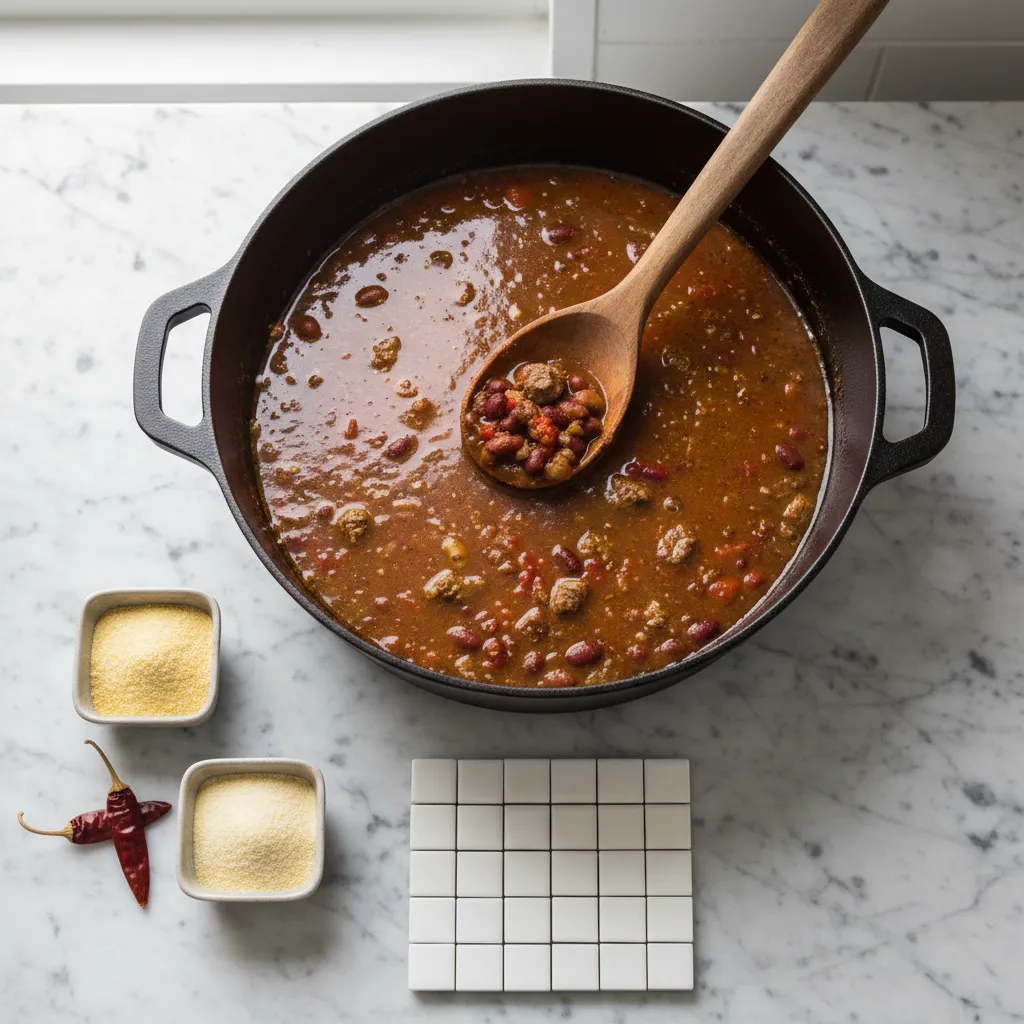
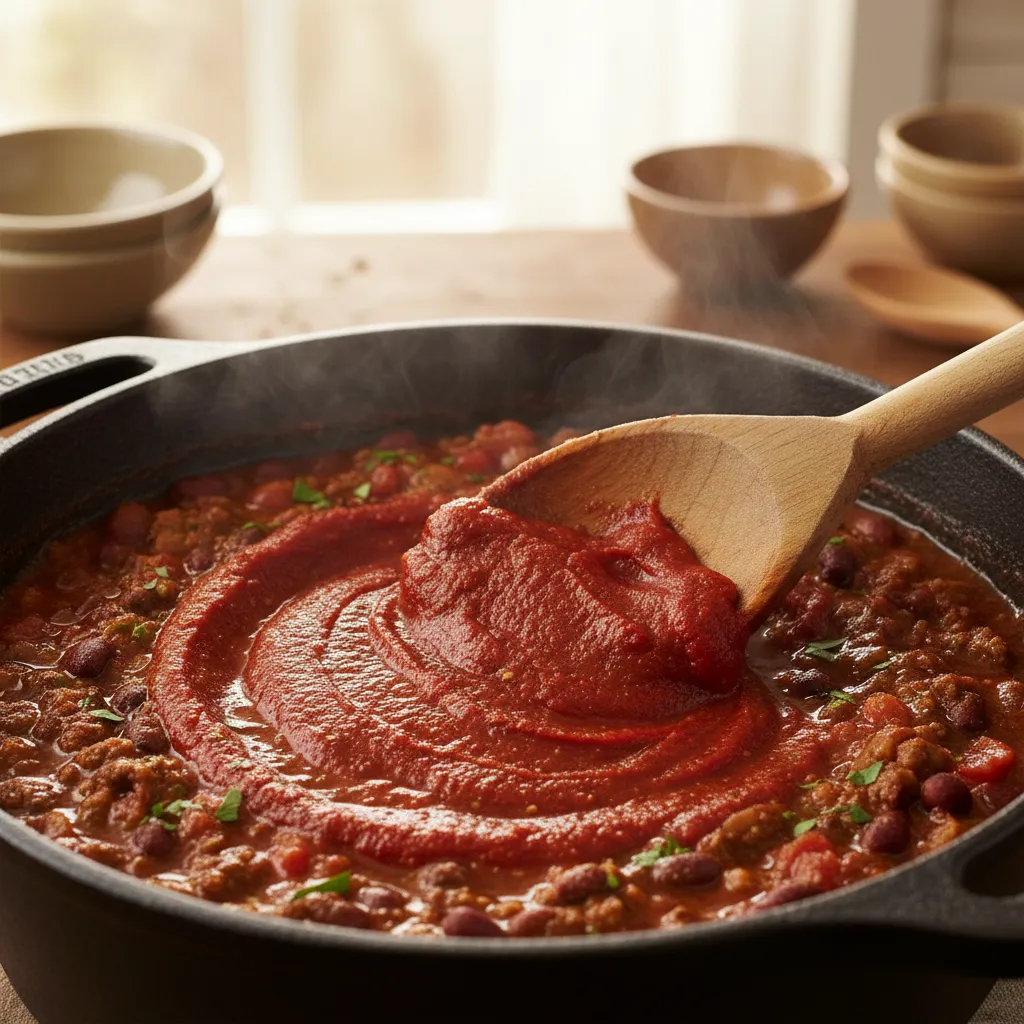
Sometimes the best solution requires no extra ingredients at all. Reducing your chili through a slow simmer evaporates excess water perfectly.
This gentle technique concentrates those savory umami flavors. It transforms a watery stew into a rich, mouth-watering bowl of comfort.
By leaving the pot uncovered, you allow trapped steam to escape. This natural process thickens the sauce beautifully without altering the palate.
If your recipe uses a liquid base, this method is ideal. Choosing carefully between stock vs broth impacts your final sodium level.
Because reduction intensifies everything, salt levels will naturally rise. Always wait to season your hearty chili until the end of cooking.
| Thickening Method | Gluten-Free | Keto-Friendly | Flavor Impact |
|---|---|---|---|
| Simmering (Reduction) | ✅ | ✅ | Intensifies umami flavors |
| Masa Harina | ✅ | ❌ | Adds earthy corn taste |
| Pureed Beans | ✅ | ❌ | Maintains hearty profile |
| Arrowroot Powder | ✅ | ❌ | Neutral taste profile |
Reduction is a culinary technique that involves boiling or simmering a liquid down to concentrate its flavors and thicken its consistency.
MasterClass Culinary Team, MasterClass Guide to Reduction
Patience is the secret, zero-calorie ingredient for a perfectly thick and hearty bowl of homemade chili.
Ingredients
- 1 large pot of prepared, thin chili
- 1 wooden spoon for constant stirring
Instructions
- Remove the lid from your heavy-bottomed pot or Dutch oven. Leaving it uncovered allows the steam to escape freely into the kitchen.
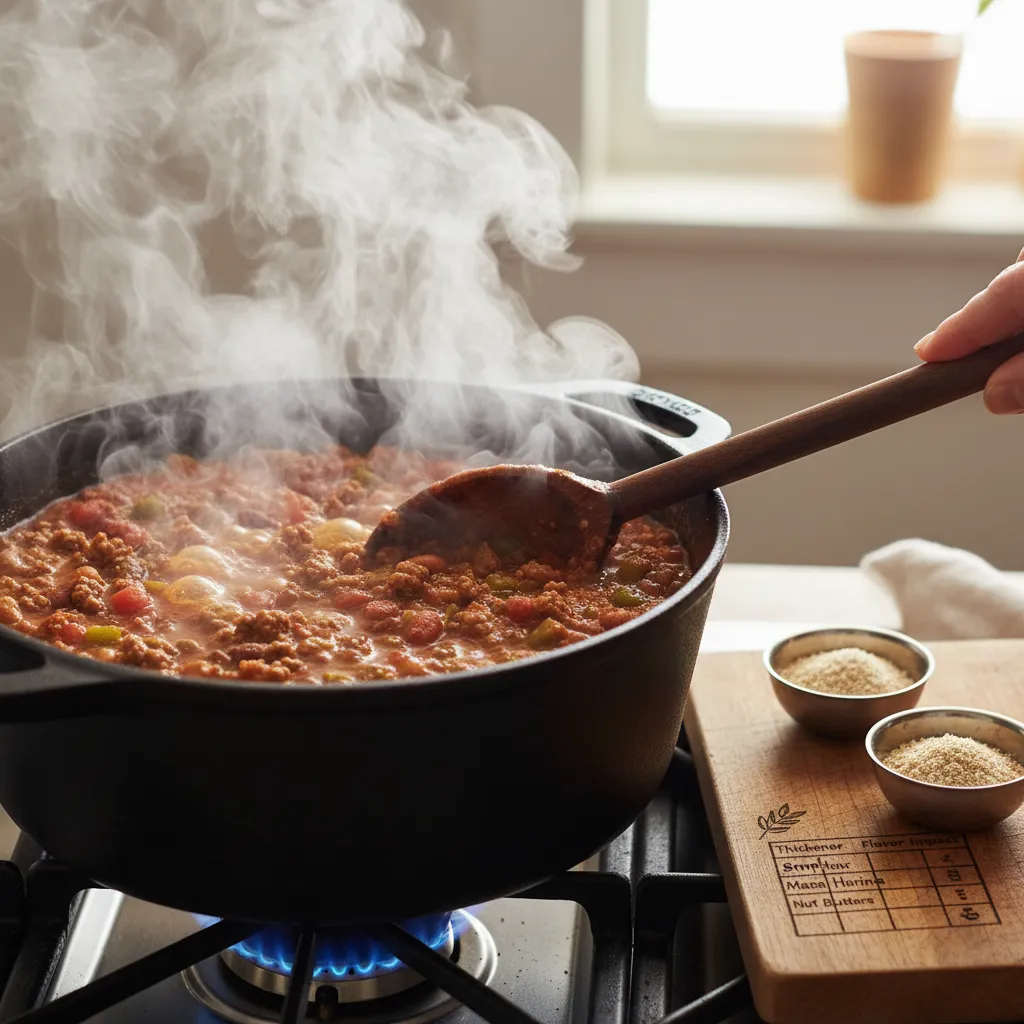
- Adjust the heat to a gentle, rolling simmer. You want small bubbles breaking the surface to avoid a violent, splattering boil.
- Stir the pot every 10 to 15 minutes. This crucial step scrapes the bottom and prevents those delicious tomatoes from scorching.
- Continue simmering for 20 to 30 minutes until the liquid reduces. You will notice a glossy, caramelized finish and a thicker texture.
- Taste the chili carefully. Adjust your spices, salt, and acidity only after the reduction process is fully complete to avoid over-seasoning.
Simmering Secrets
- Hold the Salt: Because reduction naturally intensifies all flavors, always wait until the very end to add extra salt or spices to avoid an overly salty dish.
- Maximize Surface Area: If your chili is too thin right from the start, cook it in a wide pot or Dutch oven rather than a tall stockpot. A larger surface area speeds up the evaporation process.
- Low and Slow: Resist the urge to crank up the heat. A rapid boil can scorch the bottom of your pot, creating a bitter taste instead of concentrating those rich umami flavors.
2. Mashing Existing Beans: Natural Puréed Creaminess for Gluten-Free Diets

One of the easiest ways to thicken your chili requires zero extra ingredients. You already have the perfect natural thickener right in your pot.
Mashing the existing beans releases their natural starches. This artisanal method creates a creamy, beautifully wholesome, and gluten-free base.
It effortlessly binds the liquid without altering the complex flavor profile. This technique adds a rich, velvety texture to your savory stew.
The secret to a luscious, thick chili is already simmering in your pot. Just mash a few beans for instant, wholesome creaminess.
Reducing chili concentrates flavors. Mashing beans actually helps absorb any extra saltiness beautifully as the natural starches expand.
Need help balancing flavors? Read how to fix overly salty soup or stew.
Mashing some of the beans will release their starches, which will naturally thicken the liquid without needing any extra flour or cornstarch.
Diana Rattray, The Spruce Eats: How to Thicken Chili
Best Beans for Natural Starch Release
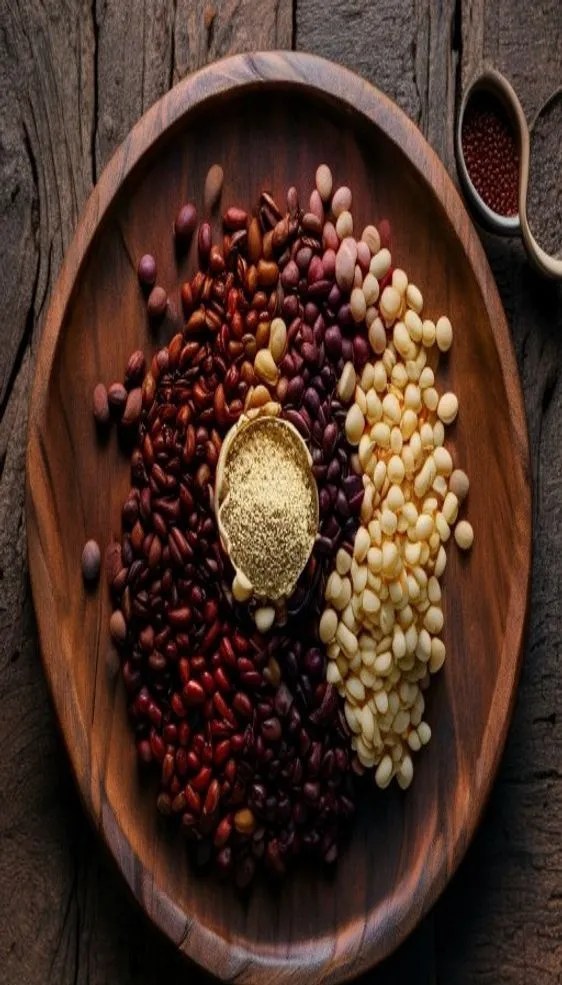
Not all legumes break down equally. Some varieties are naturally softer and provide a superior, velvety consistency when mashed into the broth.
- Pinto Beans: Soft and buttery, they break down easily and emulsify the broth perfectly for a creamy finish.
- Kidney Beans: Provide a hearty, organic texture while adding a subtle sweetness to the overall palate.
- Black Beans: Add a robust, dark color and a rich, earthy umami profile to the plant-based mix.
Boost umami with paste. Learn what to do with leftover tomato paste.
Ingredients
- 2 cups of your simmering, bean-based chili
- 1 tbsp warm water (optional, to adjust texture)
Instructions
- Prepare a sturdy potato masher or a large wooden spoon for your mise en place.
- Press the tool gently against the side of the pot to mash about 1/2 cup of beans.
- Stir the mashed bean paste back into the simmering liquid to emulsify the mixture.
- Simmer for 5 minutes until the starches hydrate and the stew becomes beautifully thick.
Chef’s Secret: Master the Mash
- Protect Your Textures: Scoop a ladle of beans into a separate bowl to mash them before stirring them back into the pot. This ensures you do not accidentally crush your hearty vegetables or meat.
- Target the Pintos: If using a mixed-bean blend, focus your mashing efforts primarily on the pinto beans. Their naturally buttery interior yields the smoothest, most velvety finish.
- Watch the Heat: Once you release those natural starches, your chili will thicken quickly and become more prone to sticking. Lower the heat and stir frequently to prevent scorching the bottom of your pot.
3. Stirring in Tomato Paste: The Acidic Pantry Staple Quick Fix
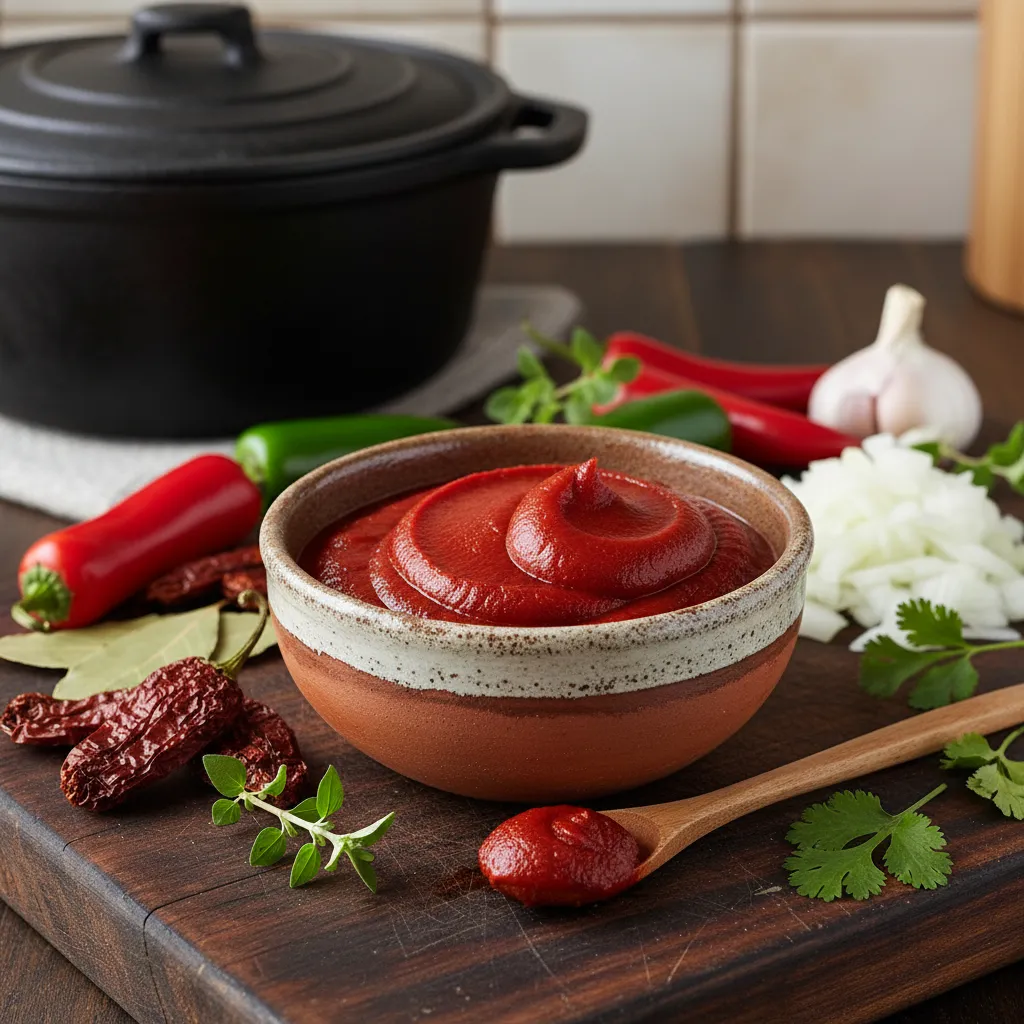
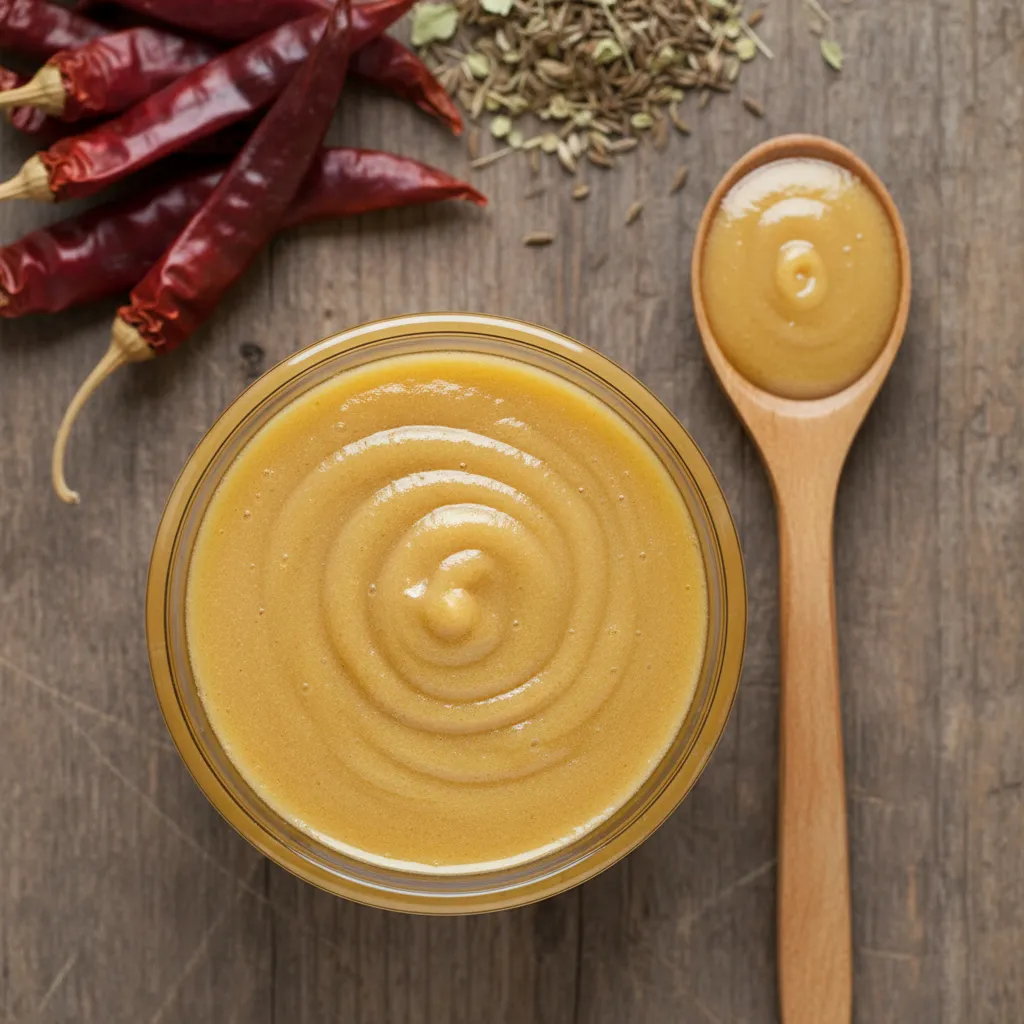
Tomato paste is a true powerhouse ingredient. It thickens your dish rapidly while adding a deep, savory umami profile.
Because it is highly concentrated, it absorbs excess liquid instantly. This wholesome staple creates a luxurious texture.
The bright acidity naturally enhances your warm spices. It beautifully balances heavy proteins for a refined palate.
Adding tomato paste will not only thicken your chili but will also enhance the tomato flavor.
Taste of Home Editors, How to Thicken Chili
If you have extra, explore what to do with leftover tomato paste.
Tomato paste is the unsung hero, transforming watery chili into a rich, velvety masterpiece.
Ingredients
- 2 tbsp organic tomato paste
- 0.5 cup warm chili broth (scooped directly from your pot)
Instructions
- Scoop exactly two tablespoons of tomato paste into a small, heat-proof prep bowl.
- Carefully ladle half a cup of the warm, flavorful chili broth into the bowl.
- Whisk the mixture vigorously until it emulsifies into a smooth, velvety slurry.
- Pour this rich, blended paste back into your main pot and stir gently to combine.
- Simmer for at least ten minutes to fully integrate the newly introduced savory flavors.
Adding concentrated paste can naturally increase the overall acidity of your dish.
Here are a few quick flavor adjustments to perfectly balance your final palate:
- Caramelize first: Sauté the paste in a little oil to unlock deep sweetness.
- Add a pinch of sugar: Brown sugar easily neutralizes the sharp, bright tang.
- Use baking soda: A microscopic pinch instantly tames extreme acidity.
Choose your base wisely. Read about stock vs. broth here.
The Tomato Paste Pro-Move
- To remove the raw, metallic edge, sauté your tomato paste in a clear spot in the pot for 2-3 minutes until it turns darker red and smells sweet.
- Store leftover paste by freezing tablespoon-sized dollops on parchment paper, then tossing them into a freezer bag for future quick fixes.
- If the acidity feels too sharp after adding the paste, stir in a teaspoon of cocoa powder to add depth and balance the tang with earthy notes.
4. Whisking in All-Purpose Flour: A Reliable Corn-Free Thickener
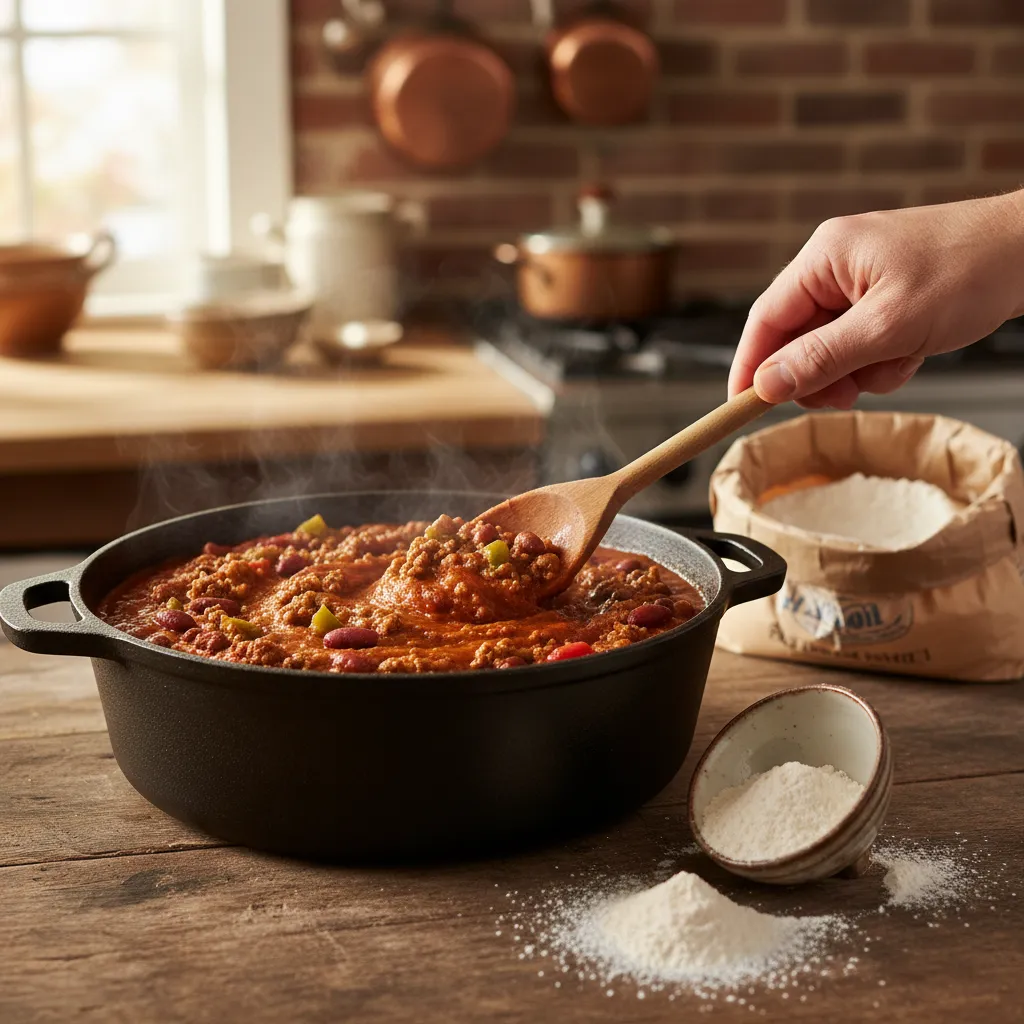
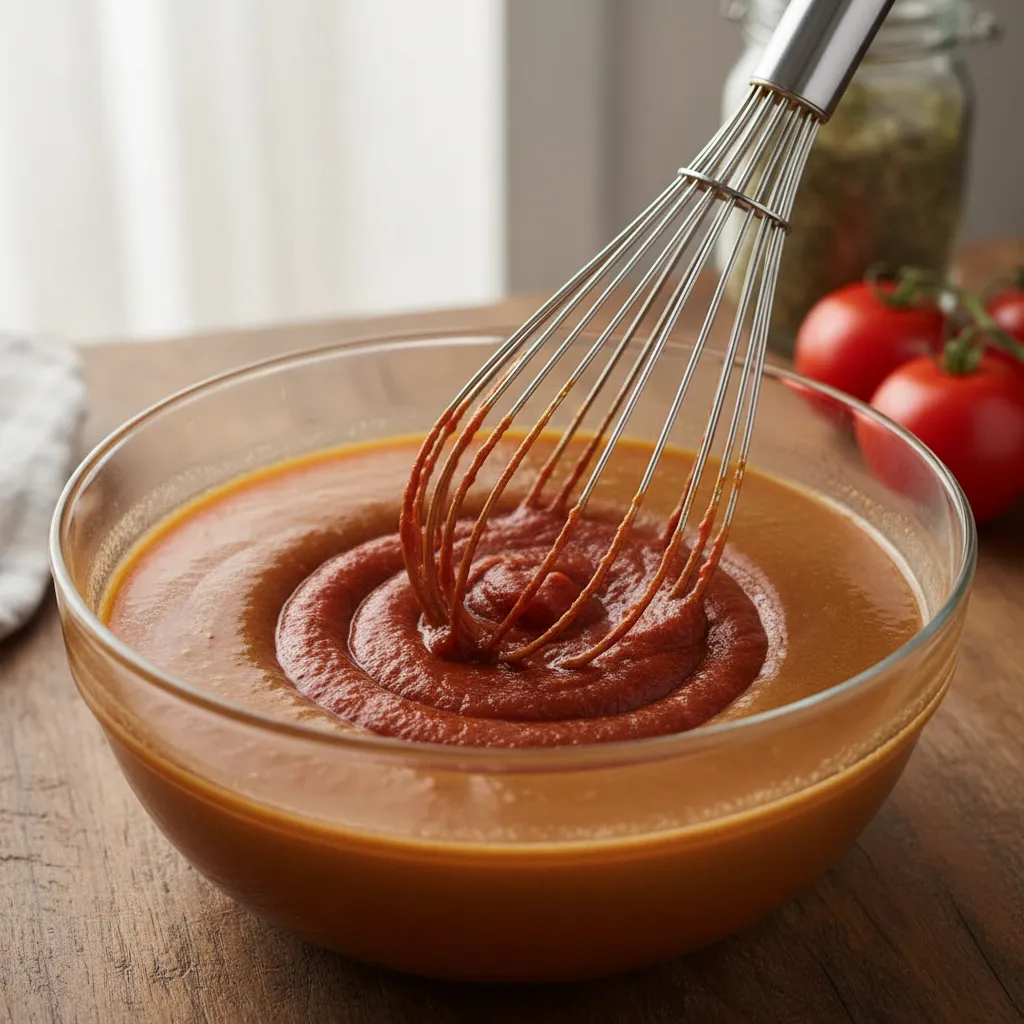
When you need a reliable binder, all-purpose flour is a fantastic pantry staple. It creates a smooth and velvety texture without altering the savory flavor.
Standard all-purpose wheat flour consists of exactly 11.7 percent protein, according to King Arthur Baking.
This precise protein ratio makes it an excellent choice for stabilizing hot liquids. It provides a hearty body to your simmering stews.
Understanding starch behavior is crucial, much like knowing why cookies spread flat when baked improperly.
A simple flour slurry can transform a thin broth into a velvety, rich chili in just minutes.
The key to a wholesome chili is avoiding dreaded flour lumps. You must emulsify the flour with a cold liquid before introducing it to the heat.
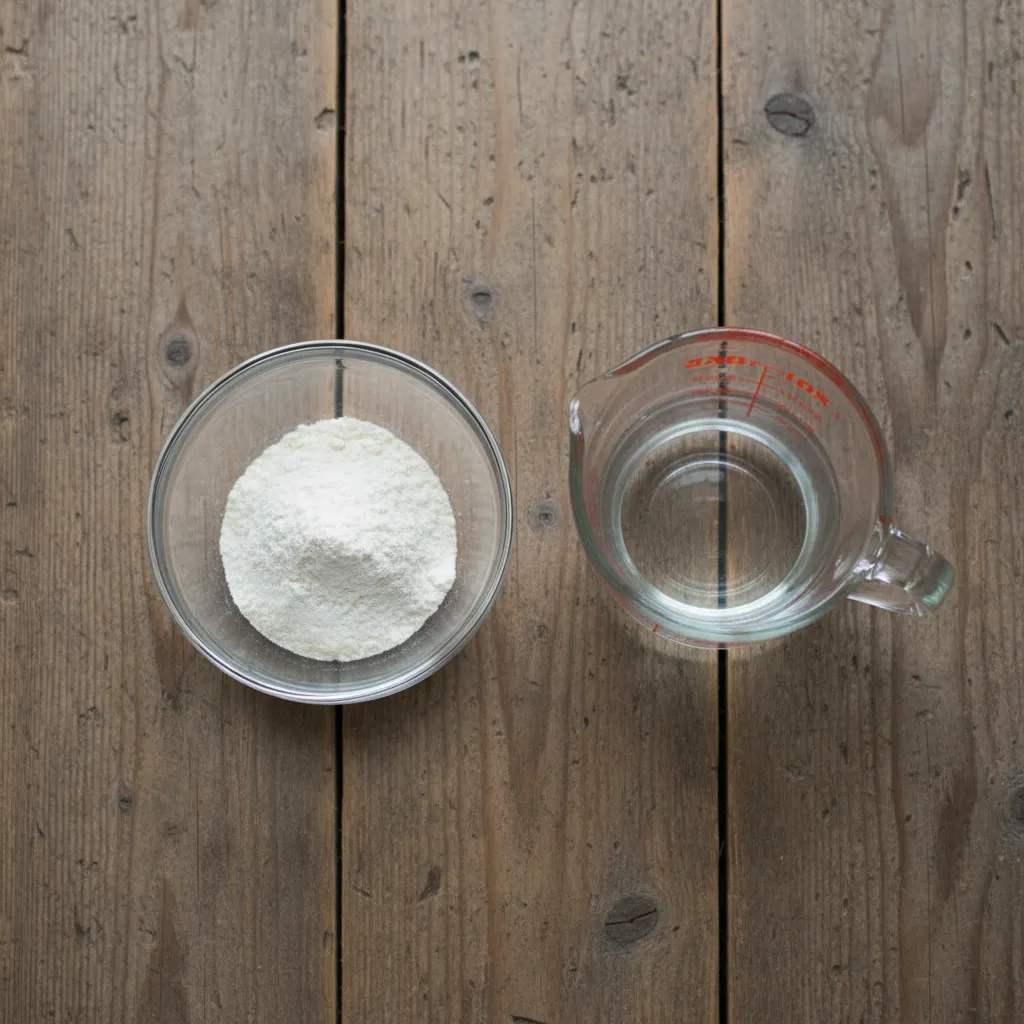
Ingredients
- 2 tablespoons all-purpose flour
- 1/4 cup cold water (or chilled broth)
- 1 large pot of simmering chili
Instructions
- Whisk the all-purpose flour and cold water together in a small bowl until completely smooth.
- Pour the slurry slowly into the simmering pot while stirring constantly.
- Allow the chili to boil gently for five minutes to cook off the raw flour taste.
Once you stir in your mixture, bring the pot back to a gentle simmer. This cooks out any raw flour taste, leaving a rich and savory palate.
Allow the chili to bubble for at least five minutes. This critical reduction step ensures the sauce coats the back of your spoon perfectly.
If you just toss dry flour into a hot liquid, the starch proteins will immediately clump together.
Harold McGee, On Food and Cooking

Troubleshooting Flour Slurries
Working with flour requires a bit of finesse. If your chili does not turn out perfectly thick, consult this quick reference guide for fixes.
| Common Issue | Likely Cause | Easy Solution |
|---|---|---|
| Chalky Taste | Not simmered long enough. | Boil gently for five additional minutes. |
| Lumpy Texture | Added dry flour to hot broth. | Strain the lumps, then make a cold slurry. |
| Too Thin | Weak flour to liquid ratio. | Whisk in a second batch of the slurry. |
If you prefer a gluten-free approach, consider other plant-based starches. However, traditional flour remains a very accessible pantry choice.
Pro Slurry Secrets
- Use a small whisk or a fork to blend your flour and cold liquid in a separate bowl until no white specks remain; this prevents clumping before the mixture even hits the pot.
- To enhance the flavor profile, use chilled beef or vegetable broth instead of water for your slurry to ensure you are adding extra savory depth rather than diluting the sauce.
- Always wait at least five minutes after stirring in your slurry before adding more; flour takes time to fully hydrate and expand to its maximum thickening potential.
5. Adding Xanthan Gum: The Keto Binder (How to Prevent a Slimy Texture)

Xanthan gum is a secret weapon for creating thick and glossy chili. It is a plant-based carbohydrate that acts as a powerful binder.
This fine white powder is naturally gluten-free and keto-friendly. It adds zero net carbs to your savory stew, keeping the meal wholesome.
The golden rule of xanthan gum is restraint. Adding just a fraction of a teaspoon creates a luscious texture without mutating the flavor.
The magic of xanthan gum lies in its restraint. A mere pinch transforms a watery broth into a velvety, restaurant-quality chili.

Preventing a Gummy Texture
A heavy hand with this binder will instantly turn your chili into a slimy mess. It hydrates incredibly fast when exposed to hot liquids.
To prevent gelatinous textures, you must avoid dumping the powder directly into the pot. It will form stubborn clumps that refuse to dissolve.
Instead, create a simple paste using a small amount of fat. You can easily mix it with reserved beef drippings or olive oil.
If you are making high protein meals with ground beef, this brilliant thickening method elevates the entire dish beautifully.
Xanthan gum can thicken hot or cold liquids, but it must be dispersed properly in another medium to avoid clumping.
Official Usage Guide, Modernist Pantry
| Common Issue | Likely Cause | Quick Kitchen Fix |
|---|---|---|
| White Gel Clumps | Powder was added directly to the hot liquid. | Blend the lumps out or carefully skim them off. |
| Slimy Mouthfeel | Too much gum powder was used for the volume. | Dilute the chili with more hot broth or water. |
| Uneven Thickness | The mixture was not fully stirred into the pot. | Simmer and stir vigorously for five minutes. |
Ingredients
- 1/4 tsp xanthan gum powder
- 1 tbsp neutral oil or reserved beef fat
- 4 cups cooked chili (simmering gently)
Instructions
- Measure the exact amount of xanthan gum powder into a small, dry prep bowl.
- Pour the neutral oil or reserved cooking fat directly over the dry powder.
- Whisk the mixture rapidly until a smooth paste forms with absolutely no dry lumps.
- Drizzle the paste slowly into your simmering pot while stirring the liquid constantly.
- Allow the chili to simmer uncovered for at least five minutes to reach peak thickness.
Keto Kitchen Secrets
- Always whisk your xanthan gum into a slurry of fat or oil before introducing it to the pot to prevent the dreaded ‘clump effect.’
- Start with just a quarter teaspoon and wait five minutes for the thickening power to fully activate before deciding to add more.
- If you accidentally overdo it and the texture becomes too thick, dilute the base with a splash of hot beef broth to restore a velvety consistency.
The Final Simmer: Perfecting Your Chili
You do not need cornstarch to craft a perfectly thick, mouth-watering bowl of chili.
From a patient, uncovered simmer to mashing up tender beans, natural methods always win.
These techniques not only thicken your stew but deeply concentrate those savory, comforting flavors.
Whether you choose masa harina, arrowroot, or a simple reduction, your needs are covered.
Now, grab your favorite spoon, ladle up that hearty masterpiece, and enjoy sharing it!
Questions Bubbling Up?
Yes, but flour needs to be cooked to remove its raw taste. Whisk it with cold water first, then simmer.
It can. As water evaporates, the salt and spices concentrate beautifully, but sodium levels rise.
Always wait to do your final taste test and seasoning until after the chili thickens.
Arrowroot is naturally gluten-free, but it is high in carbs. It is not ideal for strict keto.
For keto-friendly chili, simmering or using small amounts of xanthan gum are much better choices.
Mashing releases natural starches into the liquid. This creates a wonderfully creamy, rich mouthfeel.
It thickens the sauce without altering the classic, hearty chili flavor you know and love.