
Table of Contents
- 1. Chill the Bowl in an Ice Bath to Fix Warm Butter Issues
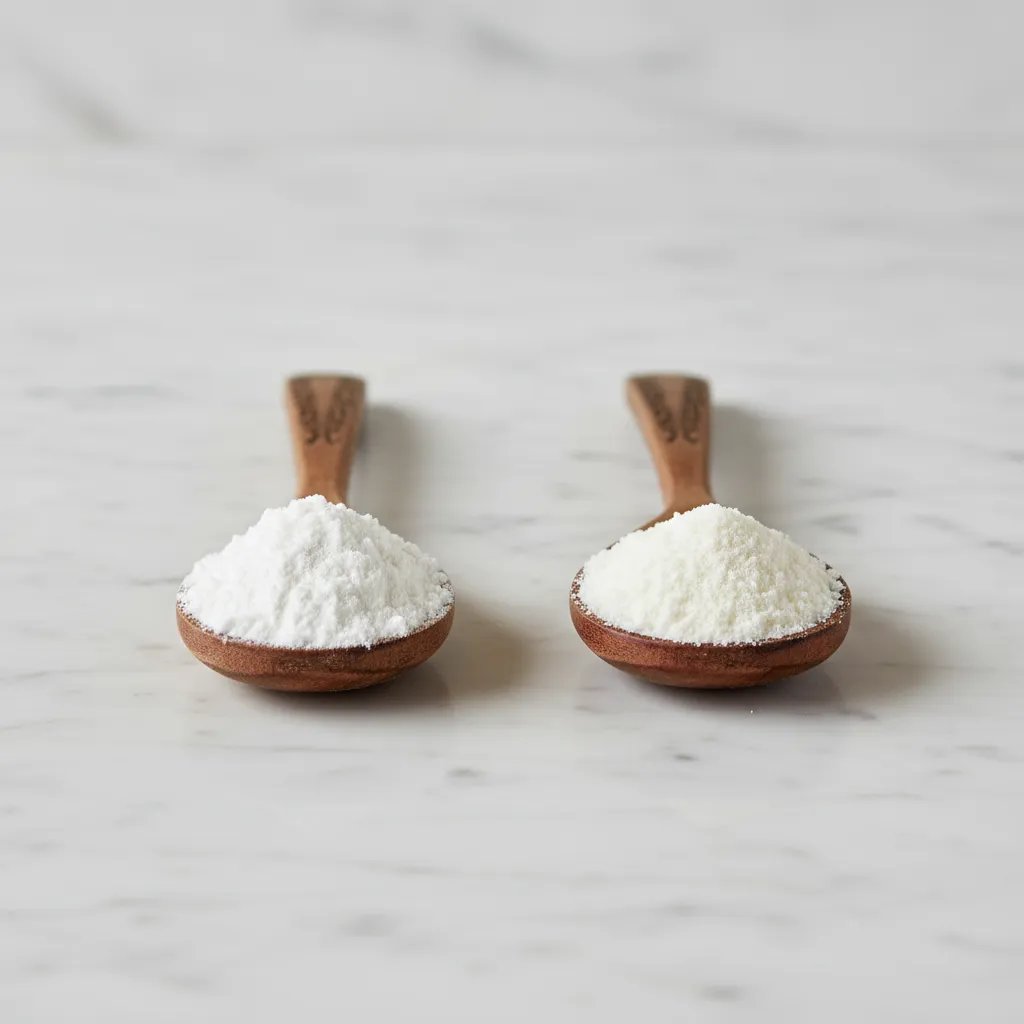
- 2. Thicken with Dry Milk Powder to Avoid Excess Sweetness
- 3. Sift in Cocoa Powder for Runny Chocolate Buttercreams
- 4. Blend in Cornstarch or Meringue Powder to Absorb Extra Liquid
- 5. Add Sifted Powdered Sugar Carefully for American and Swiss Meringue Types
- Whip It Back into Shape: Your Frosting Finale
- Sweet Curiosities: Frosting Troubleshooting FAQs
There is nothing quite like the sight of a perfectly golden sponge cake waiting for its crowning glory.
You have measured your sugar and whipped your butter with care, but sometimes the elements conspire against us.
When your silky buttercream turns into a liquid mess, it feels like a kitchen heartbreak that no passionate baker should ever face alone.
Please do not panic or reach for the bin just yet. As your guide in the kitchen, I want you to know that most frosting woes are simply a matter of temperature or ratio balance.
We can restore that luxurious texture without sacrificing the delicate flavor profile you have worked so hard to create for your family and friends.
Whether you are a busy parent rushing for a birthday or an aspiring chef perfecting your craft, these simple solutions will save your dessert.
We will explore how to chill, thicken, and whisk your way back to a stiff peak that stays put. Let us turn this little mishap into a triumph of flavor and presentation together.
1. Chill the Bowl in an Ice Bath to Fix Warm Butter Issues
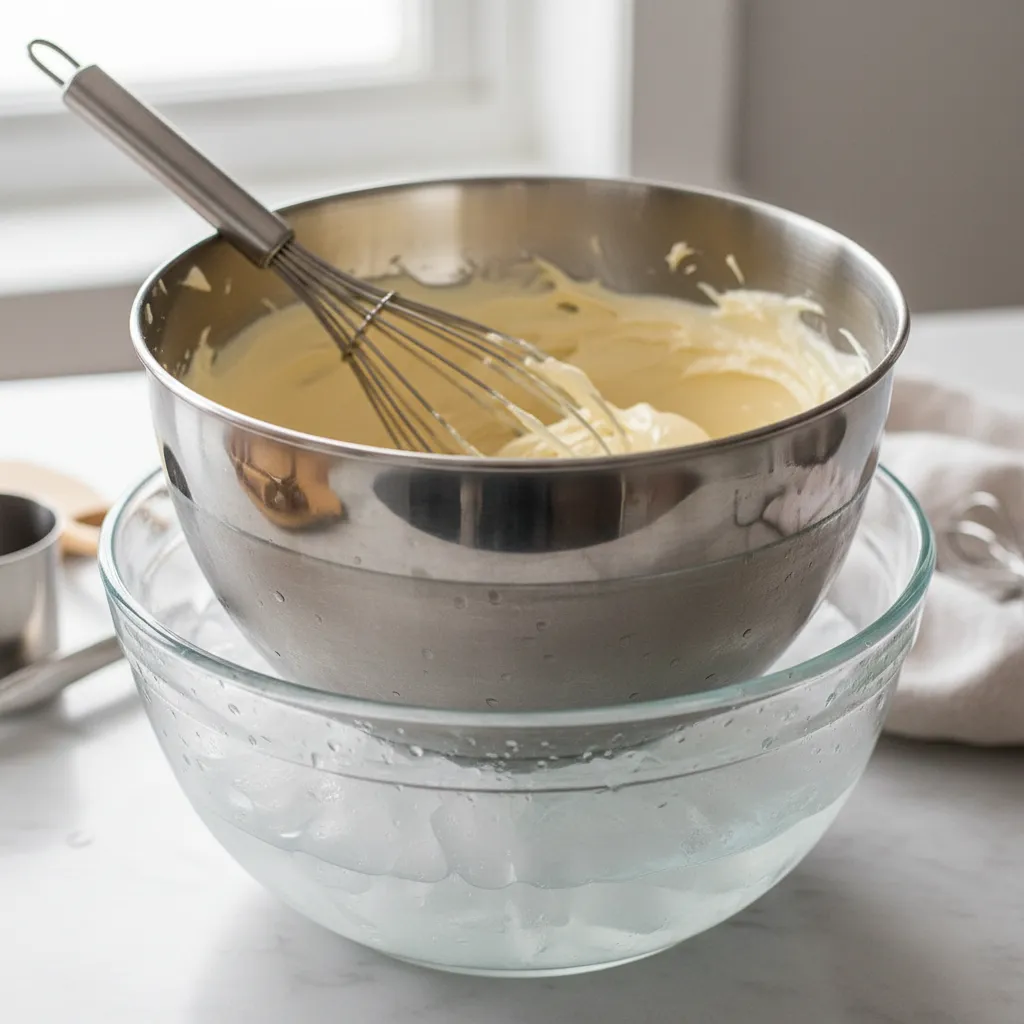
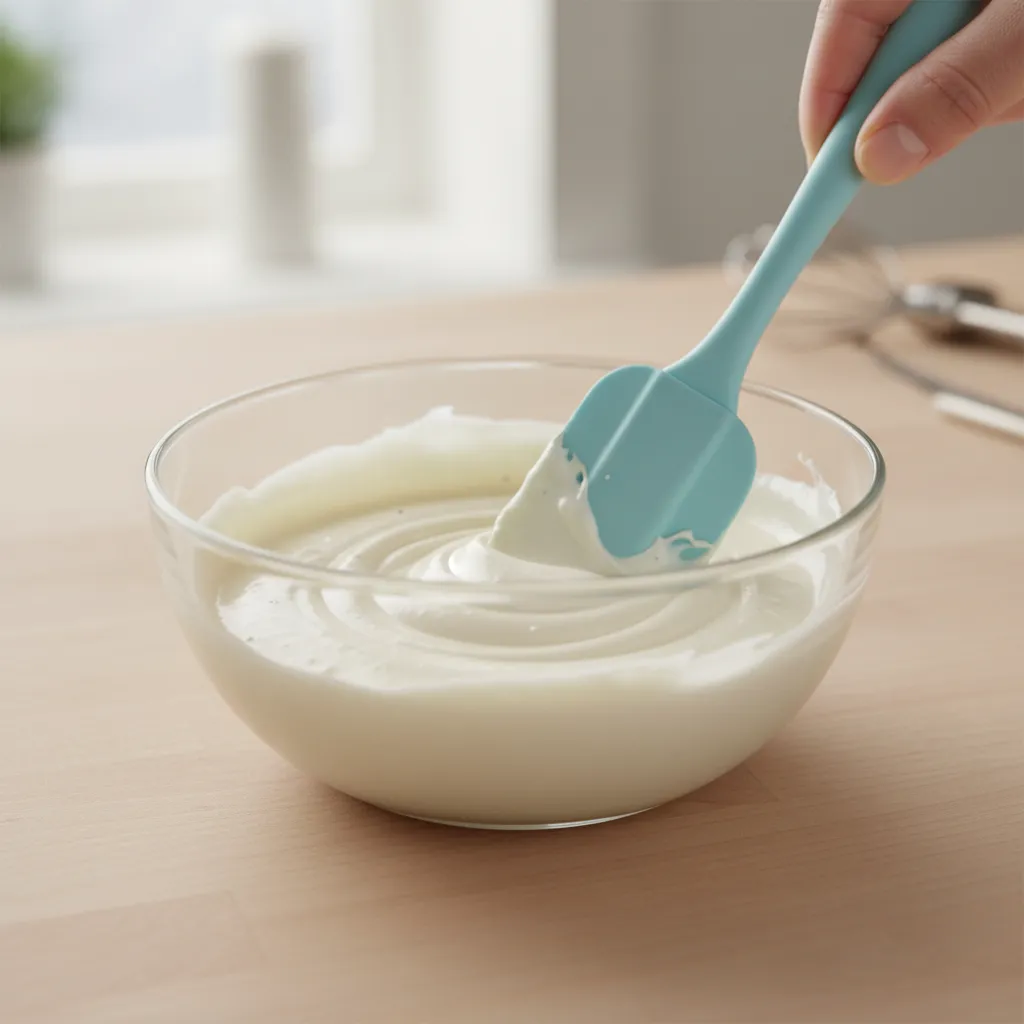
Warm kitchens are the enemy of stable buttercream. When butter exceeds ideal temperatures, its structure collapses. This results in a soupy mess.
Do not panic if your frosting looks like melted ice cream. The most common culprit is simply over-softened butter. We can easily reverse this issue.
Just like warm butter causes problems in our flat cookie troubleshooting guide, it ruins frosting. Temperature control is key here.
A simple ice bath is the baker’s secret weapon to instantly rescue a soupy, warm buttercream without adding extra powdered sugar.
If your buttercream is soupy or runny, the mixture is simply too warm. Pop the bowl into the fridge for 10 to 15 minutes, then re-whip.
King Arthur Baking Test Kitchen, King Arthur Baking Guide to Buttercream
The Quick Ice Bath Rescue
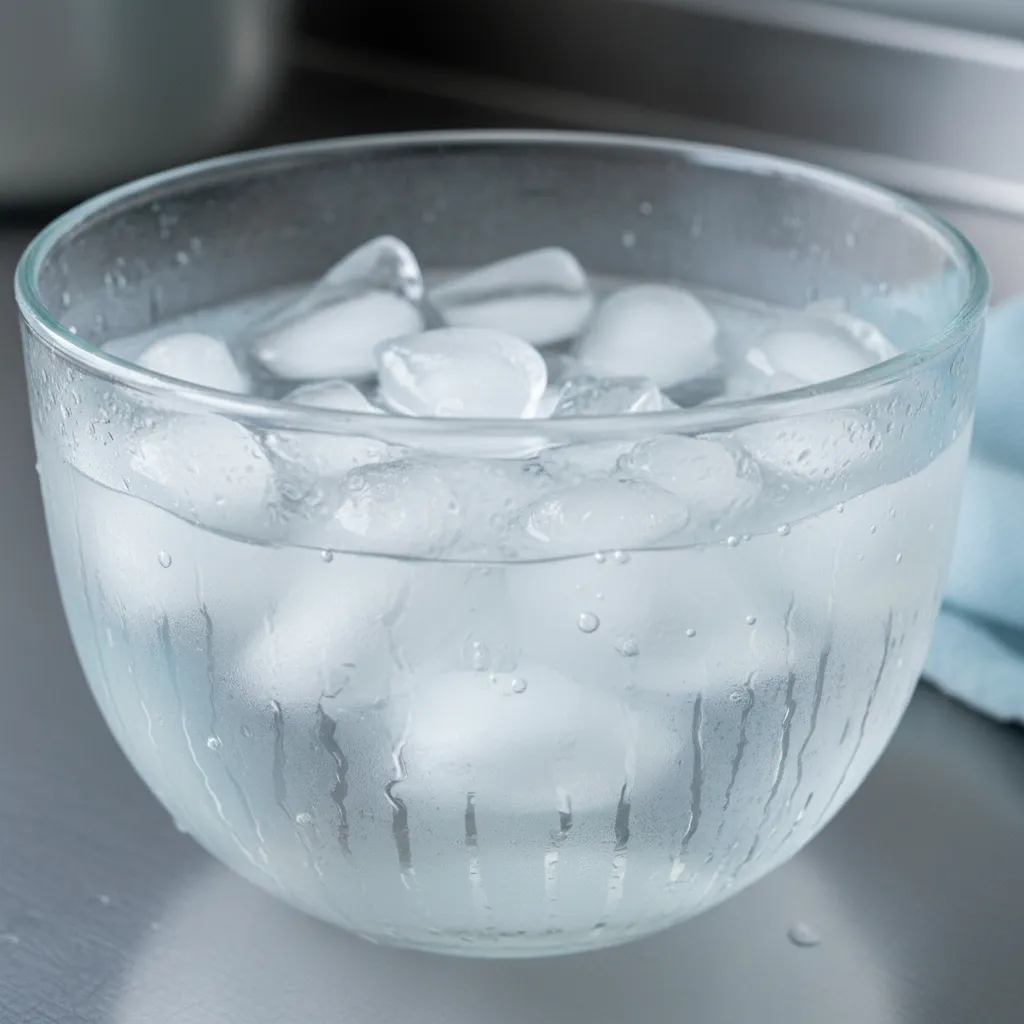
While placing your bowl in the fridge works, an ice bath is much faster. It cools the bowl rapidly while you actively whip the mixture.
This rapid chilling solidifies the butterfat instantly. As the fats cool down, they emulsify properly with your sugar and sweet liquids.
Ingredients
- 2 cups large ice cubes
- 1 cup cold tap water
- 1 batch runny buttercream
Instructions
- Fill a large, wide bowl with the ice cubes and cold water.
- Ensure the ice bath bowl is slightly wider than your mixing bowl.
- Carefully set the mixing bowl containing the frosting into the bath.
- Do not let any water splash over the sides into the sweet frosting.
- Whip the frosting continuously on medium speed for two minutes.
- Remove the bowl from the ice bath once it reaches a fluffy texture.
Butter Temperature Guide
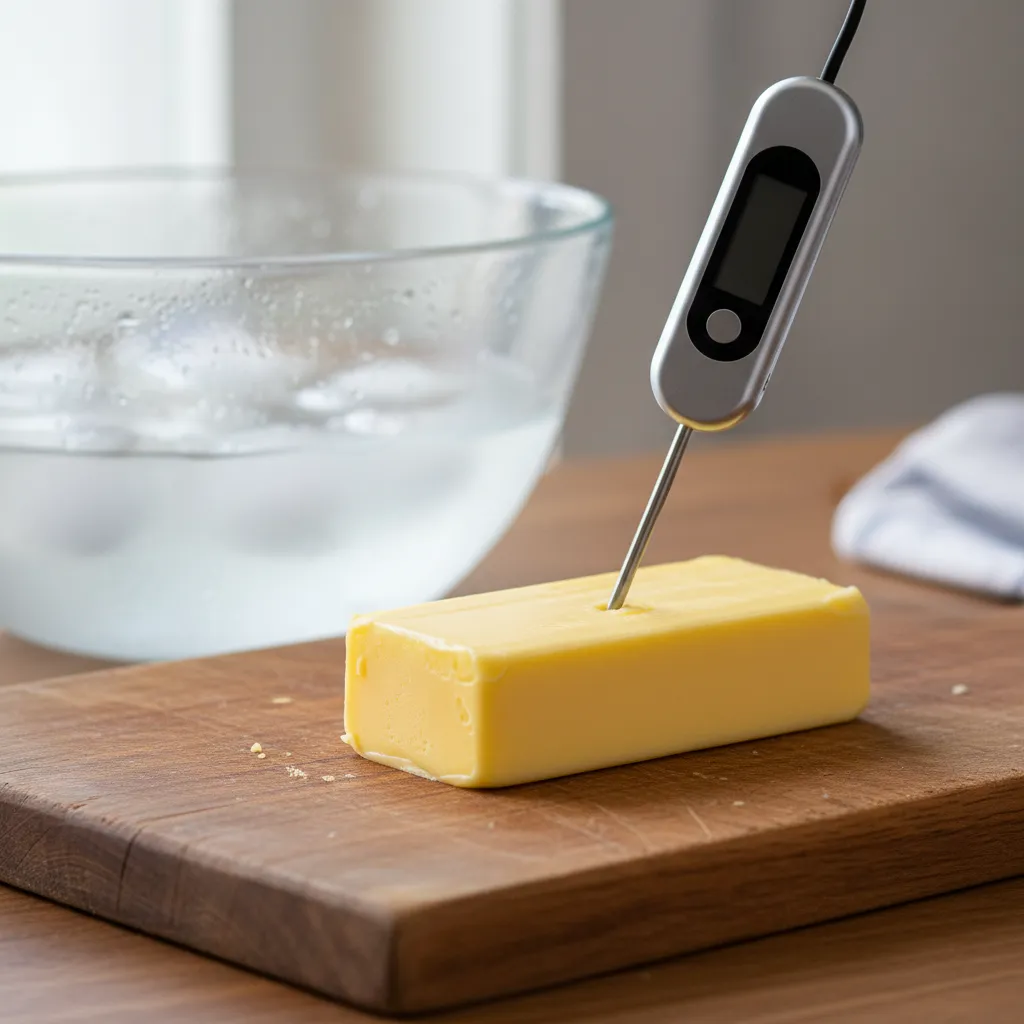
Understanding the state of your butter prevents future runny frosting disasters. Here is a quick reference guide to optimal butter temperatures.
| Butter State | Temperature | Frosting Result | Ideal? |
|---|---|---|---|
| Too Cold | Below 60°F | Chunky and separated | ❌ |
| Perfectly Room Temp | 65°F to 68°F | Smooth and fluffy | ✅ |
| Too Warm | 72°F and above | Soupy and runny | ❌ |
| Melted | 85°F and above | Liquid and greasy | ❌ |
If you made a Swiss or Italian recipe and have extra yolks, save them. Our guide on what to do with leftover egg yolks has great ideas.
Pro Tip: Beat the Heat
- The Finger Test: Press a finger into your butter before baking. It should leave a clean indent but still offer some resistance. If it is shiny or greasy, it is too warm!
- Wipe the Bowl: When removing your mixing bowl from the ice bath, immediately dry the bottom with a towel. A rogue drop of water can ruin your newly rescued buttercream.
- Chill Your Equipment: If your kitchen is notoriously hot, place your empty mixing bowl and whisk attachment in the fridge for 10 minutes before you begin making your flawless frosting.
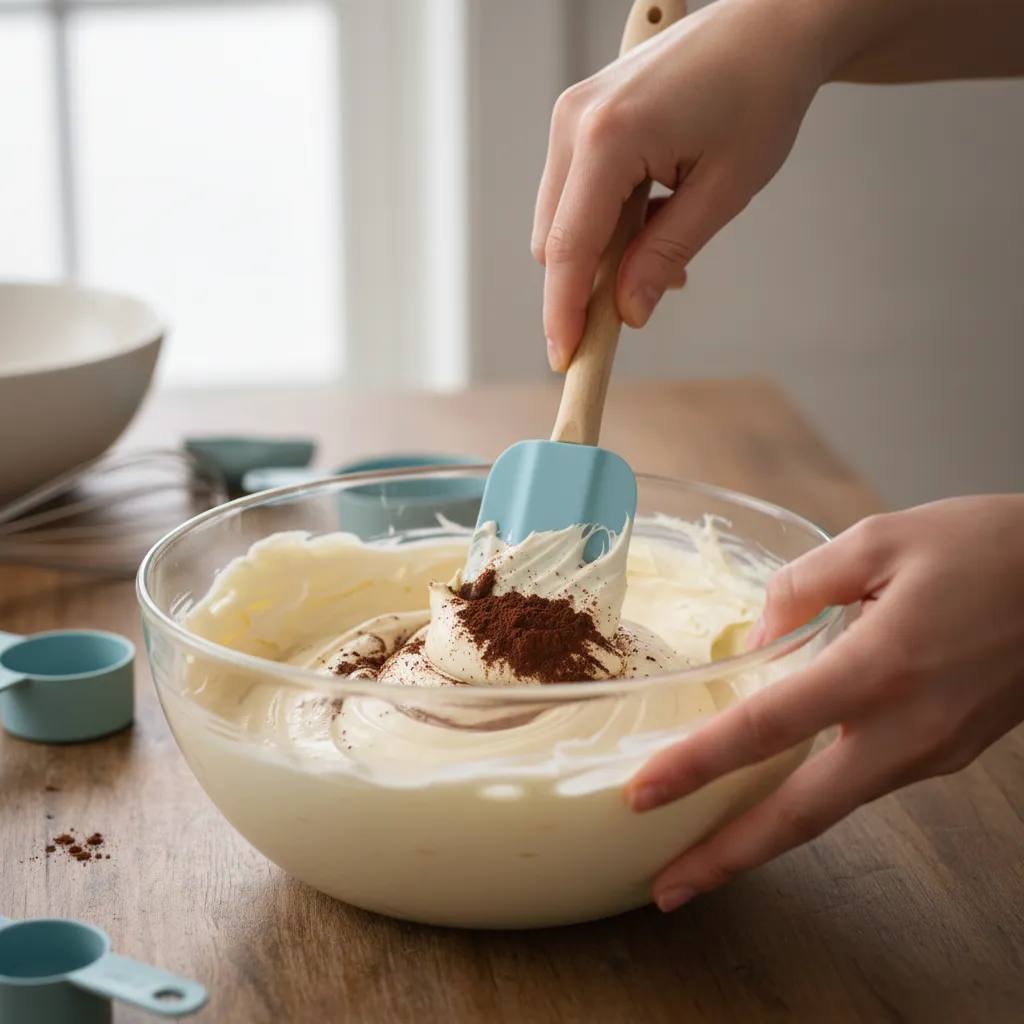
2. Thicken with Dry Milk Powder to Avoid Excess Sweetness
Adding more powdered sugar is the most common fix for runny frosting. But it comes with a major flaw. It can make your dessert unbearably sweet.
Enter dry milk powder. This magical pantry staple absorbs excess liquid beautifully. It thickens your frosting without overwhelming your palate.
It also adds a subtle, creamy richness. The savory dairy notes balance out the sweet vanilla bean infusion. It is a brilliant trick for bakers.
Got extra yolks from Swiss meringue? See what to do with leftover egg yolks.
Dry milk powder is the secret weapon for thick, stable buttercream that actually tastes like real butter, not just pure sugar.
Milk powder is the MSG of baking. It has a magical way of adding a milky, deep, rich flavor to anything you’re making.
Christina Tosi, MasterClass
You must use nonfat dry milk powder for the best results. Whole milk powder contains excess fat that can alter your delicate frosting emulsion.
Always sift your milk powder before adding it. This prevents gritty lumps from forming in your perfectly smooth, velvety buttercream.
Ingredients
- 1 cup runny buttercream frosting
- 1 to 2 tbsp nonfat dry milk powder
Instructions
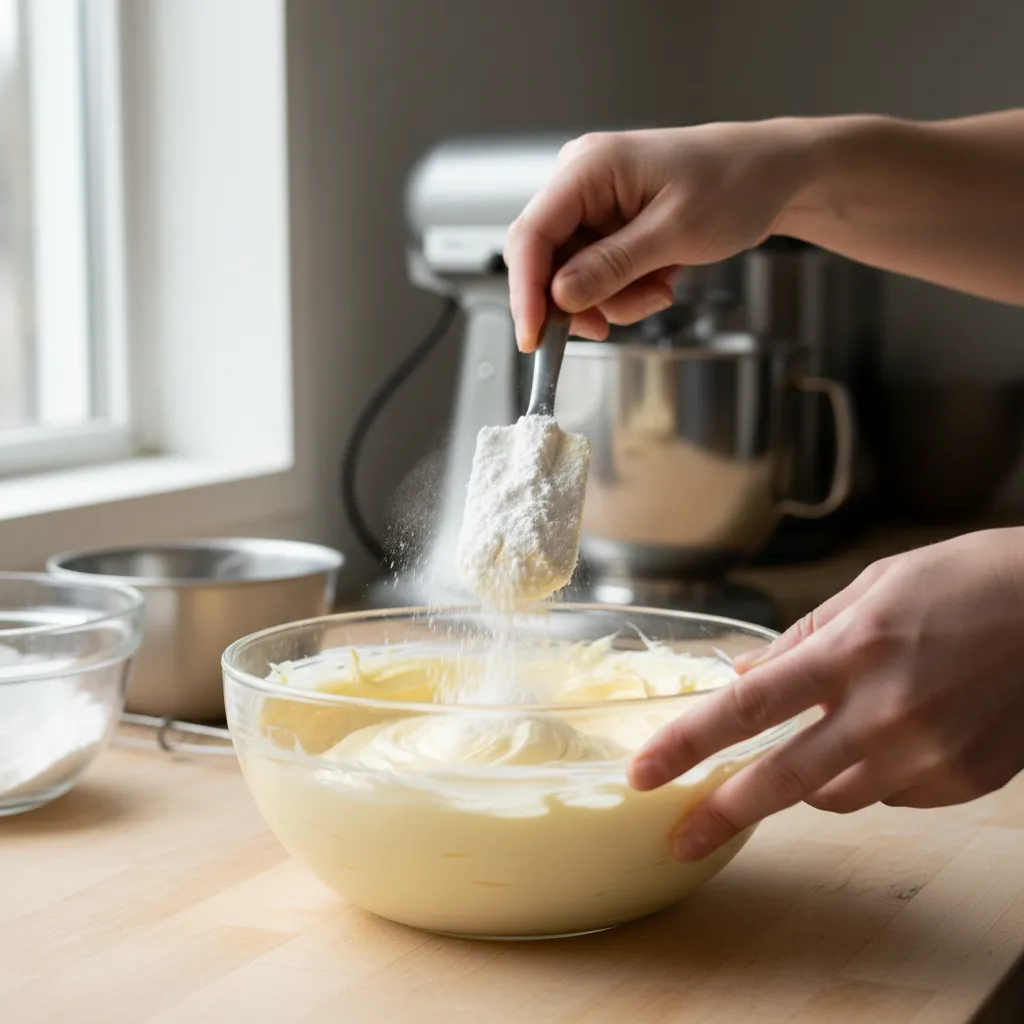
- Sift the milk powder through a fine mesh strainer to remove lumps.
- Sprinkle the sifted powder evenly over your soft buttercream.
- Fold gently with a spatula until the powder is fully absorbed.
- Let the frosting rest for five minutes to allow full thickening.
Knowing exactly how much powder to use is crucial. Adding too much can make the frosting dense or slightly sticky. Use this simple ratio guide.
- Slightly Soft: Add 1 tbsp of milk powder per cup of frosting.
- Very Runny: Add 2 tbsp of milk powder per cup of frosting.
- Warm Kitchens: Chill the bowl for 10 minutes before adding powder.
If you are modifying a vegan recipe, use coconut milk powder instead. It provides the same thickening power with a delicious tropical twist.
Explore healthy drinks with coconut milk to use up your extra powder.
Test Kitchen Secret
- Always sift your dry milk powder through a fine-mesh strainer to avoid gritty lumps, and remember to let the frosting rest for five minutes after mixing to allow for full absorption.
- Stick exclusively to nonfat dry milk powder. The extra fat in whole milk powder can mess with your delicate emulsion and alter the final texture.
- If you are whipping up a vegan treat, coconut milk powder is a brilliant substitute that thickens beautifully while adding a delicious tropical twist.
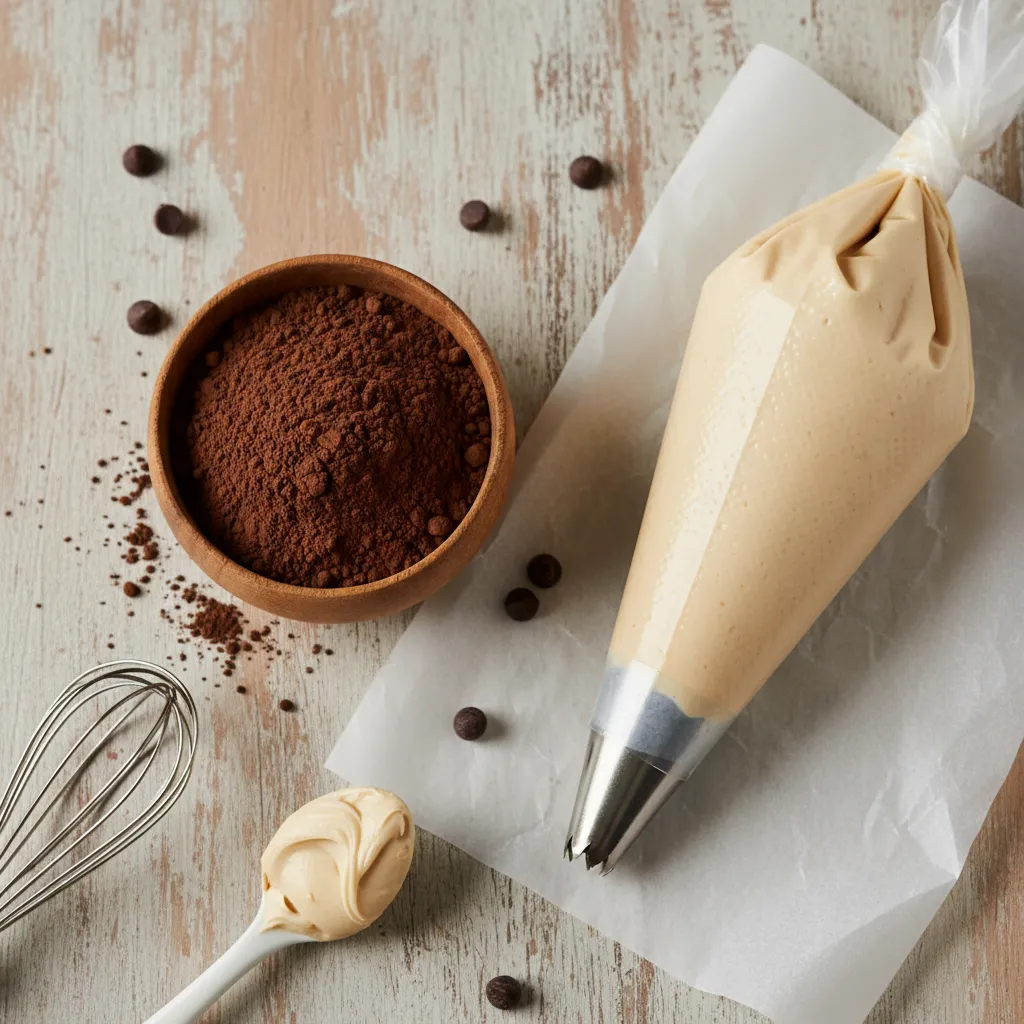
3. Sift in Cocoa Powder for Runny Chocolate Buttercreams

If you are making a chocolate-flavored frosting, this is a brilliant trick. Cocoa powder acts as a highly effective natural thickening agent.
Because cocoa is exceptionally absorbent, it quickly drinks up excess moisture in your bowl. It tightens the structure while intensifying flavor.
Unlike standard powdered sugar, unsweetened cocoa powder will not make your frosting cloyingly sweet. It keeps the palate beautifully balanced.
Just as excess moisture alters baked goods, similar to why do my cookies spread flat, runny frosting desperately needs dry matter.
Cocoa powder contains about 11 to 15 percent starch, which makes it a highly effective thickening agent when trying to stabilize soft mixtures.
Cook’s Illustrated Editors, Baking with Cocoa Powder
Always sift your cocoa carefully before use. Un-sifted cocoa leaves tiny, bitter pockets in your creamy mixture, ruining that silky mouthfeel.
Ingredients
- 1/2 cup unsweetened cocoa powder
- 1 batch runny chocolate buttercream
Instructions
- Sift the cocoa powder through a fine-mesh strainer to remove any stubborn lumps.
- Add one tablespoon of the sifted cocoa directly into your runny buttercream.
- Beat the frosting on medium speed for two minutes to fully emulsify the fats.
- Check the consistency. If it remains too soft, add another tablespoon and mix.
You can use different varieties of cocoa depending on the flavor profile you want to achieve. Each type interacts slightly differently with butter.
- Dutch-Processed Cocoa: Lower acidity, darker color, and highly absorbent for a velvety finish.
- Natural Cocoa Powder: Higher acidity, lighter color, and retains slightly fruitier flavor notes.
- Black Cocoa: Ultra-alkalized and very dry. Use this sparingly to avoid chalky textures.
Cocoa powder is the secret weapon for runny frosting. It tightens the structure while intensifying that deeply savory chocolate flavor.
Once you reach the desired consistency, chill the bowl for ten minutes. This brief resting period helps the starches fully hydrate and set.
The Cocoa Fixer’s Secret
- Always sift your cocoa powder before adding it to avoid bitter, lumpy pockets that ruin the silky texture of your frosting.
- Start with one tablespoon at a time; cocoa is highly absorbent, and adding too much too fast can turn your frosting from runny to dry and crumbly.
- For a more intense color without extra bitterness, try a blend of Dutch-processed and Black cocoa for the ultimate stable, dark finish.
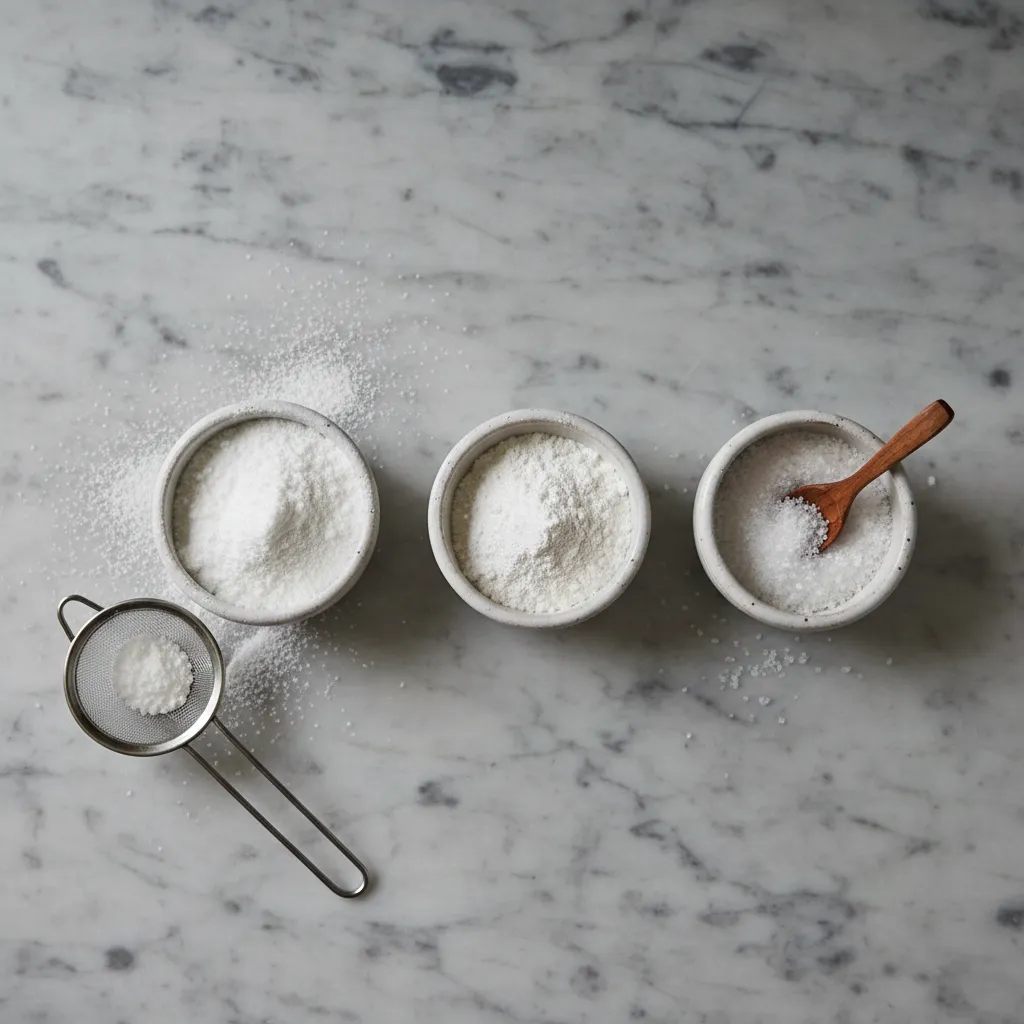
4. Blend in Cornstarch or Meringue Powder to Absorb Extra Liquid
When your delicate frosting breaks, reaching for dry pantry staples is a smart fix. Both cornstarch and meringue powder excel at absorbing excess liquid fast.
These fine powders act like tiny sponges. They bind with the extra moisture without throwing off the butter ratio or making your icing cloyingly sweet.
A simple spoonful of starch or meringue powder can rescue a runny buttercream from disaster, restoring its silky texture.
Meringue powder is simply dehydrated egg whites and a bit of sugar. It works wonders for stabilizing soft textures and creating a firm finish.
If you bake often, you might already know how useful whites are. You can always explore leftover egg white recipes for fresh inspiration.
Cornstarch is an excellent gluten-free option. It thickens beautifully but use it sparingly to avoid a chalky palate or heavy starch flavor.
Ingredients
- 1 tbsp cornstarch or meringue powder
- 1 tbsp powdered sugar
- 1 tsp whole milk (only if needed to dissolve)
Instructions
- Sift the cornstarch or meringue powder with the powdered sugar into a small bowl.
- Sprinkle this dry mixture evenly over the surface of your runny frosting.
- Whip the frosting on medium speed until the powder is fully incorporated.
- Let the bowl rest for five minutes so the starches can hydrate and thicken.
This method allows you to emulsify the starches smoothly. Sifting prevents lumps from forming, ensuring your finished cake looks artisanal.
Adding meringue powder to your buttercream recipe adds stability to the icing so it won’t break down or melt as quickly at room temperature.
Wilton Baking Team, Wilton: What is Meringue Powder?
Before you dump powder into your mixer bowl, remember that patience is vital. The starches take a few moments to activate and absorb the liquid.
Key Thickening Agents Compared
- Cornstarch: A fast acting, plant-based starch that absorbs moisture well. It is very affordable but can leave a starchy aftertaste.
- Meringue Powder: Made of dried egg whites, it provides structural integrity. It helps frosting form a slight crust and improves overall stability.
- Arrowroot Powder: A wholesome alternative to cornstarch. It thickens beautifully at cooler temperatures and remains incredibly glossy.
Using these dry ingredients will salvage your batch without altering the rich flavor profile. Your frosting will stay fluffy and ready to pipe.
Baker’s Rescue Guide
- Always sift your cornstarch or meringue powder before adding it to the bowl; this ensures a silky-smooth finish without any unsightly white lumps in your final piping.
- If you are decorating for an outdoor event, opt for meringue powder over cornstarch, as it helps the frosting develop a thin crust that stands up better to heat and humidity.
- Start with just a half-tablespoon at a time. It is easier to add more than it is to fix a frosting that has become unpleasantly chalky from too much starch.
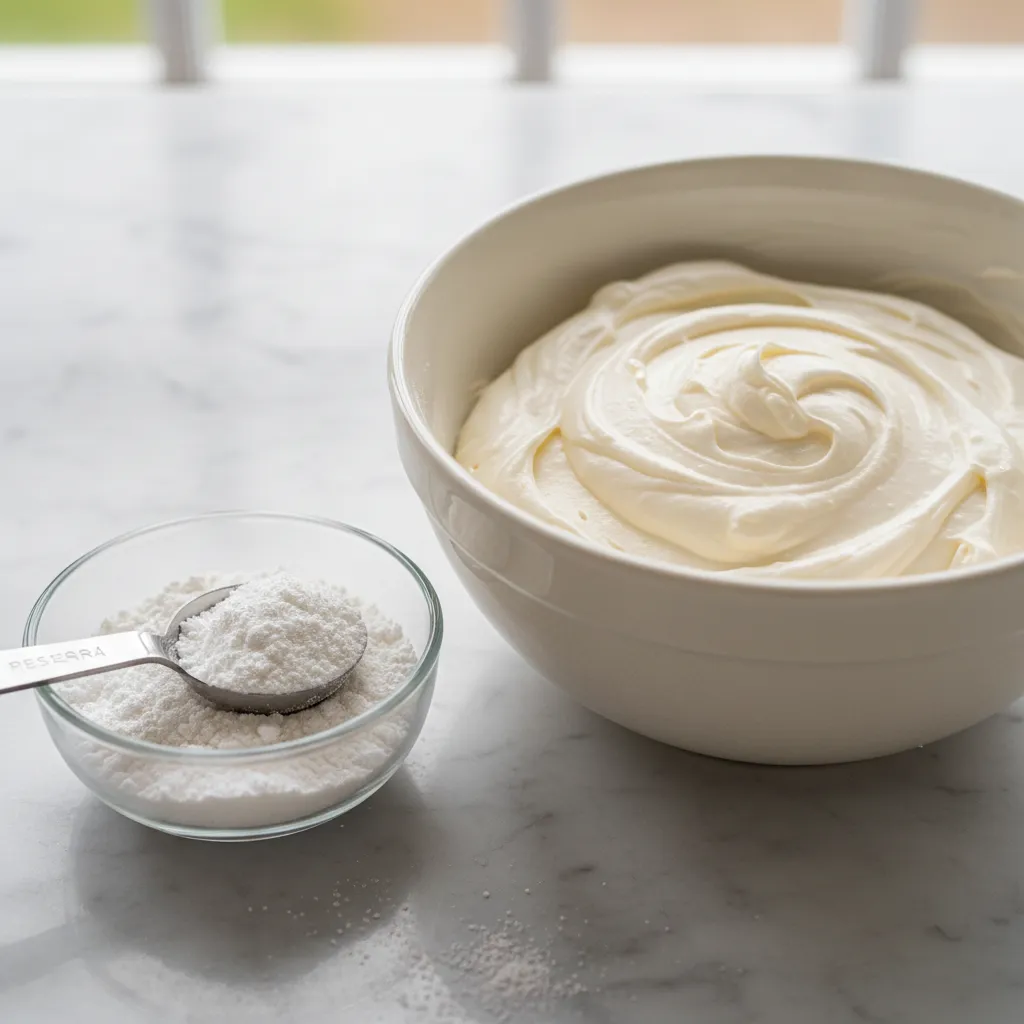
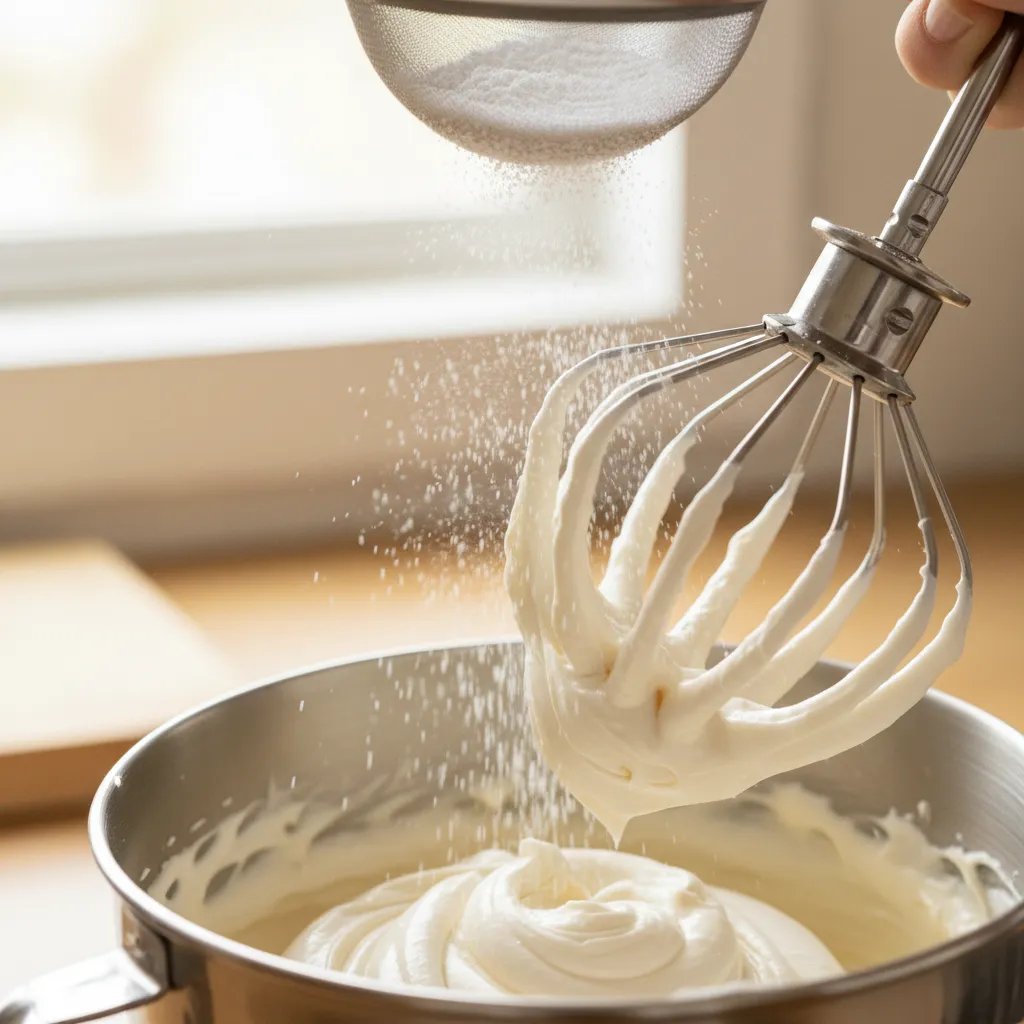
5. Add Sifted Powdered Sugar Carefully for American and Swiss Meringue Types
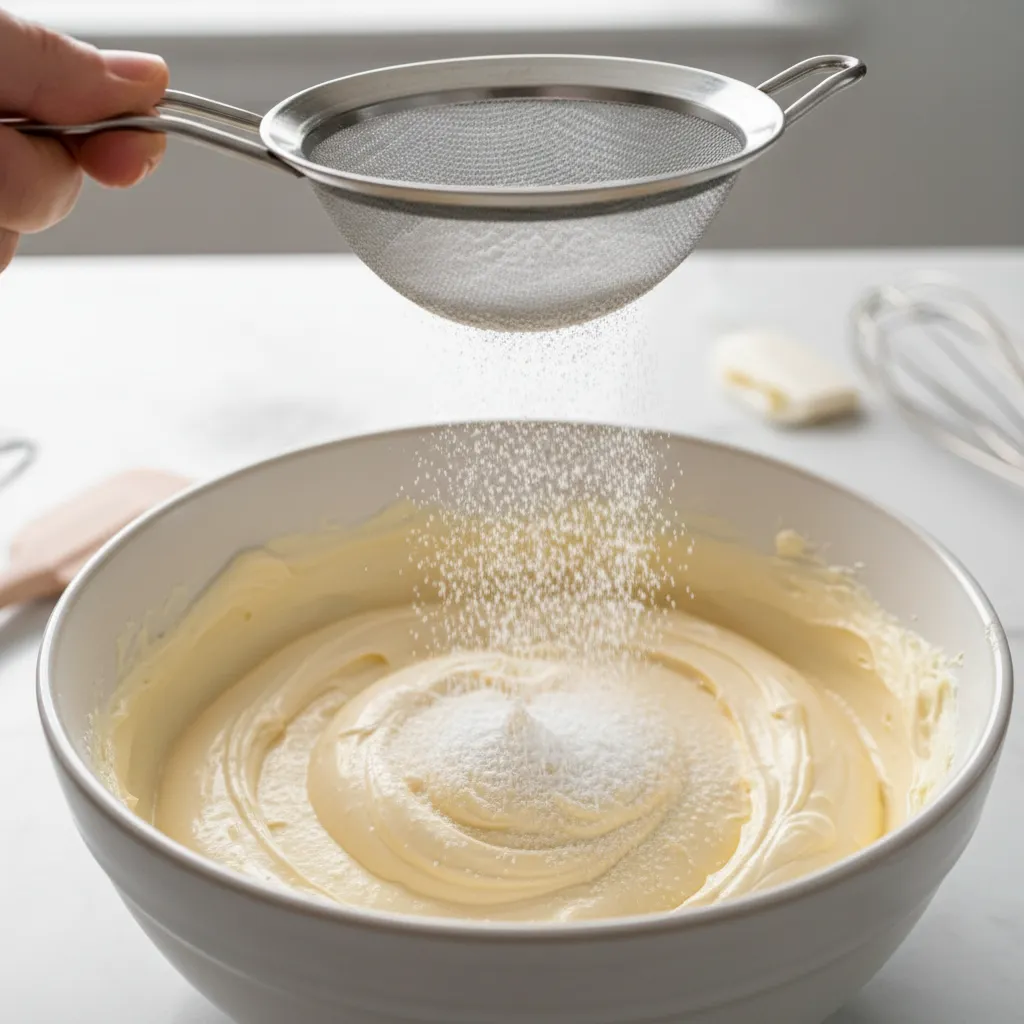
When a velvety batch of frosting loses its structure, sifted powdered sugar is a reliable fix. It absorbs excess moisture almost instantly.
However, the type of frosting matters. American buttercream accepts sugar easily. Swiss Meringue needs a gentler, more deliberate approach.
Perfectly stable buttercream is essential for beautiful simple elegant small wedding cake ideas.
Sifting your powdered sugar isn’t just an extra step. It is the absolute secret to flawlessly smooth and structurally stable buttercream.
Ingredients
- 1/4 cup organic powdered sugar
- 1 teaspoon fine cornstarch
- 1 pinch fine sea salt
Instructions
- Sift the powdered sugar and cornstarch together twice through a fine mesh strainer to remove every single lump.
- Turn your stand mixer to the lowest possible speed setting to prevent a powdery mess in your kitchen workspace.
- Add the sifted mixture to your runny frosting exactly one tablespoon at a time to monitor the consistency.
- Whip the frosting for a full two minutes until it becomes beautifully thick, creamy, and holds stiff peaks.
- Taste the frosting and fold in a tiny pinch of fine sea salt if the mixture has become overly sweet.
If your frosting is too thin, add more confectioners’ sugar, a quarter cup at a time, until desired thickness is reached.
Sally McKenney, Sally’s Baking Addiction
Adapting Swiss Meringue Buttercream
Adding powdered sugar to Swiss or Italian meringue buttercream can alter its signature silky texture. You must proceed with caution.
These European frostings rely on emulsified butter and cooked egg whites, not bulk sugar, for their overall structural stability.
If you must thicken them with sugar, use organic powdered sugar containing tapioca starch instead of standard commercial cornstarch.
This provides a wholesome thickening effect without leaving an unwanted chalky residue on your refined palate.
Always fold the sugar in gradually. A gentle hand preserves the microscopic air bubbles you worked so hard to whip into the mixture.
Best Practices for Sugar Thickening
- Sift thoroughly: Never skip sifting. Tiny clumps will ruin the velvety texture of your frosting instantly and permanently.
- Balance the flavor: Extra sugar means extra sweetness. Counteract this with a dash of pure vanilla extract or a pinch of salt.
- Monitor the temperature: Ensure your kitchen is cool. Warm environments make buttercream naturally softer and prone to melting.
- Check your starch: Commercial powdered sugars contain varying levels of cornstarch. This will directly affect moisture absorption.
The Pastry Chef’s Secret
- Use a fine-mesh strainer to sift your sugar twice. This ensures a silky-smooth finish and prevents tiny lumps from ruining your delicate piping work.
- When stabilizing Swiss Meringue, opt for powdered sugar containing tapioca starch. It dissolves more cleanly than cornstarch, preserving that luxurious, non-chalky mouthfeel.
- Always incorporate sugar on the lowest mixer speed. This prevents a sugar cloud in your kitchen and allows you to stop the moment you reach the perfect stiff peak.
Whip It Back into Shape: Your Frosting Finale
Runny buttercream doesn’t mean ruined desserts. A quick chill and a brisk whip are usually all you need to save your sweet masterpiece.
Remember to keep your butter perfectly cool, around 65°F to 68°F. This small step ensures a smooth, luscious texture every time you bake.
Now that you know the baker’s secret ice bath trick, you can confidently frost your cakes. Go ahead and share that beautiful, delicious bake!
Sweet Curiosities: Frosting Troubleshooting FAQs
You can, but it makes the frosting overly sweet and gritty. Cooling the mixture restores the perfect texture without ruining the delicate flavor.
Just a few minutes! Whip continuously and watch closely. Once it turns beautifully fluffy and holds a peak, immediately pull the bowl from the water.
Summer baking is tricky. Chill your mixing bowl beforehand, and keep your butter slightly cooler than room temperature before you start whipping.
Yes, but watch it carefully. Five minutes is usually enough. If the edges freeze solid, you will end up with chunky buttercream instead of smooth.